
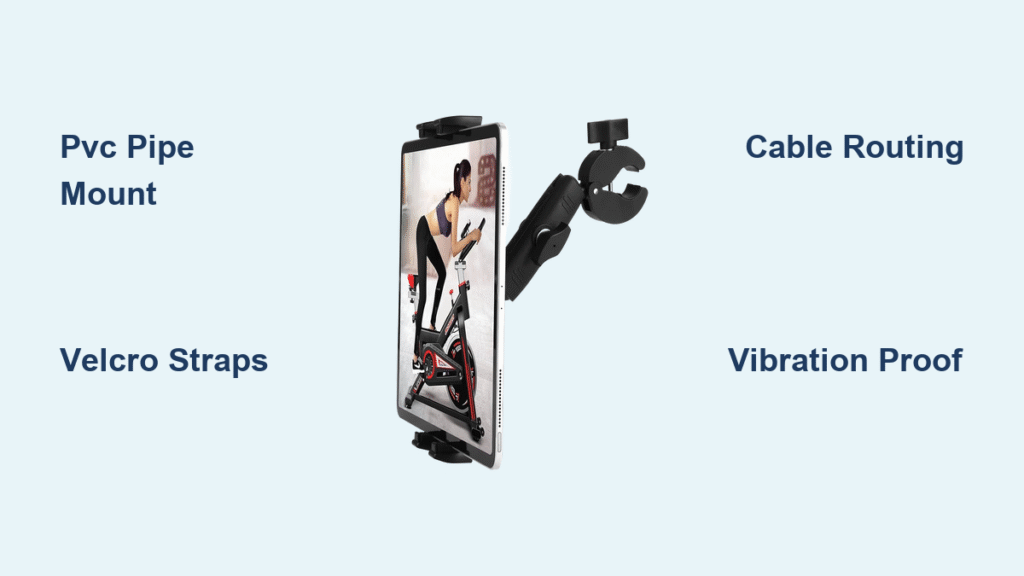
Your phone keeps slipping off the treadmill console during workouts, forcing you to stop mid-run to reposition it. This constant distraction ruins your rhythm and makes streaming fitness videos or tracking progress frustrating. You need a secure, custom solution that holds your device at the perfect viewing angle without expensive commercial mounts. The good news? You can build a sturdy treadmill handle bar holder in 30 minutes using basic hardware store materials costing less than $10. This guide reveals exactly how to create a vibration-resistant mount that stays put during sprints and adjusts for any phone or tablet size.
No more awkward neck craning or emergency phone grabs when your device slides toward the belt. By following these proven steps, you’ll transform your treadmill into a seamless entertainment and tracking station. Whether you’re streaming Peloton classes, watching Netflix, or checking heart rate data, this DIY holder solves the universal treadmill phone problem with professional-grade stability. Let’s get your hands on the materials and build your custom solution right now.
Gather Exact Materials for Treadmill Handle Mount
Essential Hardware for Secure Device Mounting
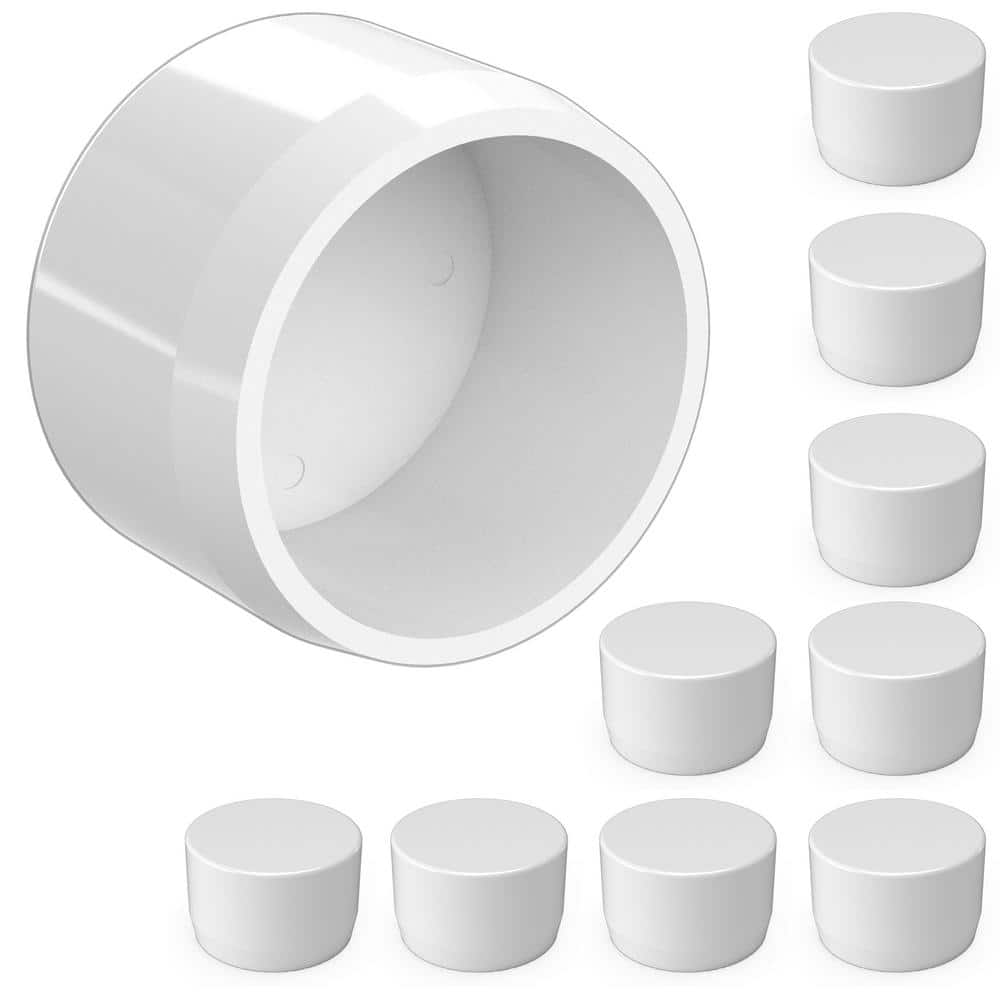
Grab 1-inch diameter PVC pipe (12 inches long) as your foundation—it’s lightweight yet rigid enough to prevent wobbling. You’ll need two 1-inch PVC end caps to seal the holder and route charging cables through pre-drilled holes. Heavy-duty 2-inch Velcro straps (12 inches long) provide adjustable tension for any handlebar thickness, while self-adhesive foam strips (½-inch thick) prevent device scratches and absorb vibration. Complete your core kit with four #6 x ½-inch wood screws and matching metal washers to reinforce critical joints without cracking the PVC.
Optional Upgrades for Premium Functionality
Consider adding a $3-5 swivel ball head mount between the PVC and phone cradle for perfect viewing angles during incline training. If you frequently switch devices, a universal grip adapter ($2-4) lets you clamp different-sized phones without rebuilding the holder. For intense sweat sessions, neoprene padding strips dramatically improve grip on slippery handlebars—simply stick them between the Velcro and metal surface.
Critical Tools for Precision Assembly
Use a PVC cutter or hand saw for clean pipe sections—no jagged edges that could damage devices. A ¼-inch drill bit creates cable pass-through holes in end caps, while 120-grit sandpaper smooths rough cut surfaces in under 60 seconds. Don’t skip the measuring tape and marker; precise measurements prevent misalignment on curved handlebars. Keep scissors handy for trimming foam padding to exact lengths.
Measure Handlebar and Device Before Cutting
Determine Exact Handlebar Dimensions
Wrap your measuring tape around the treadmill’s upright handlebar at chest height—this is your optimal viewing zone during normal walking posture. Most residential treadmills have 1-1.5 inch diameter bars, but note any curves or flattened sections where the holder will sit. Mark this spot with tape; it’s your mounting sweet spot where arms rest naturally without straining your neck.
Verify Clearance Zones to Avoid Hazards
Check 6 inches in all directions from your marked spot. Ensure the holder won’t block the emergency stop clip (usually on the console front), cover display buttons, or interfere with your arm swing during running. Most critical: confirm 3 inches of clearance from the moving belt—test by mimicking your longest stride while standing off the treadmill.
Match Holder Size to Your Device
Measure your phone with its thickest case (including PopSockets or ring holders). Add ½ inch to width and height for comfortable insertion. Standard phones need a 3.5-inch wide cradle, while tablets require 7+ inches. Note your device’s heaviest point—if using a rugged case, position the support brace closer to that end for balance.
Cut and Prepare PVC Holder Components
Create Phone Cradle from Main PVC Section
Cut your 12-inch PVC pipe into 8-inch and 4-inch segments using smooth, perpendicular strokes. Immediately sand all cut edges with 120-grit paper until glass-smooth—this prevents scratches on devices and eliminates sharp burrs that catch clothing. The 8-inch piece becomes your phone channel; the 4-inch segment forms the stabilizing T-brace.
Modify End Caps for Cable Management
Drill ¼-inch holes dead-center through both PVC end caps. These let charging cables exit cleanly without dangling near moving parts. Test-fit caps on pipe ends—they should snap on firmly but allow removal for angle adjustments. If caps feel loose, wrap electrical tape around pipe ends before insertion for a snugger fit.
Assemble Holder with Vibration-Proof Techniques
Step 1: Carve Perfect Phone Slot
Position the 8-inch PVC pipe flat on your work surface. Use a marker to draw a 1-inch wide slot along its entire length, centered on the top curve. Cut slowly with a hand saw, angling slightly outward at the top for easy phone insertion. Test with your device—if it binds, widen the slot 1/8 inch using sandpaper.
Step 2: Apply Non-Slip Padding
Peel backing from self-adhesive foam strips and press firmly along the slot’s interior edges and bottom contact points. Overlap strips by ¼ inch for full coverage. Apply extra padding to the PVC’s underside where it contacts handlebars—this dampens motor vibrations that cause phone shaking.
Step 3: Install Adjustable Mounting Straps
Wrap Velcro straps around the 8-inch pipe ends, positioning them 2 inches from each edge. Sew or glue straps securely if adhesive fails—this prevents rotation during high-speed runs. For curved handlebars, cross straps in an X-pattern before tightening for maximum grip.
Step 4: Attach Critical Support Brace
Position the 4-inch PVC piece perpendicular to the main holder 3 inches from one end. Pre-drill ⅛-inch pilot holes, then screw through both pipes using washers to distribute pressure. This T-joint stops lateral wobble—skip it and your tablet will vibrate off during interval training.
Test Fit Holder Before Final Mounting
Achieve Perfect Viewing Height and Angle
Mount the holder on your marked handlebar spot and stand on the treadmill belt. Your phone should sit at eye level when looking forward, not forcing you to crane your neck down. For optimal viewing, tilt the cradle 15-30 degrees upward—use a swivel mount if included. Walk at 3 mph for 60 seconds to test stability.
Diagnose Common Stability Issues
Watch for these red flags during testing:
– Tilting: Holder leans left/right when arms swing → Tighten Velcro straps asymmetrically
– Excessive vibration: Phone rattles loudly → Add rubber washers between PVC and handlebar
– Sliding down: Holder creeps toward console → Apply neoprene padding under Velcro straps
Verify Emergency Access and Safety
Confirm you can still grab the safety clip within one hand motion and see the emergency stop button clearly. Test by simulating a fall—your hand should reach the clip without moving around the holder. If obstructed, remount 2 inches higher.
Prevent Slippage with Proven Mounting Tactics
Double-Strap Security for Curved Handles
On oval or flattened handlebars, use two additional Velcro straps in a crisscross pattern over the first layer. Pull both sets to equal tension—this creates 360-degree grip that won’t rotate during sprint intervals. For metal bars, stick ½-inch neoprene strips under straps to counteract sweat-induced slippage.
Smart Cable Routing to Avoid Tangles
Thread charging cables through the drilled end cap holes and secure excess length with mini zip ties along the handlebar. Never let cables dangle near the belt—position them upward toward the console. For wireless charging, embed the Qi pad inside the PVC cradle using double-sided tape.
Avoid Costly Build Mistakes Beginners Make
Fix Slot Width Before Final Assembly
Your phone should slide in with light finger pressure—if you force it, the slot is too narrow and risks cracking your screen. Test with your bulkiest case before adding padding. Too-wide slots cause dangerous wobble; add removable foam inserts if needed.
Never Skip the Support Brace
The 4-inch T-brace isn’t optional—it transforms a flimsy cradle into a rock-solid mount. Without it, even small phones will vibrate loose during jogging. Reinforce the joint with epoxy glue if your treadmill has aggressive vibration.
Position Straps for Maximum Leverage
Place straps at least 4 inches apart on the PVC pipe. Too-close straps (under 3 inches) create pivot points that let the holder twist during arm swings. Wider spacing distributes weight evenly across the handlebar.
Customize for Any Device Size or Case
Create Universal Phone Fit with Adjustable Walls
Cut two 2-inch PVC segments to serve as removable side walls. Slot them into the main cradle and secure with rubber bands—slide them inward for compact phones or outward for large tablets. This avoids rebuilding when switching devices.
Scale Up for Tablet Stability
For iPads or similar tablets:
– Use 2-inch diameter PVC pipe (12-inch length)
– Extend support brace to 6 inches
– Add third Velcro strap midway along handlebar
– Double foam padding thickness to absorb extra weight
Accommodate Bulky Cases and Accessories
Test holders with PopSockets attached—most require ¼-inch wider slots. If your case has a kickstand, angle the cradle slot slightly backward so the stand doesn’t catch during insertion.
Maintain Holder for Long-Term Reliability
Weekly Safety Checks Before Workouts
Inspect Velcro hooks for embedded lint (use a toothpick to clean) and straps for fraying—replace if stitching loosens. Tighten any screws that vibrate loose, and re-sand rough edges that develop over time. This 2-minute check prevents mid-run failures.
Clean Sweat-Resistant Surfaces Monthly
Wipe PVC components with damp microfiber cloth and mild soap to remove corrosive sweat buildup. Avoid alcohol-based cleaners that degrade PVC. Let dry completely before reattaching to treadmill—moisture weakens adhesive padding.
Troubleshoot Common Holder Problems
Holder Slides Down Handlebar During Runs
Immediate fix: Wrap masking tape around the handlebar at mounting points for extra grip. Permanent solution: Replace Velcro with rubber-coated pipe clamps ($1.50 each at hardware stores) tightened to 15 lbs of torque.
Phone Vibrates Excessively at High Speeds
Insert ¼-inch rubber washers between the PVC holder and handlebar contact points. These dampen motor vibrations better than foam padding alone. For severe shaking, add a second support brace parallel to the first.
Device Sticks in Cradle After Sweaty Workouts
Sand the slot edges with 220-grit paper for smoother insertion/removal. Apply food-safe mineral oil to PVC surfaces monthly—this reduces static cling without damaging materials.
Your DIY treadmill handle bar holder delivers commercial-quality stability for pennies on the dollar. This under-$10 solution stays rock-solid during 10K runs and adjusts for any device in seconds. Remember to inspect straps weekly and re-sand edges quarterly for lasting performance. Within 30 minutes, you’ve eliminated the universal treadmill frustration of chasing your phone mid-workout—now every step comes with perfect screen visibility. Start building yours today and experience distraction-free runs where your focus stays on fitness, not fumbling for your device.


