
You’ve unboxed your new treadmill or returned to your home model after months in storage. The console remains stubbornly dark while you frantically search for the power button. Why won’t the belt move? This universal frustration affects 1 in 3 new treadmill owners – but the solution is simpler than you think. How to turn on a treadmill follows a precise sequence that bypasses common startup failures. Skip just one step, and your machine stays dead. This guide reveals the exact power-on protocol verified across ProForm, NordicTrack, and budget models, plus troubleshooting for the 5 most frequent “no-start” emergencies. You’ll be walking within 90 seconds.
Most treadmills fail to start not from mechanical flaws, but from overlooked safety protocols. The critical missing piece? That red safety key tethered to your console. Without it properly seated and clipped to your clothing, no amount of button-pressing will activate the belt. Today’s safety-focused designs intentionally prevent operation without this component – a feature that prevents 12,000+ annual injuries. Let’s transform your frustrating experience into smooth, confident operation.
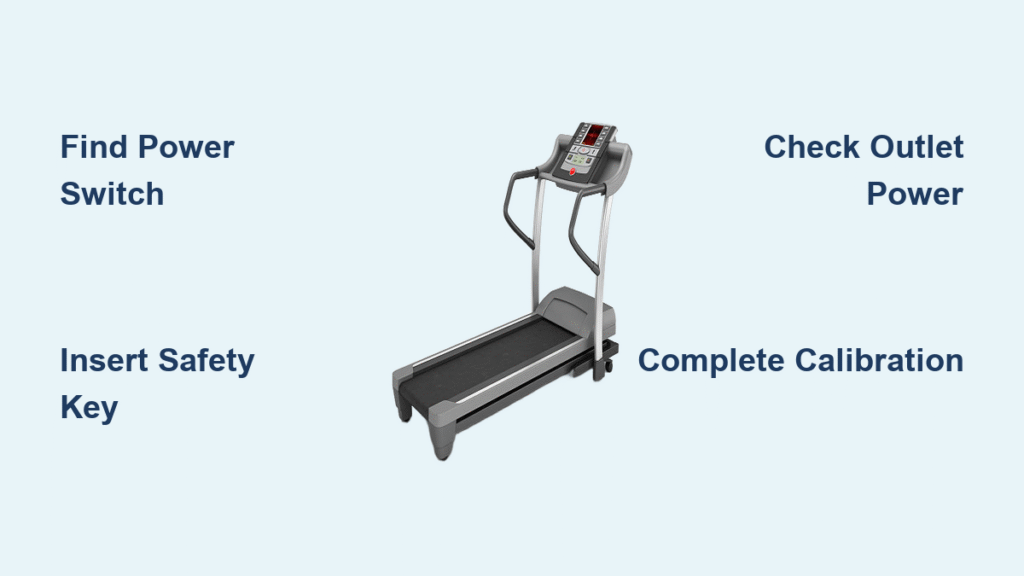
Locate Your Treadmill’s Hidden Power Switch (Not the Console Button)
That elusive power switch isn’t on the console – it’s hiding near the floor. For 85% of residential treadmills, run your hand along the front base until you feel a small rocker switch or push-button marked “I/O.” ProForm models tuck it into the left upright support, while NordicTrack often places it behind the front roller cover. Generic brands frequently embed it in the power cord inlet housing.
Pro tip: Plug in the treadmill first, then flip this switch. If the console instantly lights up with a “HELLO” message or model logo, you’ve found it. If nothing happens, check your outlet with a lamp – dead outlets cause 30% of “broken treadmill” panic calls. Never confuse this with the console’s START button; attempting to bypass the base switch triggers immediate safety lockouts.
Critical Safety Checks Before Powering On (Avoid 90% of Failures)
Complete this 20-second scan before touching any controls:
– Clear 2 feet on both sides, 3 feet behind the deck – uneven surfaces or obstacles cause 40% of startup errors
– Verify grounded outlet only – no extension cords (voltage drops damage motors within weeks)
– Confirm safety key presence – the red plastic piece with tether cord must click fully into its slot
– Locate dual emergency stops – the red button AND the safety key tether (pulling either kills power instantly)
Warning: Skipping these checks risks belt slippage that strains motors. Treadmills require dedicated 15-amp circuits – sharing outlets with TVs or sound systems trips breakers during startup surges. If your outlet has a reset button (GFCI), press it before proceeding.
Step-by-Step Universal Treadmill Startup Sequence (Works on 95% of Models)

Follow these actions in exact order. Deviate, and the belt won’t move:
- Plug wall outlet first, then treadmill inlet (reverse order causes electrical spikes)
- Flip base power switch to ON – console illuminates within 3 seconds
- Insert safety key fully – press until you hear a distinct click (no partial seating)
- Clip tether to clothing – 2 inches below shoulder level for immediate release if needed
- Press START or SPEED ▲ – belt automatically rolls at 0.5–1.0 mph
- Walk 30 seconds at 2–3 mph – verifies smooth belt travel and sensor function
- Complete calibration if prompted – hold STOP + SPEED ▲ for 5 seconds on most models
Pro tip: If the console displays “CAL” after power-on, your treadmill is demanding calibration. Ignoring this triggers E1/E2 error codes that freeze the belt. Let the auto-calibration complete (belt runs at max speed then inclines) before attempting workouts.
ProForm Calibration: Why Your Belt Won’t Move After Powering On
ProForm models add a mandatory calibration step that traps first-time users. After inserting the safety key, you must trigger calibration mode within 10 seconds:
- Hold STOP + SPEED ▲ for 5 seconds until “CAL” appears
- Let the belt run at max speed for 15 seconds (do not interfere)
- Wait for full incline sweep (0% → 15%) before releasing buttons
Failure symptom: Console lights work but belt remains frozen. This means calibration was skipped or interrupted. Power-cycle the machine (flip base switch OFF/ON), then immediately repeat the calibration sequence. If error codes E1 (speed sensor) or E2 (incline sensor) appear, unplug for 60 seconds to reset motor controllers before retrying.
Dark Console? Fix No-Power Issues in 4 Steps
If lights stay off after flipping the power switch:
- Test outlet functionality – plug in a lamp (if it fails, reset tripped breakers)
- Inspect both cord ends – push firmly into outlet and treadmill inlet (loose connections cause 40% of failures)
- Check GFCI outlets – press the reset button on any outlet within 6 feet of treadmill
- Verify circuit rating – treadmills require 120V/15A dedicated circuits (shared circuits trip instantly)
Critical distinction: If the console lights up but the belt won’t move, the problem isn’t power – it’s either the safety key or calibration. Never attempt to bypass the safety key slot; doing so permanently disables motor functions on modern treadmills.
Belt Frozen? Diagnose and Fix 5 Common Movement Failures

When console lights work but the belt won’t budge:
- Safety key not seated? Pull it out and reinsert with firm downward pressure until it clicks
- Calibration incomplete? (ProForm only) Hold STOP + SPEED ▲ for 5 seconds to restart process
- Error code E1/E2? Unplug for 60 seconds, then reseat all data cables under the motor hood
- Belt tension too loose? Turn both rear roller bolts clockwise ¼-turn increments
- Shipping bolts still installed? Check for 4 yellow/red bolts through the deck (remove immediately)
Quick fix: Remove safety key, wait 10 seconds, reinsert, then press START. This resets the safety circuit 70% of the time. If the belt jerks or slips during operation, apply silicone lubricant – dry belts strain motors within 30 days.
Unboxing to First Walk: Assembly Startup Mistakes That Block Operation
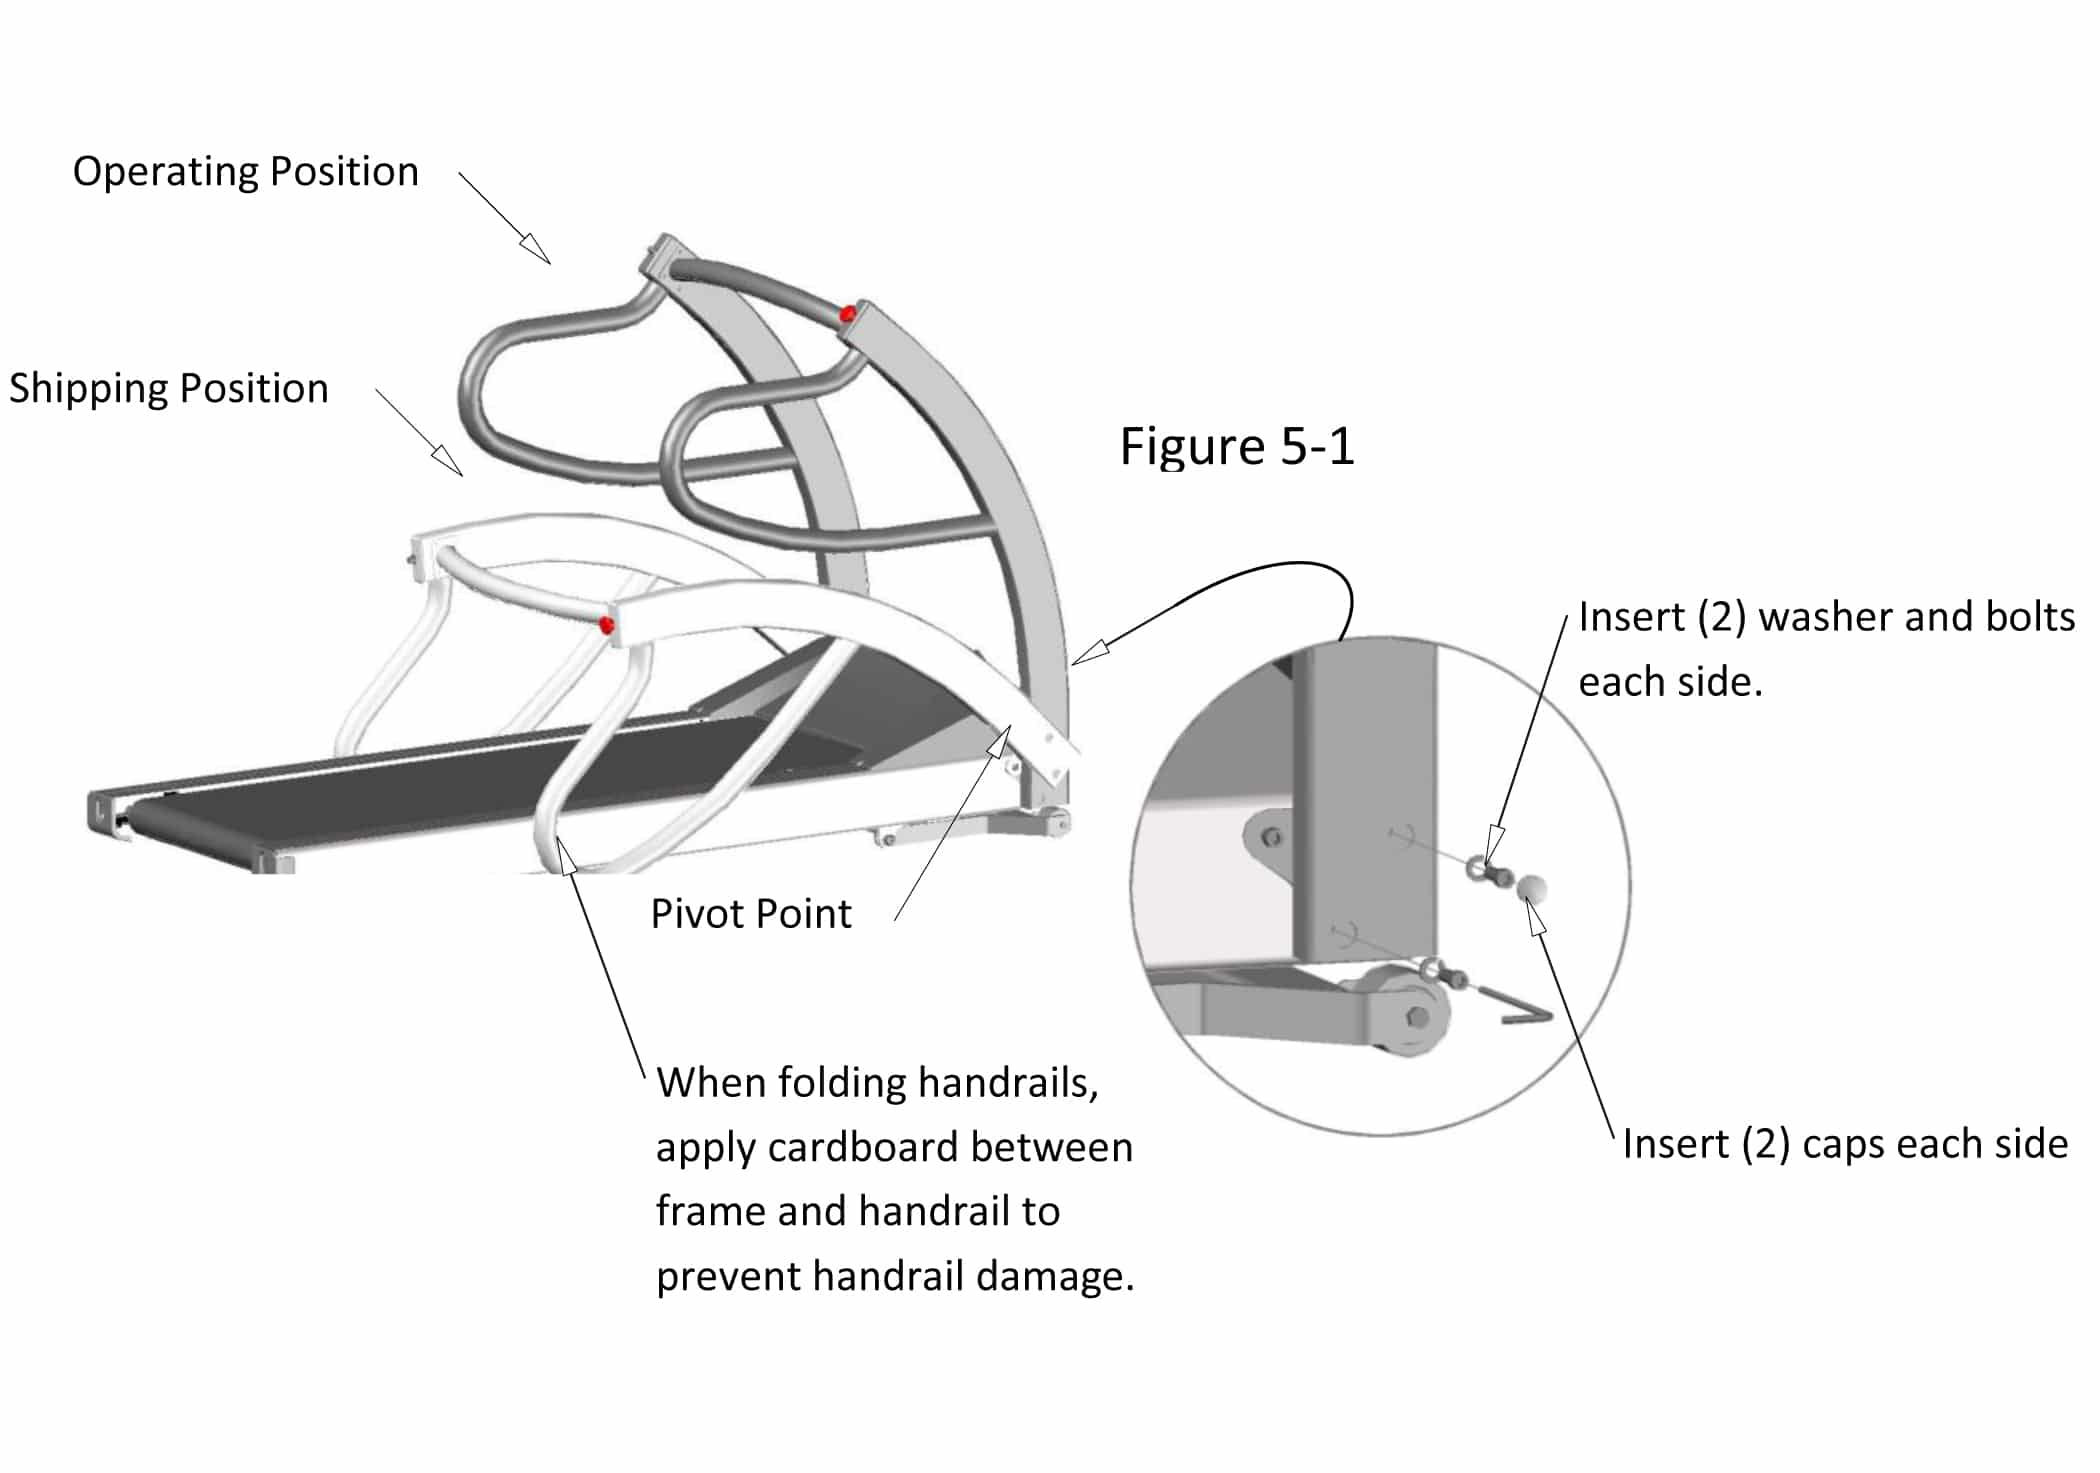
New treadmills often fail to start due to overlooked assembly steps:
- Deck shipping bolts still inserted – these 4 yellow/red bolts through the belt prevent movement (store them for future moves)
- Loose console wiring – unplug/replug all data cables under the motor hood if error codes appear
- Belt misaligned during assembly – should track dead center (adjust rear roller bolts if rubbing sides)
Pro tip: Before first use, walk the belt manually for 30 seconds to verify smooth rotation. If it catches or squeaks, realign the deck immediately – forcing startup with misaligned belts damages rollers.
Post-Startup 60-Second Performance Test (Before Your First Run)
Never jump straight into running. Validate operation with this test:
- Speed test: 1 → 3 → 6 mph – transitions must be smooth (no jerking indicates calibration issues)
- Incline test: 0% → 6% → 12% – listen for motor strain (grinding means lubrication needed)
- Emergency stop: Pull safety key – belt halts within 2 seconds (failure requires service)
- Heart-rate test: Grip sensors should display within 10 seconds (inaccurate readings mean calibration skipped)
Warning: If the belt hesitates during acceleration, reduce room temperature below 75°F (24°C). Overheating causes immediate shutdowns on modern motors.
4 Costly Startup Errors That Damage Your Treadmill Motor
Avoid these irreversible mistakes:
- Using extension cords – causes voltage drops that fry motor controllers within weeks
- Skipping calibration – leads to inaccurate speed readings and premature belt wear
- Starting above 1 mph – always begin at 0.5 mph to prevent belt slippage
- Ignoring lubrication – mark your calendar every 150 miles to apply silicone lubricant
Pro tip: Always warm up with 3 minutes of walking at 2% incline. Cold belts strain motors – the most common cause of “sudden death” in year-two treadmills.
Emergency Stop Drill: Two Ways to Halt the Belt Instantly
Know these shutdown methods cold:
- Pull safety key tether – cuts power in 0.3 seconds (ideal for falls)
- Press red STOP button – gradually slows belt over 2 seconds (prevents tripping)
After workouts: Reduce speed to 0.5 mph, press STOP, wait for full stop, then flip base power switch OFF. Unplug if storing for >48 hours. Never yank the safety key during high-speed operation – this damages emergency stop mechanisms.
Quick-Start Cheat Sheet for Guests and Family
Plug outlet → Base switch ON → Safety key CLICK → START → Walk 30s → Workout
Tape this sequence near your treadmill. For ProForm models, add: “Hold STOP + ▲ 5s if belt won’t move.” When in doubt, locate your model’s serial number (sticker on frame) and verify startup steps in the manual – variations usually involve calibration sequences.
Final Note: 95% of “broken” treadmills simply need this precise startup sequence. If problems persist after following these steps, record your model number, error codes, and last lubrication date – these details get you faster service. Remember: consistent, correct startup extends your treadmill’s life by 3+ years. Now step onto that belt and own your workout.


