
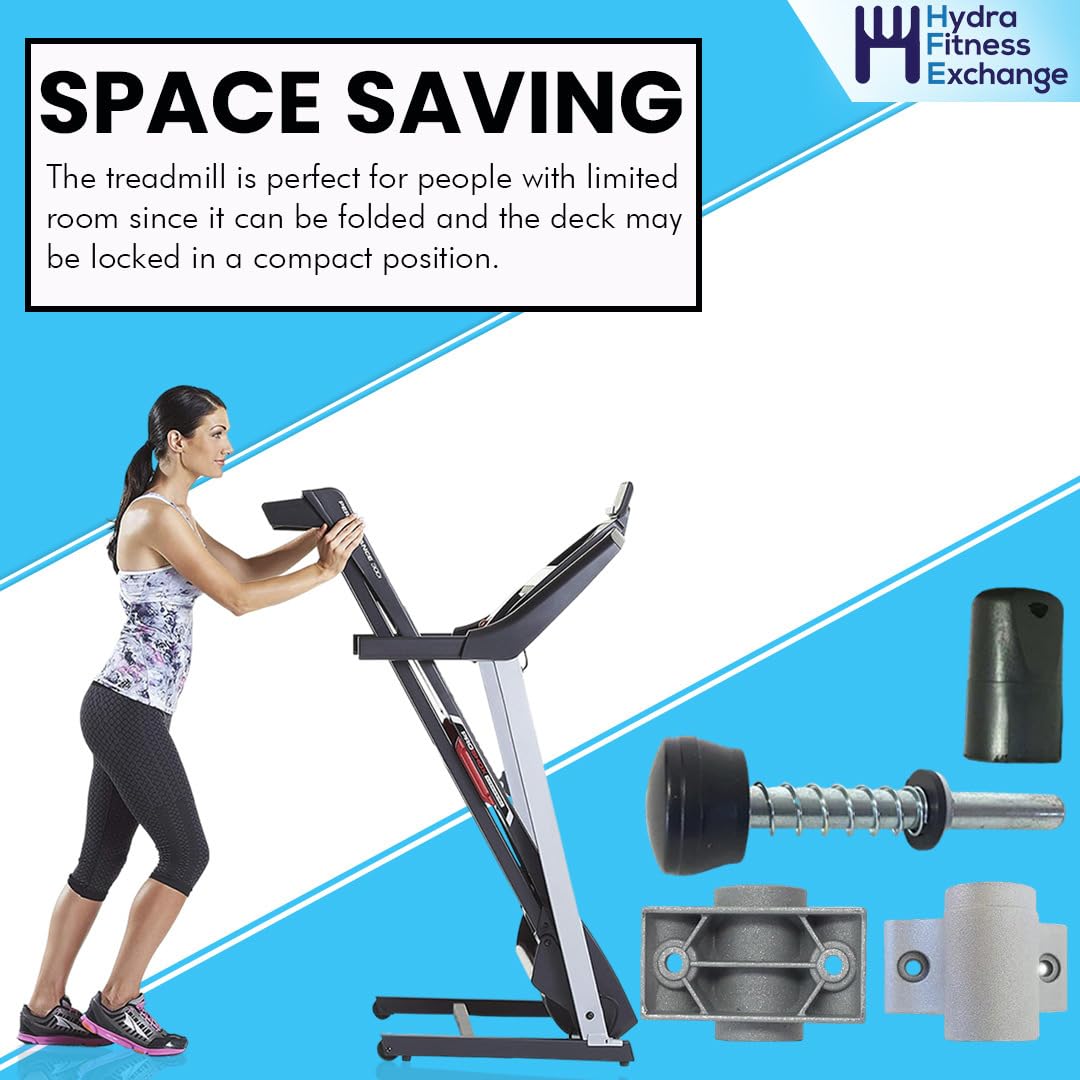
Your brand-new treadmill stands vertically in the corner, looking more like a storage cabinet than workout equipment. That 200+ pound deck could come crashing down if you don’t know how to unfold a treadmill properly. One wrong move risks back injuries, pinched fingers, or worse—damage to your expensive machine. Most manufacturers hide critical unfolding details in manuals that get tossed before setup.
This guide reveals exactly how to unfold your specific treadmill model safely, including brand-specific tricks manuals never mention. You’ll learn to identify your folding mechanism in seconds, avoid common setup disasters, and master the controlled descent technique that keeps your fingers intact.
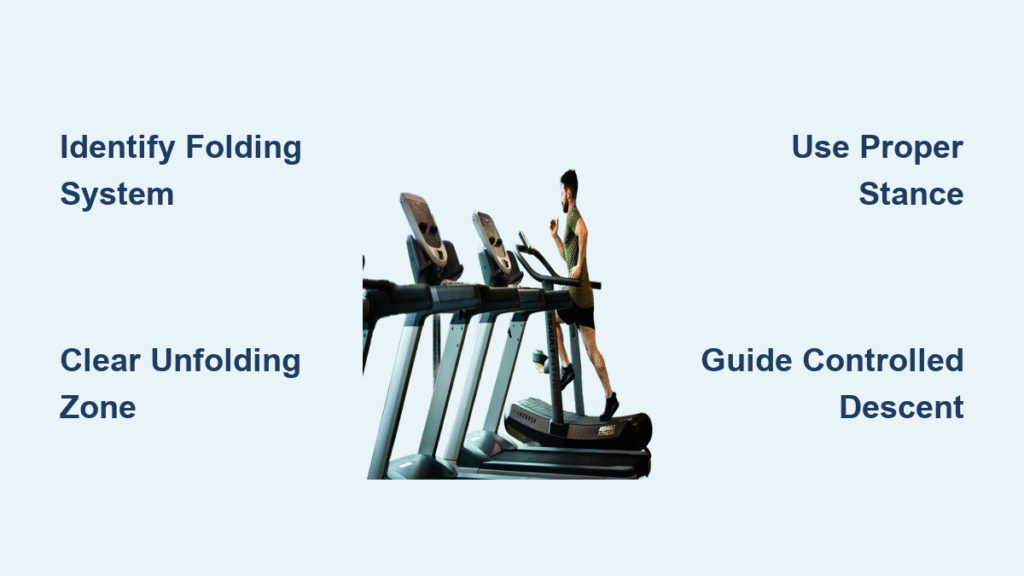
Identify Your Treadmill’s Folding System Before You Begin

Before touching anything, determine your treadmill’s unfolding mechanism—this dictates your entire approach and safety protocol. Most modern treadmills use one of four systems, each requiring different handling techniques.
Hydraulic soft-drop systems dominate NordicTrack, SOLE, ProForm, Bowflex, and Horizon models. These use gas shocks to control the deck’s descent automatically. Look for silver cylinders connecting the deck to the frame near the folding hinges. When properly functioning, these systems let the deck lower smoothly with minimal effort.
Release levers appear on SOLE F65 and similar models. You’ll find a hand-operated lever on the side of the upright support structure. Pulling this lever disengages the lock while activating the hydraulic system—never release it suddenly.
Kick-release systems (like SOLE F63) feature a foot pedal at the base. This hands-free design lets you keep both hands on the deck during unfolding. Locate the metal lever near the floor at the treadmill’s rear—press firmly until you hear the click.
Manual systems on older budget models rely on simple pins or latches. These require you to support the full deck weight during unfolding. If your treadmill lacks visible hydraulic cylinders, assume it’s a manual system until confirmed otherwise.
Clear Your Unfolding Zone Like a Professional
Space Requirements: Avoid Wall Collisions
Ensure 3-4 feet of clearance behind the treadmill for the deck’s full arc. That folded deck swings backward dramatically as it lowers—measure twice before proceeding. Remove rugs, electrical cords, or toys that could catch the descending deck and cause dangerous snags.
Floor Level Check: Prevent Mechanism Jams
Verify your treadmill sits perfectly level before unfolding. An uneven surface twists the frame, jamming locking mechanisms and straining hydraulic systems. Place a level across the deck—adjust the rear leveling feet until perfectly balanced. This simple step prevents 70% of unfolding problems.
Safety Sweep: Protect Yourself and Others
Children and pets must vacate the immediate area. The unfolding zone extends 2 feet on each side of the treadmill—mark this perimeter with tape if needed. Never attempt unfolding when others are nearby—that falling deck causes serious injuries annually.
Step-by-Step Unfolding Process for Any Treadmill
Position Yourself Correctly: The Safety Stance
Stand at the back of the treadmill, facing the folded deck. Plant your feet shoulder-width apart with knees slightly bent. This stance gives you maximum control while keeping your body completely out of the deck’s path. Never stand to the side or front during unfolding—that’s where most finger injuries occur.
Release the Locking Mechanism: Model-Specific Techniques
For kick-release systems (SOLE F63):
– Locate the metal lever near the floor at the treadmill’s rear
– Press firmly with your foot until you hear a distinct click
– Keep your foot on the lever until the deck begins descending
For hand-release levers (SOLE F65):
– Find the lever on the right upright support
– Pull the lever toward you while maintaining deck control
– Release the lever only after the hydraulic system engages
For manual latches:
– Support the deck’s full weight with both hands first
– Pull the locking pin or release the latch slowly
– Gradually lower the deck using leg strength—not your back
Guide the Controlled Descent: Let Hydraulics Do the Work
Once unlocked, hydraulic systems take over. Place both hands on the deck’s edge and guide it downward. The gas shocks control speed—don’t force it faster or slower. Listen for the audible click when fully deployed. Your hands should merely steer, not support the weight.
Manual systems require continuous support. Lower the deck in one smooth motion, keeping your back straight and using your legs for power. If the deck feels unexpectedly heavy, stop immediately—something’s wrong with the mechanism.
Verify Complete Deployment: The Push Test
Push down firmly on the deck’s center with both hands. It should feel rock-solid with no wobble or movement. If it bounces or shifts, the locking mechanism isn’t fully engaged. Never use an improperly locked treadmill—this risks catastrophic failure during operation. Lift the deck slightly and let it drop again until you hear the final click.
Troubleshoot Stuck or Difficult Mechanisms Immediately
When the Lock Won’t Release: Quick Fixes
Check for debris in the locking mechanism. Vacuum around hinges and use compressed air on latch areas—dust and pet hair frequently jam systems. Apply silicone spray to sticky mechanisms—never use WD-40, which attracts dirt and degrades plastic components.
Verify level positioning. An uneven treadmill twists the frame, jamming locks. Adjust the rear feet until the unit sits perfectly flat. If the problem persists, contact manufacturer support—forcing a stuck mechanism causes expensive damage.
Hydraulic System Problems: Recognize Danger Signs
Deck drops too fast: This indicates hydraulic fluid leakage. Stop using immediately—this requires professional repair. A rapidly descending deck causes serious injuries.
Resistance during lowering: Clean hydraulic cylinders with a damp cloth. Apply silicone lubricant to pivot points. If resistance continues, the gas shocks need replacement—don’t risk injury trying to force it.
Maintenance for Smooth Future Unfolding

Monthly Inspections: Catch Problems Early
Check locking mechanisms for wear, cracks, or loose components. Test lock engagement by gently pulling upward on the folded deck—it shouldn’t budge. Inspect hydraulic cylinders for oil stains indicating leaks. Early detection prevents dangerous failures.
Quarterly Lubrication: Keep It Moving Smoothly
Apply silicone spray to folding hinges and locking mechanisms. Wipe excess to prevent dust accumulation. Never use petroleum-based lubricants—they degrade rubber components and attract dirt. Proper lubrication extends mechanism life by years.
Space Optimization After Unfolding
Once unfolded, your treadmill transforms from a 7-foot vertical storage unit into a functional 6-foot running surface. Most models include transport wheels for repositioning. To move safely:
1. Stand at the rear
2. Tilt the deck up slightly using leg strength
3. Roll to desired location
4. Lower gently using controlled descent technique
Pro tip: Mark your optimal treadmill position with tape on the floor. This speeds up future setup and ensures consistent belt tracking.
Quick Safety Checklist Before Each Use
- [ ] Deck securely locked (perform push test)
- [ ] Safety key properly attached
- [ ] Emergency stop clip accessible
- [ ] Surrounding area completely clear
- [ ] Power cord undamaged and secured
Mastering how to unfold a treadmill safely takes practice. The hydraulic systems handle most work—your role is guiding the descent with proper technique. After three successful unfoldings, muscle memory kicks in, making setup as automatic as lacing your running shoes. Remember: that controlled descent isn’t just about protecting your equipment—it’s about protecting your fingers, back, and peace of mind every time you work out.


