
Your arms work tirelessly throughout the day—typing at your desk, carrying groceries, lifting weights at the gym—but most people completely overlook them when it comes to foam rolling. Learning how to use foam roller for arms properly can transform chronic tension into lasting relief, whether you’re an athlete recovering from intense training or an office worker battling repetitive strain. Unlike larger muscle groups that get regular attention, arm muscles accumulate tension silently until it manifests as elbow pain, limited mobility, or even shoulder impingement.
This guide delivers specific, actionable techniques to target your biceps, triceps, forearms, and shoulders effectively. You’ll discover why arm rolling matters, which tools work best, and exactly how to perform each technique for maximum benefit without causing injury. By the end, you’ll have a complete understanding of how to use foam roller for arms to eliminate discomfort and improve function in just minutes a day.
Why Your Arms Need Regular Foam Rolling
Arm tension often leads to debilitating conditions like tennis elbow, carpal tunnel syndrome, and shoulder impingement that many dismiss as “just part of aging.” Foam rolling breaks this cycle by increasing blood flow to deliver oxygen and nutrients while flushing metabolic waste from muscle tissue. The mechanical pressure also breaks up adhesions between muscle fibers and surrounding fascia, promoting healthier tissue structure.
Immediate pain relief happens because foam rolling stimulates mechanoreceptors in muscle tissue, reducing pain signals sent to your brain. Most users report significant tension reduction within minutes of proper rolling. Injury prevention occurs as regular rolling maintains optimal muscle flexibility, making your arms less susceptible to strains during daily activities. Don’t wait for pain to become chronic—incorporate arm rolling before issues develop.
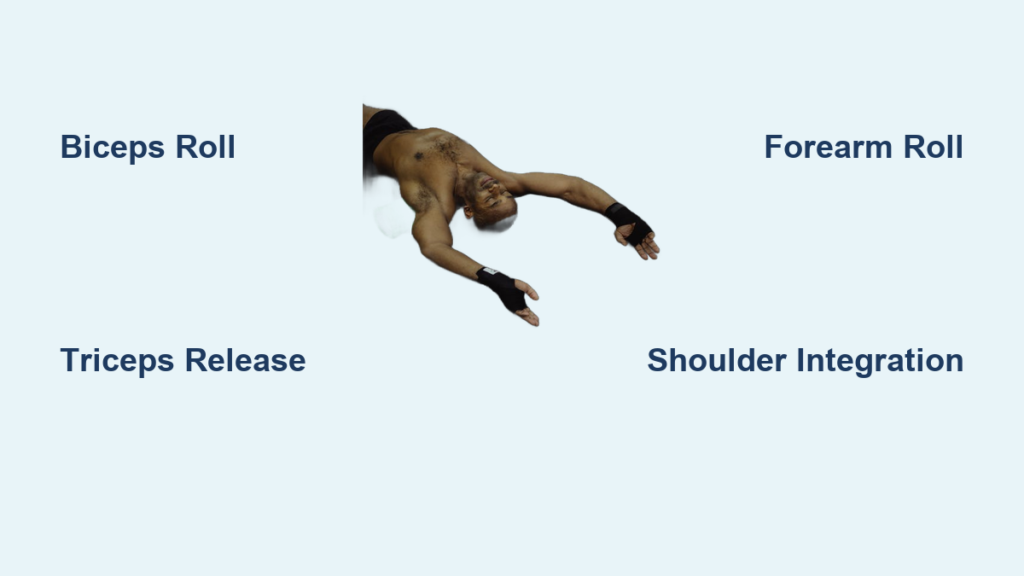
Arm Muscle Anatomy: Targeting Biceps, Triceps & Forearms Correctly

Understanding which muscles you’re targeting ensures effective foam rolling. Your biceps brachii runs along the front of your upper arm and controls elbow flexion; tension here often contributes to shoulder impingement. The brachialis lies beneath the biceps and assists in bending the elbow—this frequently overlooked muscle needs specific attention.
Your triceps brachii occupies the back of your upper arm and is essential for pushing movements. This three-headed muscle often tightens from pressing exercises or repetitive overhead activities, restricting shoulder mobility. Forearm muscles contain extensors along the top (controlling wrist and finger extension) and flexors underneath (controlling flexion). These endure significant stress from gripping, typing, and tool use—regular rolling prevents tennis elbow and improves grip strength.
Best Foam Rollers for Arm Muscles: Smooth vs. Textured Options

Smooth foam rollers work best for larger arm muscles like biceps and triceps, providing consistent pressure without catching on muscle tissue. They’re ideal for beginners learning how to use foam roller for arms correctly. Textured rollers with bumps or ridges deliver more intense pressure for stubborn adhesions in deeper tissues—use these after mastering basic techniques.
Vibrating foam rollers enhance traditional rolling by stimulating additional blood flow; research shows they may provide greater improvements in range of motion. Lacrosse balls are essential for precision forearm work—place the ball under tight spots and apply pressure against a wall for 30-90 seconds to release specific trigger points that broader rolling misses.
Prepare Properly: Warm-Up and Space Setup for Arm Rolling
Never start rolling cold muscles—spend 5-10 minutes warming up with light activity like arm circles or brisk walking. Warm muscles respond better to pressure and are less likely to bruise. Wear comfortable, form-fitting clothing that allows free movement; avoid tight sleeves that bunch up or loose fabric that interferes with muscle targeting.
Set up on a clean, flat surface with ample space to extend your arms fully. A yoga mat prevents the roller from sliding on hard floors and provides cushioning. Room temperature matters—too cold makes muscles tense up, while extreme heat causes sweating that affects your grip. Ensure proper lighting so you can see your positioning clearly.
Biceps Release: Three Effective Foam Rolling Techniques
Standard biceps roll: Sit with legs extended, placing the foam roller under one upper arm perpendicular to your arm’s length (palm up). Using your legs and core for support, slowly roll from just below your shoulder to above your elbow. Pause on tender spots while breathing deeply—complete 10-15 slow rolls before switching arms.
Shoulder extension variation: Lie face down with the roller under your biceps. Reach your arm overhead while rolling to lengthen the muscle and access different fibers. This technique effectively releases tension contributing to shoulder impingement—roll slowly through the full range while pausing at tight spots.
Cross-body release: Lie on your side with the roller under your top arm’s biceps. Cross your arm across your body to increase the angle of pull. Roll from shoulder to elbow while maintaining this position to access the deep brachialis muscle beneath the biceps. Hold pressure on tight spots for 20-30 seconds with steady breathing.
Triceps Tension Relief: Floor and Wall Position Methods
Floor triceps roll: Lie on your side with the roller under the back of your upper arm. Stack your legs for stability or extend the bottom leg while bending the top leg. Place your top hand on the floor in front for stability. Roll slowly from below the shoulder to above the elbow, rotating your arm slightly inward and outward to target all three triceps heads.
Wall triceps variation: Stand facing a wall with the roller between your upper arm and the wall. Walk away from the wall to increase pressure or lean in to reduce it. Roll up and down while maintaining wall contact—this variation provides precise pressure control and works well if floor rolling feels uncomfortable.
Overhead release: Raise your arm overhead with elbow bent, hand reaching down your back. Position the roller under your triceps in this stretched position. The overhead position lengthens the triceps, working particularly well at the muscle-tendon junction to improve elbow extension.
Forearm Rolling: Fixing Grip-Related Tightness in 60 Seconds
Extensor roll: Extend your arm with palm down, placing the roller under the top of your forearm just below the elbow. Support the arm with your other hand and roll slowly toward the wrist. Pause on tender spots near the lateral epicondyle where tennis elbow symptoms originate—complete 10-15 rolls per arm.
Flexor roll: Flip your arm so the underside rests on the roller. Position it just below the elbow crease and roll toward the wrist. The flexor muscles often feel tighter due to gripping activities—pay special attention to the medial epicondyle area common for golfer’s elbow symptoms.
Lacrosse ball precision work: For stubborn knots, press a lacrosse ball against a wall under the targeted forearm area. Apply sustained pressure for 30-90 seconds until tension releases. This targets specific trigger points that broader rolling misses—never roll directly over bones to avoid injury.
Shoulder-to-Arm Integration: Comprehensive Upper Body Release
Deltoid roll: Sit with the roller behind one shoulder. Lean back slightly and rotate your body to roll across the deltoid, covering all three heads. For anterior deltoid (front), face forward; for lateral deltoid (side), rotate outward; for posterior deltoid (back), lean forward and rotate inward.
Upper arm integration: Lie perpendicular to the roller under your upper arm. Roll from shoulder to elbow while slowly rotating your arm in circles. This continuous movement addresses all sides of arm muscles simultaneously, releasing tension between muscle groups.
Shoulder blade release: Lie on your back with the roller horizontally across your upper back below shoulder blades. Interlace fingers behind your head and roll slowly up and along the shoulder blade region. This releases rhomboids and rear deltoids, with improved mobility often translating to better arm function.
Common Arm Rolling Mistakes That Cause More Harm Than Good
Excessive pressure causes tissue damage, bruising, and increased soreness. Pressure should feel intense but manageable—you should experience discomfort, not sharp pain. If soreness persists beyond 48 hours, reduce your pressure intensity immediately.
Rolling too quickly reduces effectiveness and may aggravate muscles. Aim for approximately one inch per second, giving yourself time to notice changes in tissue quality. Slow, deliberate movements allow identification of specific tight areas.
Ignoring forearm muscles misses significant tension sources. Develop a habit of addressing all arm muscle groups in each session—forearms endure tremendous stress from daily activities yet are commonly overlooked.
5-Minute Arm Recovery Routine for Office Workers and Athletes
Start with 60 seconds on each biceps using the standard roll technique. Move to triceps for another 60 seconds per arm with the floor position method. Spend 45 seconds per forearm, alternating between extensor and flexor rolls. Finish with 30 seconds per side on the shoulders using the deltoid roll technique.
This routine works perfectly post-workout or during busy workdays to prevent chronic tension. For office workers, perform this routine during lunch breaks to counteract typing strain. Athletes should incorporate it immediately after training sessions for accelerated recovery.
Arm foam rolling delivers powerful results when performed correctly and consistently. Start conservatively, pay attention to your body’s responses, and gradually refine your technique. The investment in learning how to use foam roller for arms properly pays dividends in improved mobility, reduced pain, and enhanced performance. Combine rolling with proper hydration, stretching, and adequate rest for optimal results—your arms will thank you for the attention they’ve been missing.


