
That nagging knot in your shoulder won’t loosen. Your IT band feels like a steel cable after yesterday’s run. You’ve tried stretching, but the tension remains stubbornly tight. If this sounds familiar, you’re not alone—nearly 85% of people develop trigger points at some point, yet most don’t know how to properly use a trigger point foam roller to address them. This self-myofascial release technique targets those specific painful spots that cause referred pain throughout your body. Unlike standard foam rolling that glides over muscle groups, trigger point work requires precise pressure on hyperirritable spots to break up adhesions and restore normal muscle function. In this guide, you’ll discover exactly how to use trigger point foam roller techniques to release tension where it counts, without wasting time on ineffective rolling patterns or causing unnecessary bruising.
How Trigger Point Foam Rolling Actually Works
Trigger points form when muscle fibers remain contracted after use, creating tender knots that cause local and referred pain. When you apply sustained pressure with a foam roller, you stimulate mechanoreceptors that signal your nervous system to relax the area. This pressure breaks up adhesions between muscle fibers and connective tissue while increasing blood flow to deliver oxygen and nutrients for recovery. The key difference between standard foam rolling and trigger point work? Precision. Instead of mindlessly rolling back and forth, you’ll learn to locate specific tender spots and hold pressure until release occurs.
Identifying True Trigger Points vs. General Tightness
True trigger points present as distinct, hypersensitive spots that feel significantly more tender than surrounding tissue—often causing you to involuntarily tense when pressure is applied. They typically feel like small nodules or tight bands beneath the skin. When you roll over healthy muscle, discomfort remains relatively consistent along the muscle’s length, but a trigger point creates a sharp increase in tenderness at a specific location. These points often refer pain to other areas; for example, a trigger point in your glute might cause sciatic-like pain down your leg.
Selecting the Right Foam Roller for Trigger Point Work

Not all foam rollers deliver effective trigger point release. Your choice should match your experience level and target muscle groups:
- Beginners: Medium-density smooth roller (green) for balanced pressure
- Intermediate users: Textured roller with ridges for targeted work
- Advanced users: Firm-density grid roller (black) for deep tissue
Avoid soft rollers if you’re serious about trigger point release—they compress too easily and won’t deliver sufficient pressure. The standard 36-inch length works for full-body rolling, but a compact 12-inch roller provides better control for precise trigger point work on smaller muscle groups like shoulders and calves.
Essential Trigger Point Rolling Technique
The standard rolling pattern won’t effectively release trigger points. Follow this precise method:
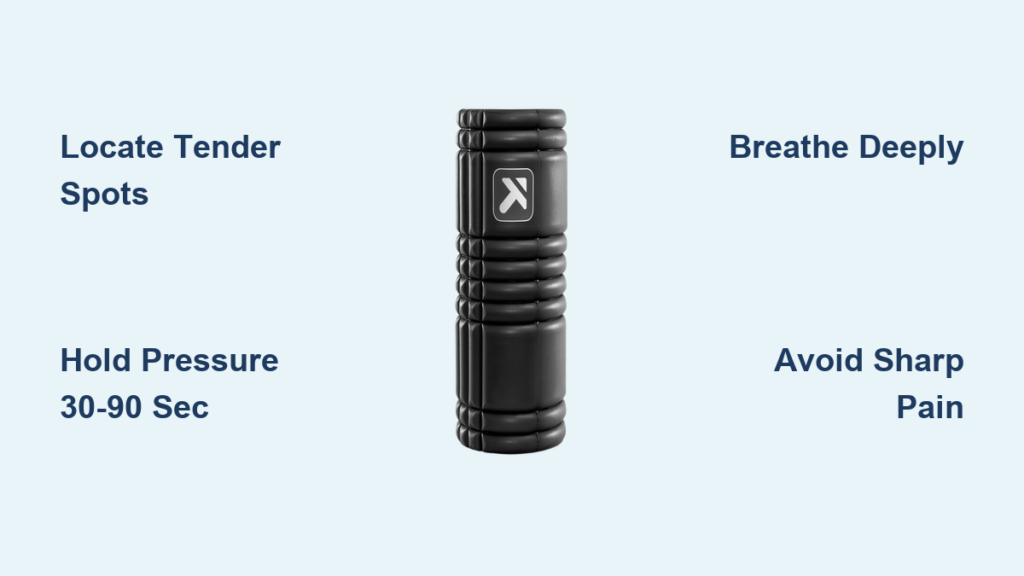
- Locate the tender spot by slowly rolling through the muscle belly
- Pause directly on the trigger point rather than continuing to roll
- Hold sustained pressure for 30-90 seconds until discomfort reduces by 50-75%
- Breathe deeply through your nose and exhale slowly through your mouth
- Move to adjacent areas and repeat
The Pin and Stretch Method for Stubborn Knots
For particularly resistant trigger points, combine pressure with movement:
- Position the roller directly on the tender spot
- Apply body weight to create pressure
- While maintaining pressure, slowly flex and extend the muscle
- Repeat this contraction-relaxation cycle 3-5 times
- You’ll notice increased release with each repetition
This technique works exceptionally well for hip flexors and shoulder muscles that tend to hold chronic tension.
Targeted Techniques for Common Problem Areas
Release Your Upper Back Knots in 60 Seconds
Place the roller horizontally across your upper back between your shoulder blades. Interlace fingers behind your head, lift hips, and roll slowly from base of neck to mid-back. Critical mistake to avoid: Never roll directly on your spine—keep the roller positioned between your shoulder blades. When you find a tender spot between your shoulder blades, pause for 45 seconds while taking deep breaths. For increased pressure, drop your elbows forward slightly toward the floor.
Calm Your IT Band Without Bruising

Lie on your side with the roller positioned under your outer thigh. Support your weight with your forearm and the opposite leg. Roll slowly from hip to knee, stopping immediately if you experience sharp pain—dull, achy pressure is normal, but sharp sensations indicate nerve involvement. When you find a tender spot, pause and hold for 60 seconds while breathing deeply. To reduce intensity, bend your bottom knee or use less body weight.
Fix Tight Glutes That Cause Lower Back Pain

Sit on the roller and cross one ankle over your opposite knee (figure-four position). Lean toward the working side to shift pressure onto the glute muscles. Roll slowly from hip bone toward tailbone, pausing on tender spots for 60-90 seconds. For piriformis-specific release, rotate your leg outward and lean more aggressively into the affected side. Warning: This position can feel intense quickly—start with lighter pressure and gradually increase as tension releases.
Optimal Trigger Point Rolling Schedule
Your results depend on consistent, strategic application—not marathon sessions that leave you bruised:
- Per muscle group: 30-60 seconds of rolling with 45-90 second holds on trigger points
- Total session time: 10-15 minutes maximum for targeted trigger point work
- Frequency: 4-7 times weekly for chronic issues, 2-3 times for maintenance
Beginners should start with 30-second holds and 10-minute sessions, gradually increasing duration as tissues adapt. Never spend more than 2 minutes on any single trigger point—excessive pressure causes inflammation that counteracts your progress.
Breathing Techniques That Maximize Release
Most people unknowingly sabotage their trigger point work by holding their breath. Instead:
- Inhale deeply through your nose for 4 seconds as you position on the tender spot
- Exhale slowly through your mouth for 6 seconds while applying pressure
- Continue this rhythmic breathing throughout the hold
- Visualize the muscle softening beneath the roller with each exhale
This diaphragmatic breathing activates your parasympathetic nervous system, helping muscles relax under pressure rather than tensing defensively. If you catch yourself holding your breath, reduce pressure until you can maintain relaxed breathing.
Critical Mistakes That Prevent Results
Even with the right roller, these common errors undermine your trigger point work:
- Rolling too quickly: You’ll miss trigger points entirely—move at 1 inch per second
- Applying too much pressure too soon: Causes bruising and muscle guarding
- Ignoring referred pain patterns: Treating only the symptom location
- Skipping warm-up: Cold muscles respond poorly to pressure
- Rolling directly on joints or bones: Creates unnecessary pain without benefit
Pro tip: If you’re consistently sore for more than 24 hours after rolling, you’re using too much pressure. Effective trigger point work should create temporary discomfort during the session but leave you feeling looser afterward, not more sore.
When to Stop and Seek Professional Help
While trigger point foam rolling is safe for most people, discontinue immediately and consult a professional if you experience:
- Sharp, shooting, or electrical pain (indicates nerve involvement)
- Numbness or tingling that persists after rolling
- Increased pain lasting more than 48 hours
- Bruising that doesn’t fade within 3-5 days
- Loss of function or mobility in the affected area
Individuals with blood clotting disorders, severe osteoporosis, or who are pregnant should consult a healthcare provider before beginning trigger point work.
Integrating Trigger Point Rolling Into Your Routine
For maximum benefit, time your trigger point work strategically:
- Pre-workout: 5 minutes of gentle rolling on tight areas only (no deep holds)
- Post-workout: 10-15 minutes targeting worked muscle groups
- Rest days: 15 minutes of comprehensive trigger point maintenance
Game-changing combination: Roll before stretching—this increases tissue pliability, allowing for greater range of motion gains. After rolling, apply a warm towel to the worked area to enhance blood flow and prolong the release effect.
Mastering how to use trigger point foam roller techniques transforms your recovery from a chore into a targeted solution for persistent muscle tension. Start with 10-minute sessions focusing on your most problematic areas, using moderate pressure and deep breathing. Within two weeks of consistent practice, you’ll notice decreased pain, improved mobility, and faster recovery from workouts. Remember: precision beats intensity every time—finding and releasing specific trigger points delivers dramatically better results than aggressive, generalized rolling. Your muscles will thank you for taking the time to learn these targeted techniques that address the root cause of tension rather than just masking symptoms.


