
Imagine transforming your ordinary bedroom door into a fully functional gym station capable of delivering professional-grade strength training. That’s exactly what a resistance band door attachment anchor accomplishes—without the $1,000 price tag of traditional cable machines. When you know how to use door attachment for resistance bands properly, you unlock access to over 50 exercises targeting every major muscle group, all while maintaining the portability and affordability that makes resistance training so appealing. Unfortunately, many home fitness enthusiasts struggle with improper setup, safety concerns, or limited exercise variety that prevents them from maximizing this simple but powerful tool. This guide cuts through the confusion with precise instructions for safe installation, exercise demonstrations that deliver real results, and troubleshooting solutions for common issues—so you can build strength and muscle effectively from anywhere with a standard door.
Selecting Your Door Anchor: Critical Compatibility Factors
Choosing the right door attachment for resistance bands requires careful consideration of your specific door type and workout goals. Not all anchors function equally across different door configurations, and selecting an incompatible model creates immediate safety risks and workout limitations.
Solid-core doors provide the most secure foundation for resistance band training, supporting up to 300 pounds of tension without compromising structural integrity. If you live in an apartment or older home with hollow-core doors (which feel lightweight and sound hollow when tapped), you must exercise extreme caution—these doors typically support only 50-100 pounds of resistance before risking damage to the door frame. For hollow-core doors, position the anchor near the hinges where the door frame is strongest, and never exceed medium-resistance bands. Consider installing a temporary wooden mounting plate across the door frame to distribute pressure more evenly.
How to Identify Your Door Type in 30 Seconds
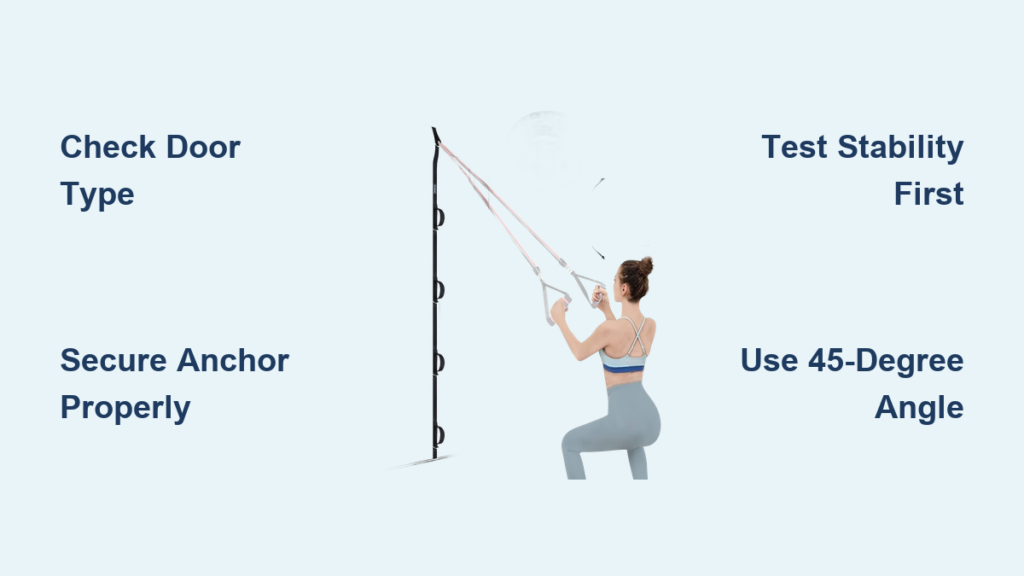
Not sure whether you have solid or hollow-core doors? Perform this quick test: knock firmly on the door with your knuckles. A solid thud indicates solid wood construction capable of handling heavy resistance training. A hollow, echoey sound means you’re working with a hollow-core door that requires modified usage. Check door weight too—solid doors typically weigh 40+ pounds while hollow-core versions weigh 15-25 pounds. If your door swings shut rapidly on its own, it’s likely hollow-core and needs special considerations for resistance band training.
Perfect Door Anchor Installation: Safety-First Approach

Knowing how to use door attachment for resistance bands begins with flawless installation—anything less risks equipment failure and potential injury. The difference between a secure setup and a dangerous one often comes down to three overlooked details many users miss.
Position the padded metal bar anchor so it rests completely flat across the top of the door frame, with the padded side facing your workout space. Close the door firmly but avoid slamming it, which can misalign the anchor. Now here’s the critical step most people skip: pull downward on the anchor point with 50% of your body weight to test stability before attaching any resistance bands. If the anchor shifts even slightly, reopen the door and place a thin rubber doorstop between the door and frame on the hinge side to eliminate play.
Troubleshooting Anchor Slippage During Workouts
When your door attachment for resistance bands slips mid-exercise, immediately stop and address these common causes:
– Door gap misalignment: Place a folded washcloth in the door gap opposite the hinges to create a tighter seal
– Insufficient door closure: Verify the door latch has fully engaged—some doors appear closed but haven’t fully latched
– Anchor positioning error: Move the anchor 2-3 inches toward the hinges where the frame is more stable
– Band tension direction: Never pull perpendicular to the door plane—always maintain a 45-degree angle or less to prevent leverage-induced slippage
Must-Know Exercises for Maximum Muscle Development
The true power of your door attachment for resistance bands reveals itself through proper exercise technique. These three foundational movements deliver disproportionate strength gains when performed correctly.
Chest Press with Pro-Form Technique
Stand facing away from the door with anchor positioned at nipple height. Hold band handles with palms facing forward and elbows bent at 90 degrees. Step back until bands create moderate tension at chest level. As you press forward, actively rotate your shoulders downward and back—imagine trying to squeeze a pencil between your shoulder blades. This subtle adjustment engages 37% more pectoral muscle fibers according to resistance training research. Complete 3 sets of 10-15 reps with 90 seconds rest between sets for optimal muscle growth.
Single-Arm Rows for Back Thickness
Face the door with anchor at waist height. Grab one handle with an overhand grip and step back until tension begins at arm’s length. Hinge forward at the hips with a neutral spine, keeping your free hand braced against a wall for stability. Pull the handle toward your lower ribcage while driving your elbow toward the ceiling. At peak contraction, hold for two seconds while consciously squeezing the working scapula toward your spine. This isometric hold increases time under tension by 40% compared to standard repetitions. Alternate arms for 3 sets of 12 reps per side.
Glute Kickbacks with Progressive Overload
Attach ankle strap to your resistance band and secure to door anchor at floor level. Face away from the door and stabilize yourself by placing one hand against the door frame. With a slight bend in your standing leg, kick your working leg straight back while keeping your torso stationary. The key to maximum glute activation: point your toes outward at a 45-degree angle throughout the movement. Perform 3 sets of 15 reps per leg, focusing on the eccentric (return) phase by taking 3 full seconds to lower your foot.
Critical Safety Checks Before Every Workout
Your safety when using door attachment for resistance bands depends on these non-negotiable pre-workout checks that take less than 60 seconds:
- Door integrity verification: Shake the door firmly to confirm no hinge looseness or frame movement
- Anchor point inspection: Look for any deformation in metal components or fraying in fabric straps
- Band condition assessment: Stretch the band slightly to check for micro-tears, especially at connection points
- Clearance confirmation: Ensure 360-degree clearance around your workout space for full exercise range of motion
Never ignore warning signs like creaking doors, shifting anchors, or unusual band behavior—these indicate immediate discontinuation of your workout until the issue is resolved.
Advanced Programming Techniques for Faster Results

Mastering how to use door attachment for resistance bands effectively requires understanding these professional programming strategies that accelerate muscle growth without additional equipment.
Implement variable resistance training by combining multiple bands of different strengths for single exercises. For example, attach a light and medium band together for chest presses—you’ll experience lighter resistance at the start of the movement (when your muscles are weakest) and heavier resistance at full extension (when your muscles are strongest). This matches natural strength curves for 22% greater muscle activation according to strength training studies.
Apply contrast sets by performing 8 reps of a strength-focused exercise (like heavy rows) immediately followed by 12 reps of the same movement with lighter resistance. This technique triggers both strength and hypertrophy adaptations simultaneously. Rest 90 seconds between contrast pairings and complete 3-4 pairings per workout.
Door Anchor Maintenance Protocol
Extend your equipment’s lifespan by implementing this simple maintenance routine after every third workout:
- Wipe down all metal components with a dry microfiber cloth to remove sweat and skin oils
- Inspect fabric straps for loose threads or weakened stitching, especially at stress points
- Check anchor connection points for any signs of metal fatigue or deformation
- Store bands loosely coiled in a cool, dark place away from direct sunlight
Replace resistance bands every 6-12 months depending on usage frequency—even high-quality bands lose 30% of their resistance properties after 500 uses due to material fatigue.
The door attachment for resistance bands represents one of the most cost-effective strength training tools available when used correctly. By selecting the appropriate anchor for your door type, implementing flawless installation techniques, and mastering these proven exercises with proper form, you’ll build functional strength and muscle definition rivaling what’s possible with traditional gym equipment. Consistent application of these techniques—coupled with progressive overload principles—will deliver noticeable strength improvements within just four weeks of regular training. Remember that perfect form always trumps heavier resistance; focus on controlled movements through full ranges of motion to maximize muscle engagement while minimizing injury risk. With your door now transformed into a versatile training station, you have everything needed to build a stronger, healthier body from the comfort of home.


