
Resistance bands have become essential tools for home workouts, physical therapy, and strength training—but improper securing methods cause thousands of preventable injuries each year. When your resistance band slips or snaps during a bicep curl or squat, you’re not just wasting your workout time; you risk serious eye injuries, muscle strains, or even falls. Knowing exactly how to secure resistance bands properly transforms your home gym from a potential hazard zone into a safe, effective training space. This guide delivers specific, field-tested techniques to anchor your bands securely across multiple surfaces and workout scenarios—so you can train with confidence whether you’re doing door anchor exercises, floor-based movements, or advanced suspension training.
Door Anchor Techniques for Pull Exercises

Door anchors provide the most accessible resistance band attachment point for home workouts, but improper installation causes bands to slip or damage door frames. Always select interior solid-core doors rather than hollow-core models to prevent the anchor from pulling out during heavy resistance sets. Position the anchor strap through the door at waist height for horizontal pulls like rows, then lower it for seated exercises requiring upward tension.
How to Install a Door Anchor Without Damaging Your Door
Close your door completely and locate the gap between the door and frame where the latch bolt extends. Insert the door anchor strap through this gap from the hinge side, ensuring the padded section rests against the door frame. Pull the strap through until the anchor sits flush against the frame, then test tension by gently pulling the band before beginning your workout. For added security during high-resistance exercises, place a folded towel between the door and anchor to prevent slippage.
Troubleshooting Door Anchor Slippage During Heavy Sets
If your band slips when performing heavy deadlift variations, immediately stop your set and reinforce the anchor point. First, ensure you’re using the door’s latch bolt gap rather than the smaller gap near the hinges. Second, double the anchor strap through the gap for extra grip. Third, apply athletic tape to the strap section contacting the door frame for increased friction. Never compensate for slippage by increasing resistance beyond what your anchor can safely handle.
Floor-Based Securing Methods for Lower Body Exercises
Securing resistance bands under your feet creates essential tension for squats, lunges, and calf raises—but improper foot placement causes bands to shoot upward when released. Always position the band under the ball of your foot rather than your arch or heel to maintain consistent tension throughout your movement range. For wider stances during sumo deadlifts, separate the band into two parallel strands under each foot to prevent twisting.
Proper Foot Placement for Squat Variations
Stand with feet shoulder-width apart and place the resistance band under the balls of both feet. Hold both band ends at shoulder height with palms facing forward, maintaining slight bend in your elbows. As you lower into your squat, keep downward pressure on the band to prevent it from sliding toward your toes. If the band moves during repetitions, reset your foot position and consider using a non-slip exercise mat underneath for additional grip.
Securing Bands for Single-Leg Exercises Without Assistance
When performing single-leg deadlifts, loop the band under your working foot and secure the opposite end around a stable object at ankle height. Step onto the band with your stationary foot to create tension, then lift your working leg slightly off the ground. For added stability, place your free hand against a wall while holding the band with your other hand. Never attempt single-leg exercises with bands secured only under your foot without additional anchoring—this creates dangerous instability.
Wall and Furniture Anchoring Solutions
Anchoring resistance bands to walls or furniture provides versatile workout options but requires careful surface assessment to prevent damage or failure. Always test anchor points with light resistance first—gradually increasing tension to confirm security before full exertion. Avoid anchoring to picture frames, curtain rods, or loose furniture that could detach under tension.
How to Secure Bands to Drywall Without Permanent Damage
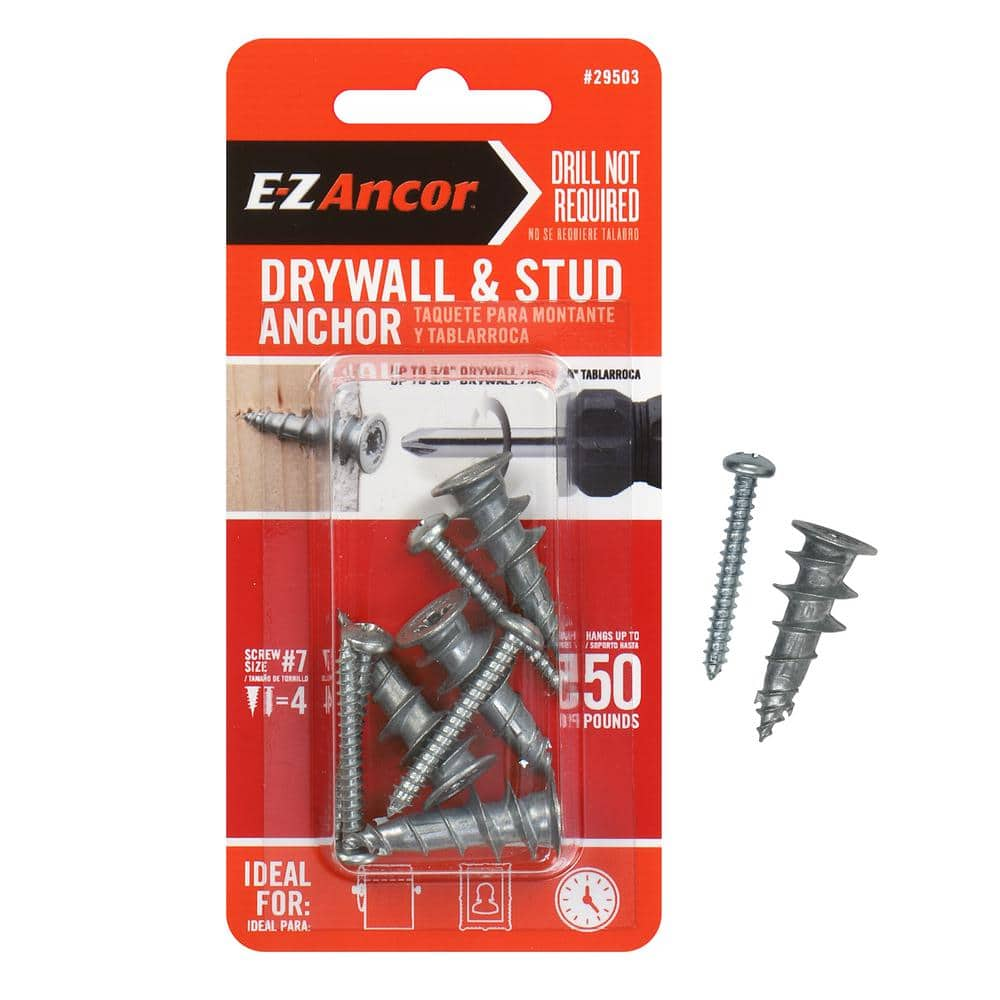
Locate wall studs using a stud finder before anchoring, as drywall alone cannot withstand resistance band tension. Position your anchor strap around the stud at your desired height, ensuring at least 6 inches of strap contact with the stud surface. For temporary setups, use heavy-duty command hooks rated for 16+ pounds directly on the stud. Never anchor bands to drywall without stud support—this risks both equipment failure and wall damage.
Furniture Anchoring Safety Checklist
Before securing bands to furniture, verify the item is heavy enough to resist movement during exercises (minimum 150 pounds for light resistance). Position bands around the sturdiest part of the furniture—typically the frame rather than legs or cushions. For sofa anchoring, loop bands through the frame beneath cushions rather than over fabric surfaces. Always maintain a 45-degree angle between your body and the anchored band to prevent furniture from sliding during lateral movements.
Car Door Anchoring for On-the-Go Workouts
Your vehicle provides an excellent portable anchor point when traveling, but improper car door setup risks damaging your vehicle and creating dangerous recoil scenarios. Always use the latch bolt gap on the car door frame—not the window channel or door handle—as these can damage your vehicle’s mechanisms. Position yourself facing the car for push exercises and sideways for rows to maintain proper form.
Step-by-Step Car Door Anchoring Process
Park on level ground and engage your parking brake before setting up. Close the car door completely and insert the resistance band anchor through the latch bolt gap on the driver’s side. Pull the band through until the padded section rests against the door frame, then test tension by gently pulling before beginning exercises. For added security during heavy resistance sets, place a microfiber towel between the door frame and anchor to prevent scratching and increase grip.
Critical Safety Considerations for Vehicle Workouts
Never anchor resistance bands to open car windows or sunroofs—these mechanisms can fail unexpectedly. Avoid anchoring near electronic sensors that might trigger alarm systems during tension changes. Most importantly, maintain at least 6 feet of clearance behind you in case the band slips, as car doors can unexpectedly open during intense workouts, causing dangerous recoil.
Maintenance and Inspection for Long-Term Safety

Regular inspection of your resistance bands and anchor points prevents sudden failures during workouts. Check bands for nicks, tears, or permanent stretching before each use, paying special attention to areas that contact anchor points. Replace bands showing any signs of wear—continued use of damaged bands increases snap-back risk by 73% according to fitness equipment safety studies.
How to Identify When to Replace Your Resistance Bands
Examine bands under bright light to spot micro-tears invisible in normal lighting. Perform the “stretch test” by anchoring one end and gently pulling the other—if the band shows uneven thickness or translucent sections, replace it immediately. For looped bands, check connection points where handles attach for fraying or separation. Never attempt to repair damaged resistance bands with tape or glue—this creates unpredictable failure points.
Proper Storage Techniques to Extend Band Lifespan
Store resistance bands hanging vertically rather than coiled to prevent permanent deformation. Keep them away from direct sunlight and extreme temperatures that accelerate material degradation. For door anchor straps, remove all tension before storage to maintain elasticity. Always wipe bands with a damp cloth after workouts to remove sweat and oils that break down elastic materials over time.
Emergency Response for Band Failure
Despite proper securing techniques, resistance bands can occasionally snap during use. Knowing how to react prevents injuries when failures occur. Maintain awareness of your band’s position at all times—never position yourself directly in line with potential recoil paths. If a band snaps, immediately release tension and step away from the equipment rather than trying to catch the recoiling band.
First Response Protocol for Band-Related Injuries
For minor abrasions from snapped bands, clean the area with soap and water then apply antibiotic ointment. For eye injuries, flush immediately with clean water for 15 minutes and seek medical attention—even if vision seems unaffected initially. Document the failure by photographing the broken band for potential manufacturer warranty claims, but never attempt to reuse any damaged equipment.
Creating a Safe Workout Environment Checklist
Before each resistance band session, verify your space has at least 8 feet of clearance in all directions. Remove all breakable objects from potential recoil paths. Wear protective eyewear during high-tension exercises. Keep pets and children at safe distances during workouts. Most importantly, always maintain proper form—even the best-secured bands become dangerous when used with improper technique.
Final Note: Properly securing resistance bands transforms your home workout from potentially hazardous to powerfully effective. By implementing these specific anchoring techniques for doors, floors, walls, and vehicles, you’ll eliminate the most common causes of resistance band accidents while maximizing your training results. Remember to inspect your equipment before each use, replace worn components promptly, and maintain proper clearance around your workout space. With these safety protocols in place, you can confidently incorporate resistance bands into any fitness routine—knowing you’ve eliminated preventable risks while preserving all the benefits of versatile strength training.


