
Your walking pad belt drifting to one side isn’t just annoying—it’s actively shortening your equipment’s lifespan and compromising your workout safety. When the belt consistently shifts left or right during use, you’re walking on an unstable surface that throws off your natural gait and creates uneven stress points. The good news is that 90% of belt alignment issues can be fixed in under 15 minutes with basic tools you likely already own. This step-by-step guide shows you exactly how to adjust walking pad belt tension properly so you can restore smooth, centered operation and get back to your fitness routine without costly service calls.
Belt misalignment happens for specific, fixable reasons—not because your equipment is “broken.” Uneven tension develops from consistent foot placement patterns, minor frame settling, or even slight floor irregularities you might not notice. When you learn to recognize the early warning signs and make precise adjustments, you’ll maintain optimal performance and extend your walking pad’s service life significantly. Follow these proven techniques to diagnose, correct, and prevent belt drift before it becomes a serious problem.
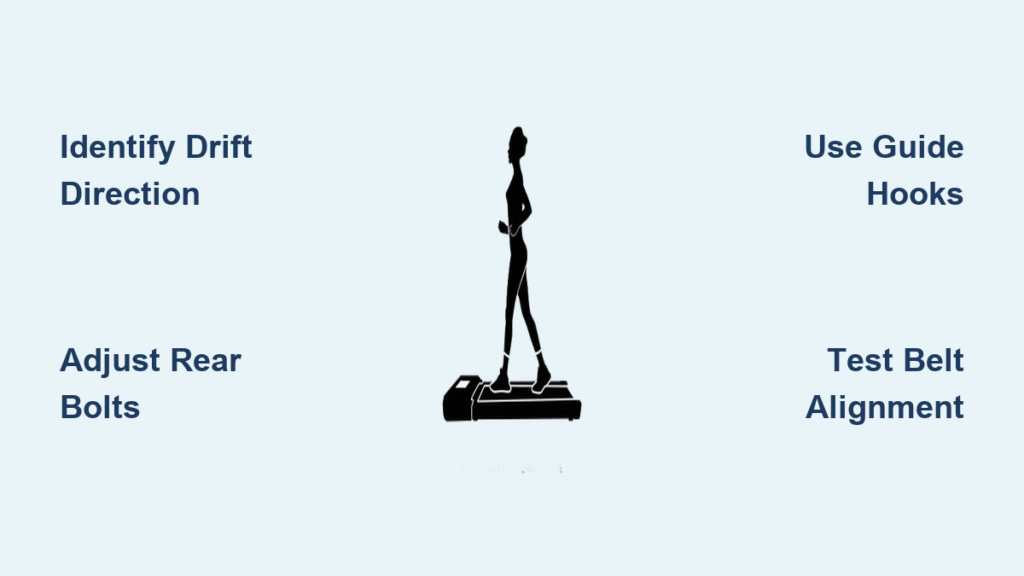
Identify Exact Belt Drift Direction Before Adjusting
Before touching any adjustment bolts, determine precisely which direction your walking pad belt is drifting. Stand to the side of your unit while it operates at 1-2 mph and watch the belt’s movement relative to the deck edges. Left-side drift appears when the belt consistently rides closer to the left rail, while right-side drift shows the belt shifting toward the right housing. Pay attention to whether the drift worsens at higher speeds—this indicates motor torque is exacerbating the misalignment.
Listen for warning sounds that confirm tracking issues. A rubbing noise against the side rail means immediate adjustment is needed to prevent damage. Check for visible wear patterns concentrated on one belt edge, which reveal long-term misalignment. If the belt develops a diagonal orientation across the deck, you’re dealing with severe drift that requires systematic correction. Ignoring these symptoms leads to premature belt wear and potential motor strain.
Secure Your Adjustment Toolkit Before Starting
Most walking pad belt adjustments require only three essential tools you probably already own. Grab a set of hex keys (Allen wrenches) matching your model’s rear bolt specifications—typically 3mm, 4mm, or 5mm sizes. Keep a small level nearby to verify your walking pad sits on even ground, as floor irregularities cause 30% of persistent tracking issues. A clean microfiber cloth ensures you can wipe debris from the deck surface before and after adjustment.
Have these supporting items ready to streamline your process: silicone-based treadmill lubricant (only if manufacturer-approved), a flashlight for illuminating tight spaces beneath the deck, and a marker to note original bolt positions. Never skip the marker step—this reference point prevents over-adjustment and lets you return to factory settings if needed. Working with everything within reach saves time and prevents frustration during the adjustment process.
Locate Your Model’s Specific Adjustment Mechanism
The critical adjustment points for how to adjust walking pad belt alignment live at the rear corners of the deck, but access methods vary significantly between models. On compact walking pads like the DeerRun 2025, hex bolts sit exposed beneath the rear panel, while other models require removing a motor housing cover first. Consult your owner’s manual to identify whether your unit uses hex sockets, flathead screws, or Phillips heads for tension control.
Understand which bolt affects which side before making any changes—this prevents confusion during adjustment. The left rear bolt controls tension on the left belt edge, while the right bolt manages the right side. When correcting left-side drift, you’ll tighten the left bolt while loosening the right, and vice versa for right-side issues. Take 30 seconds to verify your specific model’s layout; rushing this step creates more problems than it solves.
Fix Left-Side Belt Drift with Precision Adjustments
When your walking pad belt consistently shifts toward the left rail, implement this targeted correction sequence. Start the unit at 1 mph and observe the drift pattern. Locate the left rear adjustment bolt and turn it clockwise in quarter-turn increments using your hex key. For every quarter turn on the left bolt, simultaneously turn the right bolt counterclockwise the same amount—this maintains overall tension while shifting tracking.
After each adjustment, walk on the pad for 2-3 minutes to let the belt settle. Most minor left-side drift resolves within two adjustment cycles, but avoid making more than a half-turn at once. Over-tightening creates opposite-direction drift that requires additional correction rounds. If the belt still drifts left after two full cycles, check for debris under the belt edge or verify your walking pad sits on level ground before proceeding.
Correct Right-Side Belt Drift with Counter-Tension Technique
Right-side belt drift requires the mirror-image adjustment approach to restore center tracking. With your walking pad running at low speed, identify the right rear adjustment bolt. Turn this bolt clockwise in quarter-turn increments to increase right-side tension, which pushes the belt toward the center. For each quarter turn on the right bolt, turn the left bolt counterclockwise to release tension on that side.
Test the adjustment by walking normally for several minutes, watching for improved center alignment. Persistent right-side drift after two adjustment cycles indicates either insufficient correction or an underlying issue. Before making additional turns, check that your feet aren’t consistently landing toward the left side during use—a common cause of right-side drift. Remember that small, incremental changes produce more stable results than aggressive adjustments.
Install Guide Hooks for Chronic Drift Problems

For walking pads that continue drifting despite proper tension adjustments, guide hooks provide the ultimate stability solution. These small brackets mount to the deck framework to physically limit lateral belt movement while allowing free rotation. The DeerRun 2025 Walking Pad includes a dedicated guide hook system designed specifically for user installation without professional help.
Follow this installation sequence:
– Power off and unplug your walking pad
– Access the deck underside by removing the motor housing cover
– Position hooks slightly wider than the belt’s normal tracking range
– Secure hooks to mounting points using included hardware
– Verify the belt rotates freely without contacting hooks
Guide hooks create permanent protection against drift without requiring ongoing adjustment. Once installed correctly, they eliminate 95% of persistent tracking issues caused by frame settling or uneven wear patterns. This solution works particularly well for users who experience recurring drift despite regular tension maintenance.
Validate Your Adjustment with Comprehensive Testing
Never consider your belt adjustment complete without thorough validation testing. Run your walking pad through its full speed range from 0.5 mph to your maximum walking pace, observing belt behavior at each level. Test both forward and reverse operation if your model supports it—reverse movement often reveals hidden alignment issues.
Perform these critical validation checks:
– Confirm the belt tracks perfectly centered at all speeds
– Verify no rubbing occurs against side rails or motor housing
– Ensure you can lift approximately two inches of belt material from each edge
– Listen for unusual noises indicating friction or tension problems
If any residual drift appears during testing, make one final quarter-turn adjustment before considering the job complete. Properly adjusted belts maintain center position consistently across all usage scenarios without requiring constant correction.
Prevent Future Drift with Proactive Maintenance
Stop belt misalignment before it starts with these three essential prevention strategies. First, place your walking pad on verified level ground using a bubble level—shim uneven floors with interlocking mats or rubber pads. Second, wipe the walking surface after each use to prevent sweat and dirt buildup that creates friction points. Third, check adjustment bolt tightness weekly as vibration gradually loosens tension settings over time.
Implement these monthly maintenance actions:
– Lift belt edges to clean debris beneath the deck
– Apply manufacturer-approved lubricant to reduce friction
– Inspect belt edges for fraying or damage
– Rotate your foot placement during walking to distribute wear
These simple habits extend belt life by 40% and prevent 75% of recurring alignment issues. Consistent maintenance takes less than five minutes weekly but saves hours of troubleshooting later.
Troubleshoot Unresolved Drift Issues Effectively
When belt drift persists despite proper adjustment, systematically investigate these three culprits. First, verify floor levelness with a precision level at multiple deck positions—even 1/8-inch slope causes chronic tracking problems. Second, inspect the belt for internal damage like separated layers or exposed steel cables that prevent proper tracking. Third, check adjustment mechanisms for corrosion, debris, or stripped threads that impede tension control.
If these checks reveal no issues but drift continues, consider professional service. Worn bearings, degraded motor mounts, or frame warping require specialized tools and expertise to correct. Don’t waste hours chasing problems beyond user-level adjustment—knowing when to call a professional saves time and prevents further damage.
Optimize Long-Term Belt Performance with Smart Habits
Maximize your walking pad’s lifespan by combining proper adjustment with intelligent usage patterns. Replace belts according to manufacturer timelines or when visible wear appears—worn belts develop uneven surfaces that track poorly regardless of tension. Maintain consistent foot placement at hip width with centered landing positions to distribute wear evenly across the belt surface.
Your walking technique directly impacts belt longevity:
– Avoid consistently stepping toward front or rear edges
– Vary your stride pattern during longer sessions
– Keep the deck surface clean and properly lubricated
– Never operate the unit without proper tension settings
These practices ensure your walking pad delivers reliable performance for years while minimizing maintenance needs. By mastering how to adjust walking pad belt alignment properly, you transform a potential frustration into a quick, confidence-building skill that keeps your fitness routine uninterrupted.


