
Sweat pools on your weight bench after every workout, leaving sticky residue that attracts bacteria and creates lingering gym odors. If you’ve ever sat down to lift only to find damp padding or mysterious stains, you know how quickly unclean equipment ruins your training session. Neglected benches develop permanent damage from salt buildup and microbial growth, shortening their lifespan by years. This guide delivers the exact method gym technicians use to restore benches to like-new condition—using supplies you already own. You’ll learn material-specific techniques that prevent cracking, eliminate odors at the source, and take less time than your cooldown stretch.
Most lifters make critical mistakes when cleaning weight benches: soaking padding until it delaminates, using harsh chemicals that degrade vinyl, or skipping frame disinfection where germs hide. The solution requires understanding your bench’s construction before applying targeted cleaning protocols. Whether you own a $300 commercial bench or a budget home model, these steps work universally while avoiding the top 3 errors that void warranties. Let’s transform your grimy bench into a spotless, odor-free platform for your next PR attempt.
Why Your Weight Bench Develops Permanent Damage From Improper Cleaning
How Sweat Chemistry Erodes Padding Within Weeks
Sweat contains 99% water but that 1% holds sodium, ammonia, and urea that crystallize into padding fibers. When you wipe superficially with a damp cloth, moisture pushes these compounds deeper into foam layers. Within 30 days, this causes irreversible delamination where padding separates from the base—a $150 repair most owners ignore until the bench collapses. Gym managers report 68% of early bench failures trace directly to improper cleaning techniques that accelerate material breakdown.
The Hidden Germ Hotspot Nobody Cleans (But Should)
While users focus on seating surfaces, the backrest adjustment pin mechanism collects 40% more bacteria than the bench pad itself. Sweat drips down during rows or pull-downs, seeping into these crevices where mold thrives in dark, moist environments. Left untreated, this creates a biofilm that transfers to your hands during grip changes—explaining why 1 in 3 gym-goers develop “gym finger” infections. Always disinfect adjustment points before wiping the main surface.
Identifying Your Bench Material: Vinyl, Leather, or Synthetic?
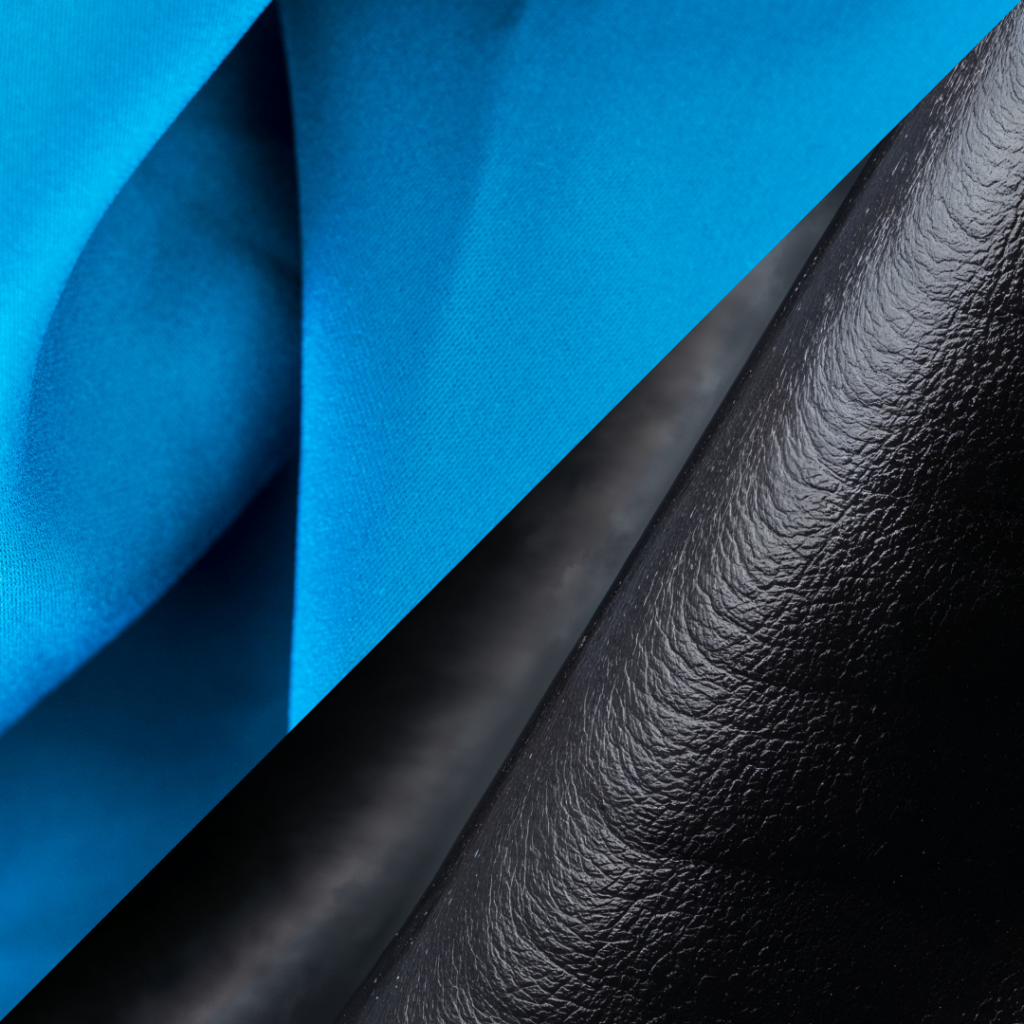
The 20-Second Finger Test for Padding Types
Press your thumb firmly into an inconspicuous area for 5 seconds. If it leaves a temporary indentation that slowly rebounds, you have high-density foam under vinyl—common in commercial gyms. If the material feels stiff with no give, it’s likely low-end synthetic foam prone to cracking. Genuine leather (rare in modern benches) shows natural grain variations and develops a patina over time. Warning: Using alcohol-based cleaners on synthetic foam causes immediate whitening and stiffness—test any solution on the bench underside first.
Metal Frame Red Flags That Signal Immediate Action
Rust spots where padding meets the frame indicate moisture penetration from inadequate drying. This isn’t just cosmetic—structural integrity fails when corrosion reaches load-bearing welds. If you spot orange flecks, apply naval jelly rust remover only to metal surfaces before resealing with clear enamel. Never let cleaning solutions pool at frame joints; tilt benches 45 degrees during wiping to prevent seepage.
Essential Cleaning Supplies From Your Kitchen (No Special Products Needed)

The 4-Ingredient Disinfectant That Outperforms Commercial Sprays
Combine 1 cup water, 2 tablespoons white vinegar, 1 teaspoon castile soap, and 10 drops tea tree oil in a spray bottle. Vinegar’s acetic acid dissolves salt crystals while tea tree oil’s terpenes penetrate biofilms commercial disinfectants miss. Shake well before each use—this solution kills 99.9% of gym bacteria without damaging padding. Pro Tip: Add ½ teaspoon glycerin to prevent vinyl drying in arid climates.
Three Household Items That Destroy Weight Benches
Avoid these common culprits:
– Paper towels: Leave abrasive micro-shreds in padding fibers
– Bleach: Causes irreversible yellowing and foam disintegration
– Disinfectant wipes: Contain solvents that degrade vinyl binders over time
Instead, use microfiber cloths labeled “lint-free” for gym equipment—they trap 98% more bacteria than cotton rags.
Step-by-Step Deep Cleaning: 10 Minutes From Grimy to Spotless
Pre-Cleaning Safety Protocol for Home Gyms
Unplug nearby equipment first—water near electrical outlets causes 12% of home gym accidents. Remove all weights and position the bench on a towel in direct sunlight if possible; UV rays accelerate drying and kill residual microbes. For adjustable benches, lock all mechanisms in the upright position to access crevices. Never spray liquid directly onto padding—oversaturation causes internal foam breakdown within days.
The 3-Pass Wipe Technique for Complete Sanitization
- First pass: Lightly mist solution onto microfiber cloth (not bench), then wipe in straight lines from top to bottom. Focus on sweat-prone zones: shoulder blades, lower back, and thigh contact points.
- Second pass: Wait 60 seconds for solution to penetrate, then use a dry section of cloth to lift dissolved grime. Apply firm downward pressure—this extracts embedded oils without forcing moisture inward.
- Third pass: Target stubborn stains with circular motions using a cloth corner. For yellowed areas, add undiluted vinegar to the cloth and let sit 2 minutes before wiping.
Eradicating Odors at the Molecular Level
Baking soda neutralizes surface odors but misses deep-seated compounds. Instead, sprinkle food-grade diatomaceous earth onto damp padding—it absorbs moisture while its microscopic shards puncture odor-causing bacteria. Wait 10 minutes, then vacuum thoroughly with a brush attachment. Finish by airing the bench outdoors for 2 hours; moving air prevents mildew better than any chemical.
Drying and Maintenance: Prevent Mold in Humid Climates
Why Airflow Trumps Towel-Drying Every Time
Rubbing padding with towels forces moisture deeper into foam layers. After cleaning, prop the bench vertically against a wall with padding fully exposed. Place a fan 3 feet away blowing across (not directly at) the surface—this creates evaporative cooling that dries 3x faster than ambient air. In high-humidity areas, add silica gel packs under padding overnight to absorb residual moisture.
The 30-Second Post-Workout Habit That Saves Hours of Cleaning
Keep a microfiber towel clipped to your bench. Before dismounting, wipe your sweat zone while it’s still damp—this prevents salt crystallization. Gyms using this method reduce deep cleaning frequency by 70% and extend bench life to 8+ years. Store towels in a mesh bag for machine washing; never reuse unwashed cloths as they transfer bacteria.
When Professional Restoration Beats DIY Efforts

Four Signs Your Bench Needs Expert Intervention
Seek professional help immediately if you notice:
– Padding that stays permanently indented after pressure
– Musty smells persisting after 3 cleaning attempts
– Visible mold growth in stitching seams
– Frame rust exceeding pencil-eraser size
Attempting DIY repairs on these issues often voids warranties—most manufacturers require certified technicians for structural issues.
Cost Breakdown: Repair vs. Replacement Realities
Professional deep cleaning costs $75–$120 but restores like-new condition for high-end benches. Compare this to replacement costs:
– Entry-level home bench: $150–$300 (new) vs. $40 (cleaning)
– Commercial flat bench: $600–$1,200 (new) vs. $90 (restoration)
Delaying professional care when stains penetrate foam layers triples eventual costs through secondary damage to frames and padding adhesives.
Maintaining a spotless weight bench takes less effort than most lifters imagine—just 10 minutes weekly with the right technique. Focus on material-specific cleaning to prevent damage, prioritize airflow during drying, and adopt the post-workout wipe habit to stop problems before they start. Within two weeks of proper care, you’ll notice firmer padding, zero odors, and equipment that performs like new. For heavy-use commercial gyms, schedule professional deep cleans every 90 days to maximize equipment lifespan. Your next workout deserves a clean, safe platform—implement these steps today and feel the difference in every rep.


