
Nothing ruins your yoga flow faster than unrolling a travel-worn mat with stubborn creases, lost grip, or unpleasant odors. Knowing how to pack a yoga mat properly ensures it stays in peak condition whether you’re heading to the studio, traveling across the globe, or simply storing it at home. The right packing technique protects your investment from memory creases, moisture damage, and premature wear while keeping it ready for your next practice. This guide reveals proven methods for packing any yoga mat—regardless of material or thickness—so you can unroll a clean, flat surface every time you step on your mat.
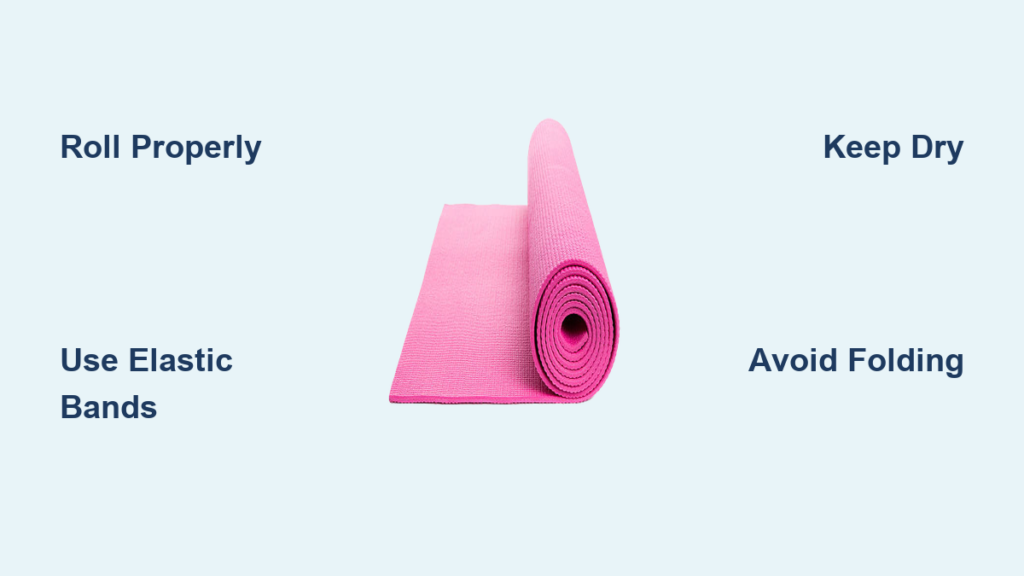
Choose the Right Rolling Method for Your Mat Type

Your mat’s material determines whether rolling or folding will preserve its performance. Rubber and cork mats require careful rolling to prevent permanent creases, while TPE and PVC can handle more aggressive packing.
Standard Cylinder Roll for Home Storage
Lay your mat flat with the top surface facing up—this is crucial for mats with distinct textured and smooth sides. Starting at the head end, roll tightly but gently toward your feet, applying even pressure across the width. A properly executed cylinder roll creates a compact bundle that fits neatly into most mat bags while protecting the practice surface inside. For thicker mats (over 6mm), pause periodically to adjust and maintain an even roll—forcing it too tight can create pressure points that lead to permanent creases.
Spiral Fold Technique for Travel Compression
When suitcase space is limited, the spiral fold creates a flatter profile than traditional rolling. Lay your mat flat, fold the bottom third up toward the center, then fold the top third down over it. This accordion-style method works best for flexible TPE or PVC mats under 5mm thick—avoid this technique for cork or natural rubber mats as they’ll retain permanent crease lines. After folding, secure the bundle with elastic bands at both ends to maintain the compact shape during travel.
Double-Roll Method for Airplane-Friendly Packing
For frequent flyers, the double-roll technique creates a shorter, thicker bundle that fits easily under airline seats. Roll your mat halfway from the head end, then flip the remaining section under and roll from the opposite direction. This creates two connected rolls that distribute pressure more evenly than a single cylinder. The result is a travel-friendly package that resists curling when unrolled and fits neatly into carry-on luggage without needing to fold the mat against its natural grain.
Secure Your Rolled Mat Without Causing Damage
How you fasten your rolled mat matters as much as how you roll it—improper securing causes surface marks, uneven tension, and material stress.
Elastic Bands That Won’t Leave Residue
Use 3-4 inch fabric-covered elastic bands designed specifically for yoga mats rather than office rubber bands, which harden and stain over time. Position bands about one-third from each end of your roll for optimal balance—too close to the ends causes flaring, while center placement creates an unstable roll. Test the tension by gently pressing the roll; you should feel firm resistance without visible compression of the mat’s foam core. For thicker mats, use two bands per end to distribute pressure evenly.
Adjustable Straps for Commuters on the Move
Straps with buckles or Velcro closures offer superior security for daily commuters. Measure your rolled mat’s circumference before purchasing straps to ensure proper fit—most standard mats require straps 2-3 inches wide. When securing, wrap the strap loosely around your mat first, then tighten gradually while checking for even tension across the roll. Look for straps with padded sections that prevent digging into softer mat materials during transport. Many quality straps include carabiner clips for attaching to larger bags during travel.
Pack Your Mat for Airplane Travel Without Hassle
Navigating airport security with a yoga mat requires strategic packing to avoid damage and streamline your journey.
Carry-On Packing That Fits Standard Dimensions
Most carry-on luggage accommodates rolled mats up to 68 inches when placed vertically along the side of the bag. If your mat protrudes, fold it in half before rolling (not recommended for cork or rubber mats) or use the double-roll technique. Place heavier items like shoes at the bottom of your bag with the mat positioned above them for cushioning. For security screening, arrange your bag so the mat sits near the top—this prevents having to unpack everything when removing shoes and electronics.
Moisture Protection That Prevents Mold Growth
Airport environments expose your mat to damp floors and rainy conditions. Before packing, slip your rolled mat into a large plastic bag or waterproof mat sleeve—this creates a moisture barrier without trapping humidity like sealed plastic would. For checked luggage, add an extra layer of protection by wrapping the mat in a quick-dry towel that absorbs any incidental moisture while allowing airflow. Never pack a damp mat directly into luggage; the confined space creates ideal conditions for mold that can ruin natural rubber and cork surfaces within hours.
Store Your Mat at Home to Prevent Permanent Creases
Home storage methods determine how quickly your mat develops memory creases and loses its flat profile.
Wall-Mounted Storage That Maintains Flatness
Vertical hanging on wall racks prevents the curling that occurs with horizontal storage. Install wooden dowels or specialized mat hangers at shoulder height where your rolled mat hangs freely without touching the floor. For multiple mats, space hangers 2-3 inches apart to prevent compression marks from contact. This method works for all mat types except extremely heavy cushioned mats over 8mm thick, which may stretch when hung long-term.
Under-Bed Storage That Controls Humidity
For space-constrained living areas, under-bed storage keeps mats accessible while protected. Use breathable fabric containers rather than plastic bins, which trap moisture and accelerate material breakdown. If storing for more than two weeks, unroll your mat for 24 hours every month to release compression stress. Natural rubber and cork mats require this airing out every two weeks to prevent permanent memory creases from developing in the rolled position.
Material-Specific Packing Rules Every Yogi Must Know

Packing techniques that work for PVC mats can ruin cork or rubber surfaces—know your material’s limitations.
Rubber Mat Packing Protocol
Natural rubber mats develop stubborn crease lines when folded or tightly rolled. Always roll these mats with the textured side out and use the largest diameter roll possible—never force them into tight bundles. Store rubber mats away from direct sunlight during packing, as UV exposure accelerates material breakdown when combined with compression stress. When traveling, wrap rubber mats in a cotton towel before placing in luggage to absorb moisture while allowing airflow.
Cork Mat Handling Guidelines
Cork’s rigid structure makes it prone to cracking when compressed. Roll cork mats loosely with a diameter of at least 6 inches, and never fold them. For travel, consider investing in a rigid mat tube that maintains the roll’s shape without applying pressure. Store cork mats vertically rather than horizontally to prevent edge compression that leads to permanent curling. Always ensure cork mats are completely dry before packing—moisture causes irreversible swelling in cork surfaces.
Critical Pre-Packing Cleaning Steps You’re Probably Skipping
Packing a sweaty mat traps bacteria in a dark, enclosed space where they multiply exponentially.
The 60-Second Post-Practice Wipe Down
Spray your mat with a 50/50 water-vinegar solution and wipe thoroughly with a microfiber cloth, focusing on hand and foot placement areas. Never pack a mat that still feels cool to the touch—press your palm firmly against the center and edges; if any area feels damp, allow additional drying time. This simple step prevents odor buildup and extends your mat’s lifespan by 30-50% according to manufacturer testing.
Deep Cleaning Before Long-Term Storage
For mats stored longer than two weeks, submerge in a bathtub with warm water and mild detergent. Gently massage the solution across the entire surface, paying extra attention to textured areas where bacteria hide. Rinse thoroughly until water runs clear, then hang vertically to dry completely—never roll or fold while damp. Thick mats may require 24 hours to dry fully; rushing this process invites mold growth that’s impossible to remove from porous materials.
Avoid These 5 Costly Packing Mistakes

Common errors that ruin yoga mats faster than regular use:
- Rolling with the smooth side out causes persistent edge curling that makes balancing poses difficult
- Using hair ties or thin rubber bands that cut into mat surfaces and leave permanent indentations
- Packing damp mats in sealed plastic which creates mold colonies within 48 hours
- Stacking heavy items on stored mats that compress foam cores beyond recovery
- Folding natural rubber mats which creates permanent crease lines that never flatten
Extend Your Mat’s Lifespan by 2+ Years
Consistent packing habits compound over time. Rotate your mat 180 degrees every month to distribute wear evenly across the surface. Store away from direct sunlight which accelerates material breakdown by 40% according to industry testing. Check for small tears before packing and address them immediately with yoga mat repair kits. Properly packed and stored mats maintain optimal grip and cushioning for 2-3 years of regular use—versus 8-12 months for neglected mats.
Packing your yoga mat properly takes just 2-3 minutes but pays dividends every time you step on your mat. By matching your technique to your mat’s material and intended use, you’ll enjoy a consistently flat, clean surface that supports your practice for years. Whether you’re commuting to the studio or traveling internationally, these packing methods ensure your mat arrives ready for practice without frustrating creases or odors. The next time you roll up after savasana, take those extra moments to pack it right—your future self will thank you when you unroll a pristine mat for your next practice.


