
That moment when you’re mid-downward dog and your hands slide forward like you’re on an ice rink—it’s frustrating, distracting, and ruins your flow. If your yoga mat has lost its grip, you’re not alone. Millions of yogis battle slippery mats daily, especially with new PVC mats or worn-out favorites. The good news? How to make yoga mat sticky isn’t rocket science. You don’t need expensive gear or professional help. In this guide, you’ll discover seven field-tested methods to restore traction immediately, plus daily habits to prevent future slips. Forget generic advice—you’ll get exact ratios for DIY sprays, precise cleaning techniques, and clear signs your mat is beyond saving.
Why Your Yoga Mat Suddenly Loses Grip
New mats arrive coated with manufacturing residues that repel moisture, while older mats accumulate skin oils, lotions, and dust that create slick barriers. Sweat reacts differently with various materials: PVC mats often get stickier when damp, but TPE or rubber mats lose traction as they age. The critical factor? Surface contamination. A single hand placement transfers oils that bond with mat polymers, creating invisible slip zones. Most yogis miss this key detail: how to make yoga mat sticky starts with removing what’s already there before adding grip enhancers.
Identifying Your Mat’s Material First
- PVC mats: Feel dense and slightly rubbery; improve grip when lightly damp
- TPE mats: Lighter, eco-friendly; lose stickiness faster with sweat
- Natural rubber mats: Strong initial grip but degrade with improper cleaning
- Cork mats: Naturally antimicrobial; grip increases with moisture
Visual cue: Check manufacturer tags or stretch a corner—if it tears easily, it’s likely TPE. Never use alcohol-based cleaners on TPE or rubber mats; they’ll permanently damage the surface.
Common Mistakes That Accelerate Slippage
- Applying coconut oil “to condition the mat” (creates permanent slickness)
- Washing with dish soap (leaves residue that attracts dirt)
- Storing rolled tightly while damp (traps moisture against the surface)
- Using hand sanitizers pre-practice (alcohol breaks down mat polymers)
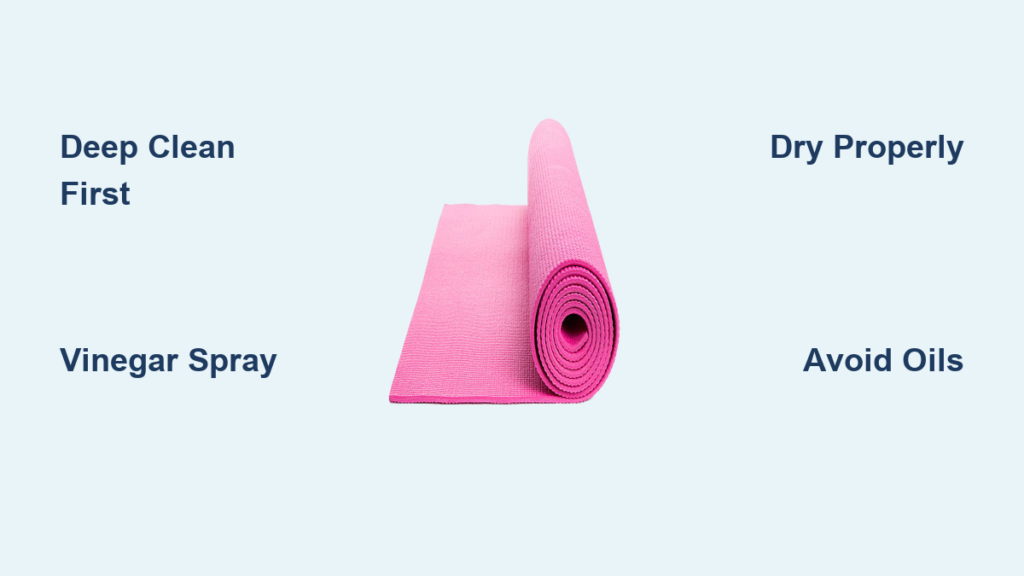
Deep Cleaning: The Foundation of Lasting Stickiness
Skipping this step guarantees temporary fixes. Proper cleaning removes embedded oils that no spray can overcome. This isn’t just wiping—it’s a targeted decontamination process taking 15 minutes.
Step-by-Step Residue Removal Protocol
- Pre-rinse: Hose down both sides with cool water to loosen surface debris
- Scrub solution: Mix 1 cup warm water + 2 tbsp distilled white vinegar + 1 tsp mild castile soap
- Gentle agitation: Use a microfiber cloth (not sponge!) in small circles for 60 seconds per section
- Rinse thoroughly: Spray with clean water until runoff is clear—no soap residue
- Dry correctly: Hang vertically away from direct sun; never roll while damp
Pro tip: For stubborn residue on PVC mats, add 1 tbsp baking soda to the scrub mix. Test on a corner first for colored mats.
When to Avoid Water Altogether
Natural rubber mats degrade with frequent soaking. Instead:
– Dampen a cloth with 3 parts water + 1 part witch hazel
– Wipe immediately after practice while sweat is still wet
– Air-dry for 2 hours before rolling
DIY Grip Sprays That Outperform Store-Bought
Commercial sprays cost $15+ for formulas you can make in 60 seconds. The secret? Vinegar’s acidity cuts oils without damaging polymers. These recipes work for all mat types when diluted correctly.
Vinegar-Grip Formula for Instant Traction
- Ingredients: ½ cup distilled white vinegar, ½ cup water, 3 drops tea tree oil (optional antimicrobial)
- Application: Mist only where hands/feet contact mat; never soak
- Drying time: 2 minutes before use—less = slippery, more = stiff spots
- Why it works: Vinegar’s pH neutralizes skin oils; tea tree prevents bacterial buildup
Warning: Never use apple cider vinegar—it leaves sticky residue. Distilled white is essential.
Salt-Enhanced Spray for Sweaty Practices
For hot yoga or heavy sweaters:
– Add 1 tsp fine sea salt to the vinegar-water mix
– Shake vigorously before each use (salt settles)
– Reapply every 20 minutes during long sessions
– Critical: Wipe mat after practice to prevent salt crystallization
Breaking In New Mats Without Damaging Them
Brand-new mats feel like plastic sheets because manufacturers apply mold-release agents. Rushing the break-in process causes micro-tears that reduce lifespan.
The 7-Day Traction Buildup Method

| Day | Treatment | Expected Result |
|---|---|---|
| 1-2 | Light vinegar spray + 20 min sun exposure | Surface residue dissolves |
| 3-4 | Practice barefoot on damp mat (no socks) | Micro-grooves form from foot pressure |
| 5-7 | Gradually increase pressure in poses | Natural tackiness develops |
Expert note: Never use sandpaper or abrasive tools—this creates uneven grip zones that cause joint strain.
Emergency Fixes When You’re Mid-Class

Forgot your spray? No towel? These field-tested tricks require zero tools:
Hand/Foot Dry Technique for Instant Grip
- Rub palms vigorously on dry cotton clothing (like your shirt hem) for 10 seconds
- Press hands firmly onto mat for 5 seconds to transfer microfibers
- Repeat before challenging poses (crow, headstand)
Why it works: Cotton fibers create microscopic traction points
The Damp Sock Hack
Wear thin, dry cotton socks. If slipping occurs:
– Dampen sock toes only with water
– The moisture activates sock fibers against the mat
– Avoid full sock wetness—it creates hydroplaning
Habits That Destroy Mat Stickiness Overnight
Most yogis unknowingly sabotage their grip. These habits cause irreversible damage:
- Applying hand lotion 1 hour pre-practice: Oils penetrate mat pores within 40 minutes
- Using baby wipes for cleaning: Mineral oil leaves permanent slick film
- Storing near heaters: Heat accelerates polymer breakdown
- Walking on mat with street shoes: Transfers asphalt oils that repel sweat
Visual cue: If your mat feels “waxy” after cleaning, you’ve used the wrong product—repeat deep clean immediately.
When Your Mat Can’t Be Saved
No method works on mats with these irreversible issues:
– Cracks or flaking: Indicates polymer degradation (common in mats >2 years)
– Persistent chemical smell: Off-gassing from damaged materials
– Water beading: Surface sealant is completely broken down
Replacement tip: Choose mats with textured surfaces (like Gaiam’s “grip weave”) if you have sweaty hands—they last 30% longer.
Daily Maintenance to Prevent Future Slips
True stickiness comes from consistent care, not emergency fixes. Implement these non-negotiable habits:
Post-Practice 60-Second Routine
- Wipe contact points with vinegar-water mix (1:1 ratio)
- Air-dry flat for 10 minutes minimum
- Store unrolled or loosely coiled with grip side out
- Never stack heavy items on rolled mat
Monthly Deep Conditioning
For PVC mats only:
– Soak in bathtub with 1 gallon water + ¼ cup baking soda for 15 minutes
– Scrub gently with soft brush
– Rinse until water runs clear
– Dry completely before use
Warning: Skip this for rubber or TPE mats—they’ll delaminate.
Restoring your yoga mat’s stickiness isn’t about magic sprays—it’s science-backed surface management. By deep-cleaning to remove invisible residues, applying targeted vinegar solutions, and avoiding destructive habits like post-lotion practice, you’ll transform slippery sessions into confident flows. Remember the core principle: how to make yoga mat sticky always starts with removing contaminants before adding grip. Implement the 60-second post-practice wipe and monthly deep clean, and your mat will deliver reliable traction for years. If slippage persists after trying all methods, your mat has likely reached its lifespan—time to invest in a textured-surface model designed for sweaty practices. Your perfect downward dog awaits.


