
Nothing disrupts your downward dog or warrior pose like stepping on a curling mat edge mid-flow. That persistent lift isn’t just annoying—it creates genuine tripping hazards during transitions and compromises your stability in balancing postures. When you’re trying to focus on your breath and alignment, constantly adjusting your footing on a curling yoga mat pulls you out of the moment. Learning how to flatten yoga mat properly transforms your practice surface from a distraction into a reliable foundation that supports rather than hinders your movement.
Most curling issues stem from predictable material reactions to environmental conditions, not permanent flaws in your mat. Understanding why yoga mats curl and implementing the right flattening techniques can restore your practice surface in hours, not days. Whether you’re dealing with a brand-new mat fresh from its packaging or an older companion showing signs of wear, this guide delivers proven methods to eliminate curling edges immediately and prevent recurrence. By the end, you’ll know exactly how to flatten yoga mat surfaces for safe, distraction-free practice.
Why Your Yoga Mat Edges Keep Lifting Up

Yoga mat curling happens when environmental conditions trigger uneven material contraction. When mats absorb moisture from humid air, different sections of the material expand and contract at varying rates, creating tension that forces edges upward. This isn’t just cosmetic—curling corners create genuine safety hazards during standing sequences and transitions where stable footing is essential. Natural rubber and foam-based mats show this effect most dramatically because their cellular structures react strongly to humidity changes.
Direct sunlight exposure accelerates curling by breaking down material integrity through UV radiation. When you leave your mat rolled up in a hot car or near a sunny window, the heat causes some sections to become brittle while others remain flexible. This differential degradation creates the perfect conditions for persistent curling that worsens with each exposure. Mats left in vehicles on warm days can develop noticeable curl within just 2 hours—a crucial detail many practitioners overlook when transporting their gear.
Material memory is the silent culprit behind most stubborn curling issues. When your mat remains tightly rolled during storage or shipping, the compressed layers develop permanent “curl memory” that fights against laying flat. The longer a mat stays rolled, the stronger this memory becomes—especially problematic for new mats that arrive tightly compressed in packaging. Brands using TPE (thermoplastic elastomer) materials typically show stronger memory effects than natural rubber mats, requiring more aggressive flattening techniques initially.
Immediate Unrolling Technique That Prevents Curling
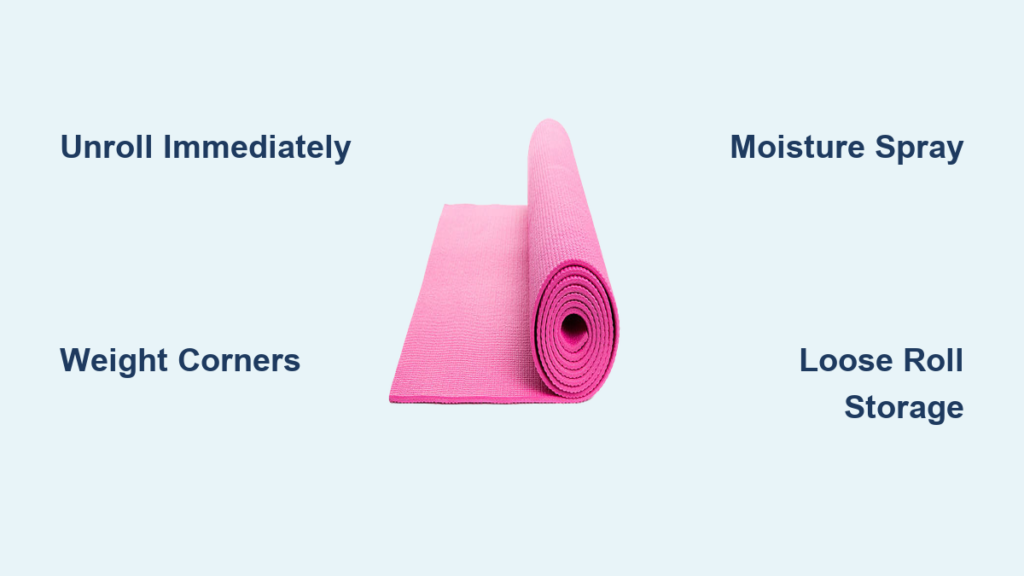
The most effective flattening strategy begins the moment you first handle your mat. Unroll your new mat immediately upon purchase and lay it flat for 48 hours before first use—this critical step prevents permanent creases from forming during the crucial acclimation period. As you unroll, work deliberately from center to edges, smoothing out resistance with your palms to encourage full surface contact. Pay special attention to corners, which develop persistent curl first due to less material support at the edges.
If your mat resists lying flat during initial unrolling, apply gentle pressure along the curling edges with your hands for 30-60 seconds per section. This manual manipulation begins retraining the material’s memory while it’s most receptive to reshaping. For stubborn corners, roll the mat in the opposite direction of the curl for 10 minutes before unrolling again—this counteracts the stored tension causing the lift.
How to Weight Your Mat Properly During Initial Acclimation
Place lightweight objects on curling corners during the initial 48-hour flattening period—use books weighing 1-2 pounds each, not heavier items that could create new creases. Stack them carefully to distribute weight evenly across the problem areas without pressing too hard. Position these weights where the mat lifts most noticeably, typically at the four corners and along long edges. Avoid placing weights in the center of your practice area where they might interfere with your movements during initial use.
Optimal Yoga Mat Storage to Prevent Future Curling

Your storage habits between practices determine whether curling becomes a recurring problem. Store your mat in a cool, dry place with 40-60% humidity—closets or under-bed storage typically work better than garages or basements that experience temperature extremes. Never store your mat in direct sunlight or near heating vents, as these locations accelerate material degradation that leads to permanent curling.
When rolling for storage, use the loose roll technique: wrap your mat around a pool noodle or rolled towel to create a larger diameter core. This reduces tension on the inner layers that causes persistent curling. Secure with a loose strap rather than tight elastic bands that compress the material unevenly. Mats stored this way maintain flatness 3-4 times longer than those tightly rolled around narrow cores.
Best Storage Bags for Flat Mats
Choose storage bags made from breathable cotton or mesh rather than sealed plastic—look for bags with ventilation panels that allow air circulation while protecting against dust. Avoid vinyl or non-breathable materials that trap moisture and promote mold growth between practices. If you transport your mat frequently, consider a bag with UV protection lining to shield against sunlight damage during transit.
Heavy Book Method for Stubborn Curling Edges
When your mat already shows significant curling, the heavy book technique delivers reliable results with household items. Start by laying your mat on a completely flat surface like hardwood or tile—concrete floors work but may transfer texture to softer mats if weighted too heavily. Position the mat with curling edges facing downward so gravity assists the flattening process rather than fighting against it.
Step-by-Step Book Weighting Process
- Identify the most problematic curling areas (usually corners and long edges)
- Select books weighing 1-3 pounds each with flat, even surfaces
- Place books directly over curling sections, ensuring full coverage
- Apply enough weight to firmly press the mat against the floor without creating new indentations
- Leave weights in place for 12-24 hours for best results
For severe curling, alternate book positions every 6 hours to prevent uneven pressure from creating new problem areas. Check progress periodically—most mats show noticeable improvement within 4 hours, though complete flattening may require overnight weighting.
Moisture-Assisted Flattening for Resistant Mats
When weight alone fails to correct persistent curling, adding controlled moisture enhances results significantly. Fill a spray bottle with 1 cup water plus 5-7 drops of tea tree oil (which offers antimicrobial properties in addition to pleasant scent). The oil helps the water spread evenly rather than beading up on certain mat surfaces.
Precise Moisture Application Technique
- Lightly mist only the curling edges and corners—never saturate the entire mat
- Apply enough moisture to create visible dampness without pooling water
- Immediately roll the mat in the opposite direction of the curl for 15 minutes
- Unroll and apply weights as described in the heavy book method
- Allow to dry completely (4-6 hours) before practicing
Natural rubber mats respond best to this technique, often requiring only one treatment session, while TPE mats may need 2-3 applications for stubborn curls. Avoid over-moistening, as excessive water can compromise material integrity and create mold risks.
Quick Fixes When You Need a Flat Mat Immediately
Sometimes you need a solution before your next practice session with no time for extended weighting. Roll your mat tightly in the opposite direction of the curl and secure with a strap for 20 minutes—this counter-tension often provides enough temporary flattening for a single practice session. Unroll immediately before practice for maximum effect, as results typically last 1-2 hours.
For immediate practice safety, use painter’s tape on the underside of curling edges to secure them to the floor beneath your mat. Apply 2-3 small pieces per corner, pressing firmly to create adhesion without damaging floor surfaces. Remove tape immediately after practice to prevent residue buildup. This method eliminates tripping hazards during your session but doesn’t address the underlying curling issue.
When Replacement Becomes the Better Option
Despite your best efforts, some mats reach a point where continued flattening attempts aren’t worthwhile. Replace your mat if you notice any of these irreversible signs:
– Permanent depressions that don’t respond to 48 hours of weighting
– Brittle, cracked material in curling areas
– Persistent chemical odors after cleaning
– Significant thinning in high-pressure zones
Mats showing these issues typically can’t maintain flatness regardless of treatment method. Consider replacement after 12-18 months of regular use, as most mats reach the end of their functional lifespan within this timeframe. Investing in a new mat ensures practice safety and eliminates the frustration of constant flattening efforts.
Daily Maintenance Routine for Lasting Flatness
Prevent future curling with this simple daily practice:
– Unroll your mat immediately upon retrieval from storage
– Allow 10-15 minutes for material to acclimate before practice
– Rotate your mat 180 degrees weekly to distribute pressure evenly
– Store using the loose roll technique with a pool noodle core
– Perform monthly “flatness checks” to catch early curling
Mats receiving this routine maintenance stay flat 6-8 times longer than those without consistent care. The small time investment pays dividends in every practice session through improved stability, safety, and mental focus. When you know how to flatten yoga mat surfaces properly and maintain them, your foundation becomes an invisible support rather than a constant distraction.
By implementing these specific techniques, you’ll transform your practice surface from a source of frustration to a reliable foundation that enhances rather than hinders your yoga journey. The key isn’t fighting the curling but working with your mat’s material properties to establish and maintain the flat configuration that supports safe, distraction-free practice.


