
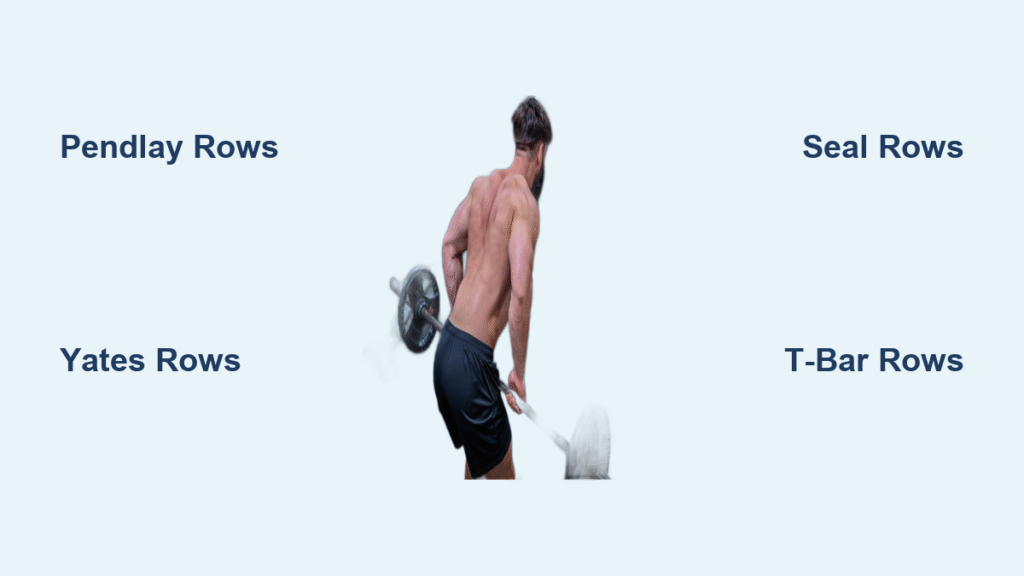
Your back development stalls when every row feels identical. You grind through bent-over rows week after week, wondering why your lats won’t thicken or your mid-trap sweep never emerges. The brutal truth? Barbell rows aren’t one-size-fits-all—each subtle tweak in grip, torso angle, or starting position shifts muscle emphasis dramatically. From explosive Pendlay pulls that blast deadlift strength to joint-friendly seal rows that isolate your lats without spinal stress, mastering these variations transforms back day from monotonous to strategic.
This isn’t just another “types of barbell rows” list. You’ll discover exactly which variation builds your missing muscle, fixes your weak points, and avoids the spinal shear mistakes 90% of lifters make. No fluff—just actionable protocols straight from competitive bodybuilders and strength coaches.
Fix Your Bent-Over Row Form With These 3 Critical Cues
Most lifters butcher the foundational barbell row by prioritizing weight over tension. When your lower back rounds or the bar drifts forward, you’re training injury risk—not muscle.
Pull to Your Pockets, Not Your Chest
Position your feet hip-width with the bar 1 inch from your shins. Hinge until your torso hits 45 degrees (parallel for strict work), pulling the bar vertically toward your hip pockets—not your sternum. This keeps the weight centered over your midfoot, eliminating dangerous spinal shear. If your elbows flare past 45 degrees, narrow your grip.
Lock Your Hips, Explode With Your Back
Common mistake: Using leg drive like a power clean. For pure back development, brace your glutes and hamstrings isometrically. Initiate each rep by driving your elbows toward your hips while retracting your shoulder blades. At the top, squeeze your mid-back hard—imagine crushing a tennis ball between your shoulder blades.
Control the Descent for Lat Dominance
Lower the bar for 2 full seconds until your arms fully extend. Rushing this phase kills tension. If your lats disconnect at the bottom, reduce weight and practice “scapular depression”: actively pull your shoulder blades down toward your pockets before lifting.
Build Explosive Deadlift Power With Pendlay Rows
Named after Olympic weightlifting coach Glenn Pendlay, this floor-start variation fixes weak deadlift lockouts while adding upper-back thickness. The dead-stop reset after every rep eliminates momentum—forcing your traps and rhomboids to work harder.
Why Pendlay Rows Outperform Conventional Rows for Strength
With your torso parallel to the floor and shoulders directly over the bar, the lumbar moment arm shrinks by 30% versus bent-over rows. This lets you load heavier weights without spinal fatigue. The explosive concentric phase (aim for 0.5 seconds off the floor) recruits fast-twitch fibers most lifters miss in standard rows.
Exact Setup for Maximum Power Transfer
- Place the bar on the floor in your deadlift stance
- Hinge until your back is flat and parallel to ground
- Grip the bar shoulder-width with pronated grip
- Explode upward until the bar touches your lower sternum
- Lower under control, resetting completely before the next rep
Use 75-85% of your 1-rep max conventional row weight for 4 sets of 5 reps. Rest 3 minutes between sets to maintain speed. If your hips rise faster than your shoulders during the pull, practice paused reps with 50% weight.
Unlock Lat Growth With Yates Rows (The Bodybuilder’s Secret)
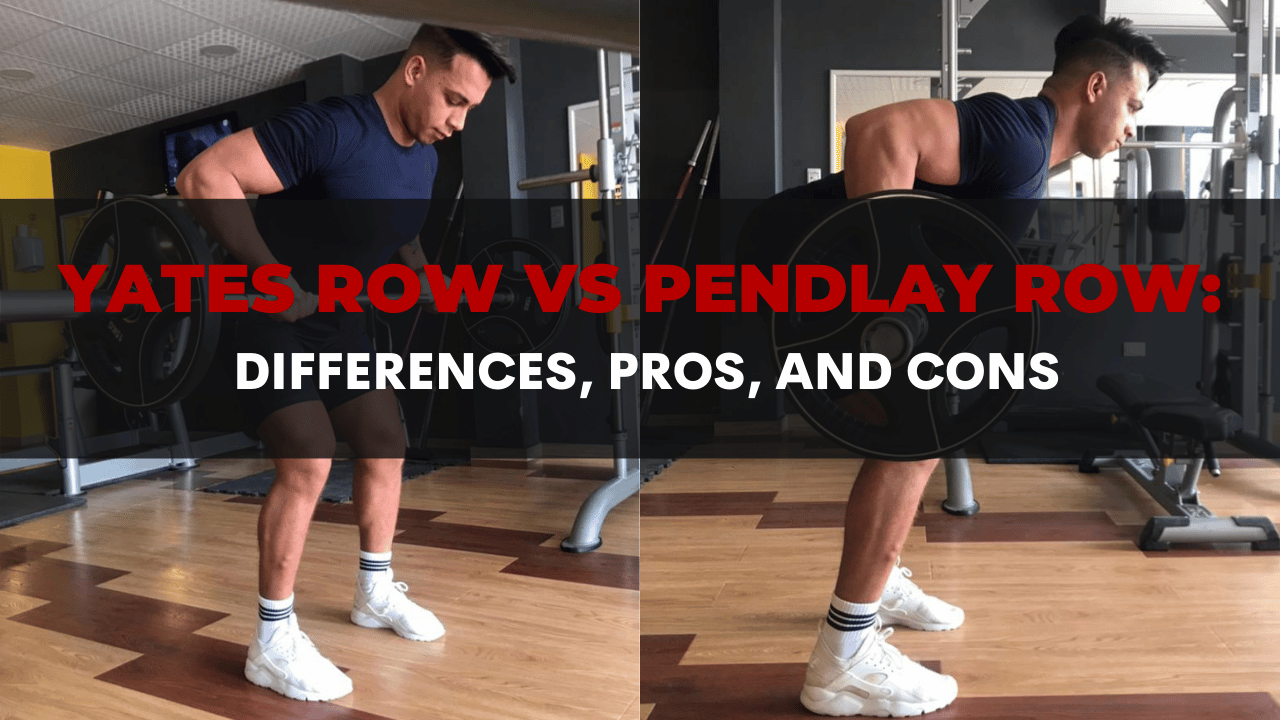
Six-time Mr. Olympia Dorian Yates built his legendary back with this underhand-grip variation. The supinated grip shifts emphasis to your lower lats and biceps while reducing erector strain—perfect for lifters with lower-back sensitivity.
The Torso Angle That Hits Your Lats Hardest
Unlike conventional rows, keep your torso at 30-45 degrees (more upright) with the bar starting just below your knees. Grip the bar shoulder-width with palms facing you. As you pull, drive your elbows toward your belly button while squeezing your lats hard at the top. This path maximizes the stretch on your lower lats—the area most lifters neglect.
Why Narrower Grips Backfire
A common error is using an excessively narrow underhand grip. This strains wrists and shifts work to biceps. For optimal lat activation, space your hands just outside shoulder width. If you feel wrist pain, use lifting straps to maintain neutral wrists. Program Yates rows as your second back movement: 3 sets of 10-12 reps with 2-second pauses at peak contraction.
Eliminate Shoulder Pain With T-Bar Rows
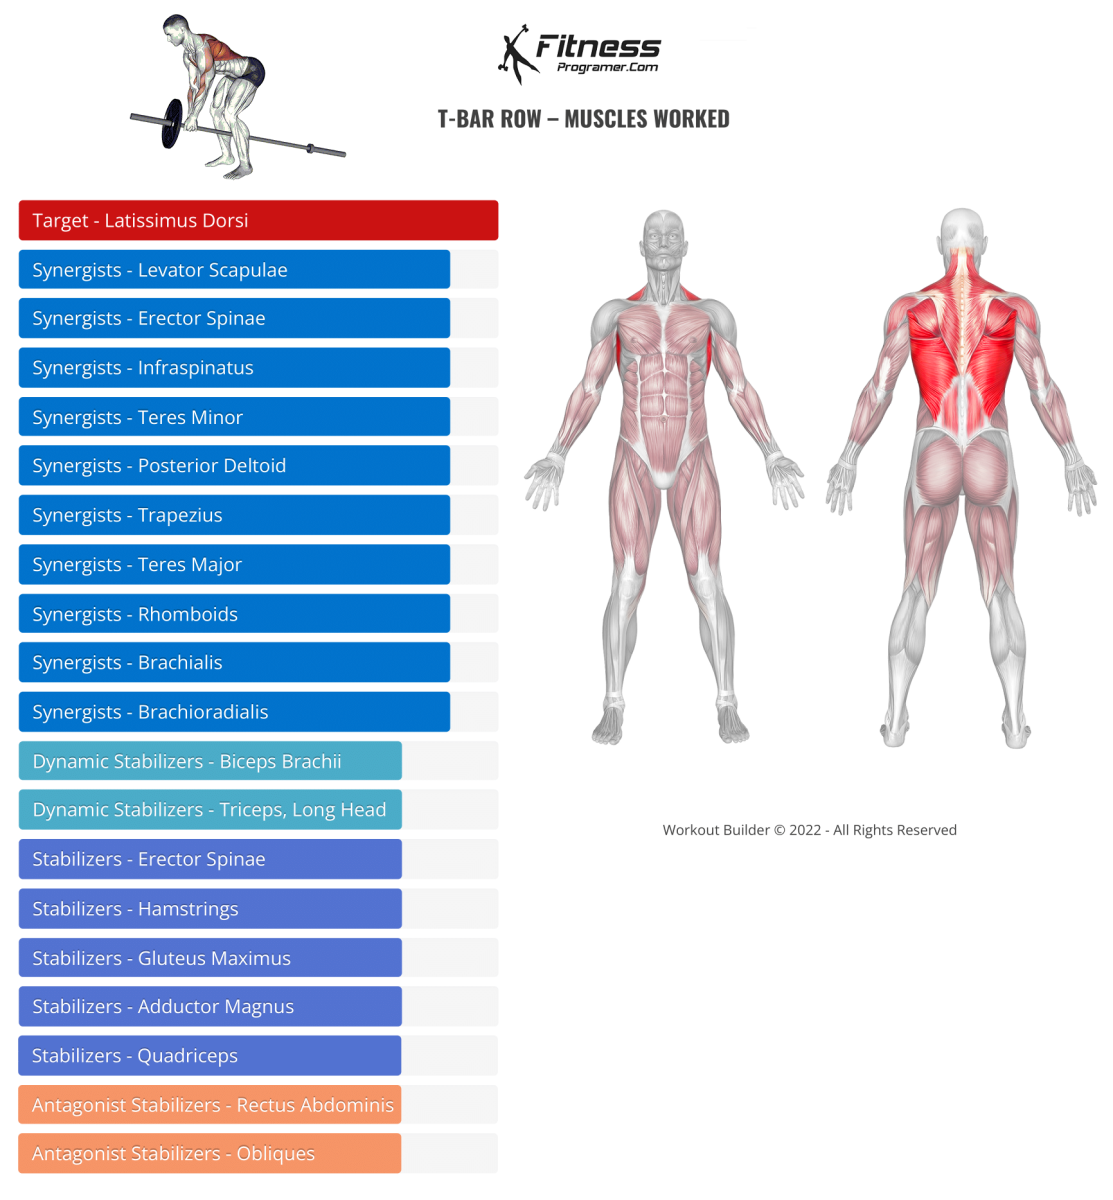
If overhead presses or pull-ups irritate your shoulders, the T-bar row’s neutral grip and arcing path let you build mid-trap thickness without impingement. The landmine’s pivot point naturally guides your elbows into the ideal 45-degree angle for scapular retraction.
How Handle Choice Changes Muscle Targeting
- Close V-handle: Pulls your elbows in tight, hammering mid-traps and rhomboids
- Wide rope attachment: Forces wider elbow flare for rear delt emphasis
- Single-arm grip: Adds anti-rotation core demand while fixing imbalances
Straddle the bar with feet shoulder-width, hinge to 45 degrees, and pull the handle to your lower sternum. Squeeze your shoulder blades together for 1 full second at the top. For heavy loading, use 4 sets of 8 reps. For detail work, try 3 sets of 15 reps with a rope attachment.
Save Your Spine With Seal Rows (The Zero-Shear Solution)
When lower-back fatigue limits your rowing volume, the seal row removes all spinal loading. Lying prone on an elevated bench (or stacked mats), you perform strict rows with zero momentum—making it the ultimate hypertrophy builder for lifters with disc issues.
DIY Setup for Home Gyms
Place a flat bench on two 45lb plates. Lie facedown with your chest on the bench, arms fully extended toward the floor. Grip the bar with pronated hands and pull it toward the underside of the bench. Focus on initiating with scapular retraction—not arm bending. If plates touch the floor, elevate the bench further.
Use moderate weight for 4 sets of 12-15 reps with 3-second eccentric phases. The absence of spinal compression lets you safely push to failure, creating the metabolic stress needed for lat growth.
Trap Bar Rows: The Joint-Friendly Mass Builder
Most lifters overlook the trap bar for rows—but its neutral grip and centered load reduce shoulder strain while allowing heavier weights than barbell variations. The elevated handles let tight-hipped lifters maintain proper hinge depth without compromising form.
The Glute-Touch Cue for Full Contraction
Step inside the trap bar, hinge until your torso hits 45 degrees, and grip the handles. Row until the rear handles touch your glutes, pausing for 1 second to maximize mid-back squeeze. This full range of motion activates more muscle fibers than stopping short at the abdomen.
Program trap bar rows as your primary back builder: 3 sets of 8-10 reps with 90-second rest. The reduced spinal loading lets you safely add weight weekly—unlike bent-over rows where form often breaks down under heavy loads.
Stop Guessing: Match Rows to Your Goals With This Matrix
| Your Goal | Best Barbell Row Variation | Rep Range | Pro Tip |
|---|---|---|---|
| Deadlift lockout strength | Pendlay Row | 3-5 | Explode off floor; pause 1s on reset |
| Lat width & thickness | Yates Row | 8-12 | Squeeze lower lats at belly-button level |
| Mid-trap development | T-Bar Row (V-handle) | 10-15 | Hold 2s at top for scapular retraction |
| Lower-back sensitivity | Seal Row | 12-15 | Use slow eccentrics for pump |
| Shoulder pain avoidance | Trap Bar Row | 8-10 | Touch handles to glutes for full ROM |
| Imbalance correction | Single-Arm Landmine Row | 10/arm | Match reps per side; no momentum |
Avoid These 3 Spinal Shear Mistakes During Rows
Mistake #1: Letting the bar drift forward during the pull. This shifts load to your lumbar spine. Fix: Practice “pull to pockets” drills with 50% weight—keep the bar grazing your thighs.
Mistake #2: Hyperextending at the top. Throwing hips forward to “finish” the rep compresses lumbar discs. Fix: Squeeze shoulder blades without moving hips; torso angle stays fixed.
Mistake #3: Skipping dead-stop resets on heavy sets. Bouncing the bar off your ribs transfers force to spinal ligaments. Fix: Pause 1 second on floor for every rep above 80% 1RM.
Program Rows Like a Pro: The 4-Week Cycle
- Weeks 1-2 (Strength): Pendlay Rows 4×4 @ 85% 1RM + Yates Rows 3×10
- Weeks 3-4 (Hypertrophy): Seal Rows 4×12 + T-Bar Rows 3×15
- Deload: Reduce volume by 40% (2 sets per exercise) to protect connective tissue
Rotate variations every 4-6 weeks based on weak points. If your deadlift stalls, prioritize Pendlay rows. If lats lack width, emphasize Yates rows. Never use the same row variation for more than 8 weeks straight.
Final Takeaway: Rows Are Precision Tools, Not Just Exercises
Your back responds to specific stimuli—not generic volume. The Pendlay row’s explosive concentric builds deadlift power. The Yates row’s underhand grip carves lower lats. The seal row’s zero-shear mechanics maximize hypertrophy without spinal fatigue. Treat each variation as a surgical tool: select it based on your current goal, execute with strict form, and rotate strategically. Implement one new row variation this week using the protocols above, and within 30 days, you’ll feel—and see—your back transform from flat to three-dimensional.


