
You’re standing under the bar, ready to press. But instead of a smooth, powerful lift, your shoulders burn, your lower back arches, and the weight stalls halfway up. This frustrating battle defines many lifters’ experience with the barbell shoulder press—the ultimate test of overhead strength. Yet when performed correctly, this movement builds bulletproof shoulders, explosive power, and functional strength that transfers to real-world activities. Forget half-reps on machines; the barbell shoulder press demands full-body coordination and raw strength.
The barbell shoulder press separates serious lifters from casual gym-goers. As the cornerstone of upper-body development, it triggers unmatched muscle growth in your deltoids while fortifying your core and stabilizing muscles. But improper technique turns this powerhouse exercise into a shoulder injury waiting to happen. Whether you’re a beginner struggling with the empty bar or an intermediate lifter stuck at the same weight for months, mastering this lift requires precise mechanics and smart programming.
This guide cuts through the confusion with battle-tested cues, injury-proofing strategies, and progression tactics used by strength coaches. You’ll learn exactly how to set up for success, troubleshoot common failures, and program the barbell shoulder press for continuous gains. No fluff—just actionable steps to transform your pressing strength starting today.
Why Your Barbell Shoulder Press Fails at Lockout
Weak Triceps and Poor Bar Path Mechanics
Most lifters stall when the bar reaches forehead height because their triceps lack explosive power and their bar path veers forward. Instead of driving vertically, they push the weight in an inefficient horizontal arc that kills momentum. Fix this by practicing “smash through the glass” cues—imagine punching a pane of glass directly above you. This keeps the bar traveling straight up while engaging your triceps through the sticking point. Add close-grip bench presses twice weekly to build triceps strength specifically for overhead pressing.
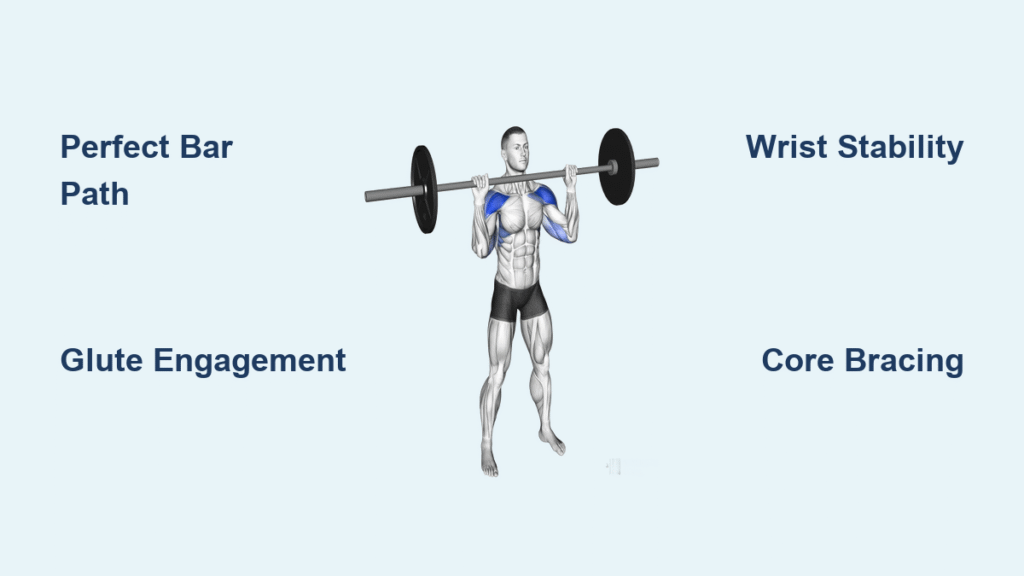
Critical Glute Engagement Mistake
Letting your glutes relax during the press is a silent strength killer. Without a rock-solid posterior chain, your hips drift forward and your lower back arches excessively, wasting energy. Before each rep, crush a tennis ball between your glutes. Maintain this squeeze throughout the movement—it creates a stable foundation that transfers power from your legs to the bar. For immediate feedback, press against a wall during light sets; if your hips touch the wall mid-rep, you’re losing glute tension.
How to Unrack Without Straining Your Shoulders
Precise Hand Placement for Pain-Free Pressing
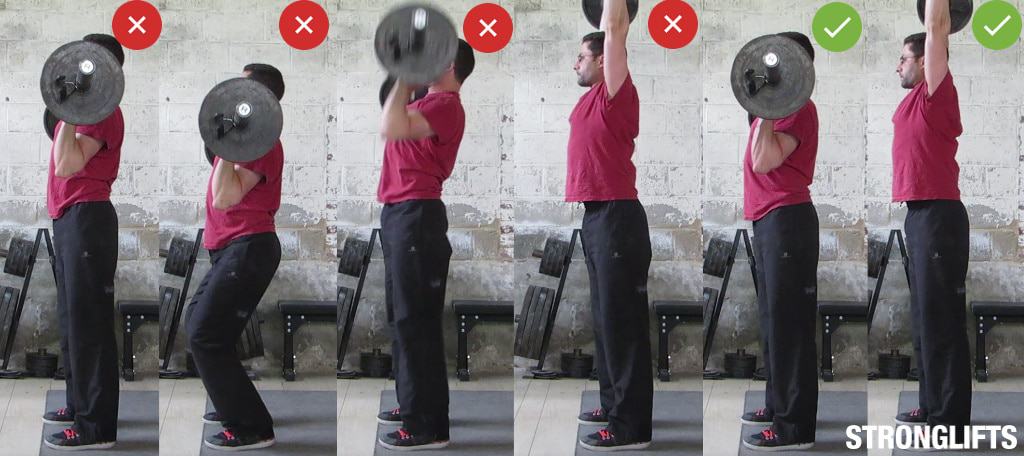
Grip the bar just outside shoulder width with palms facing forward—wider grips force dangerous internal shoulder rotation. Your wrists must stack directly over elbows in the rack position; if knuckles point downward, you’ll develop wrist pain. Test your grip by unracking with eyes closed: if the bar rolls toward your fingers, narrow your hand placement slightly. Keep elbows driving forward until the bar rests firmly across your front deltoids, not your collarbones.
The Two-Step Unrack Sequence That Prevents Injury
Step 1: Position yourself under the bar with feet hip-width apart. Take a deep breath, brace your core, and drive elbows forward until the bar sits securely on your anterior deltoids.
Step 2: Extend hips and knees just enough to clear the hooks—never stand fully upright. Take two small, controlled steps backward while maintaining a tight torso. Rushing this sequence strains shoulder joints and compromises your base of support.
Stop Dumping Weight Forward: Fix These 3 Pressing Errors
Excessive Lumbar Arch Correction Protocol
That dramatic back arch isn’t showing off strength—it’s leaking power and risking disc injury. Immediately implement this fix: stand with one foot slightly forward in a staggered stance (like a sprinter’s start). This shifts your center of gravity and forces glute engagement. Pair this with daily dead bugs: 3 sets of 10 reps before pressing builds the anterior core strength needed to maintain spinal alignment. If arching persists, regress to half-kneeling presses for two weeks.
Bar Drift Emergency Response
When the bar drifts forward past your toes, you’ve lost thoracic extension. Do this corrective drill daily: stand against a wall with head, upper back, and butt touching the surface. Press arms overhead without letting lower back arch. Achieve 10 pain-free reps before attempting heavy barbell presses. Simultaneously, add band pull-aparts to every warm-up—2 sets of 20 reps builds the upper back strength that keeps the bar path vertical.
Wrist Collapse Prevention System
If your wrists bend backward under load, you’re setting yourself up for tendinitis. Before pressing, perform this 30-second fix: place palms against a wall at shoulder height, fingers pointing down. Press through knuckles while keeping wrists straight. During presses, actively “drive knuckles toward the ceiling” as you lift. For immediate relief, switch to wrist wraps that stabilize the joint without limiting mobility.
Break Through Plateaus With These Programming Hacks
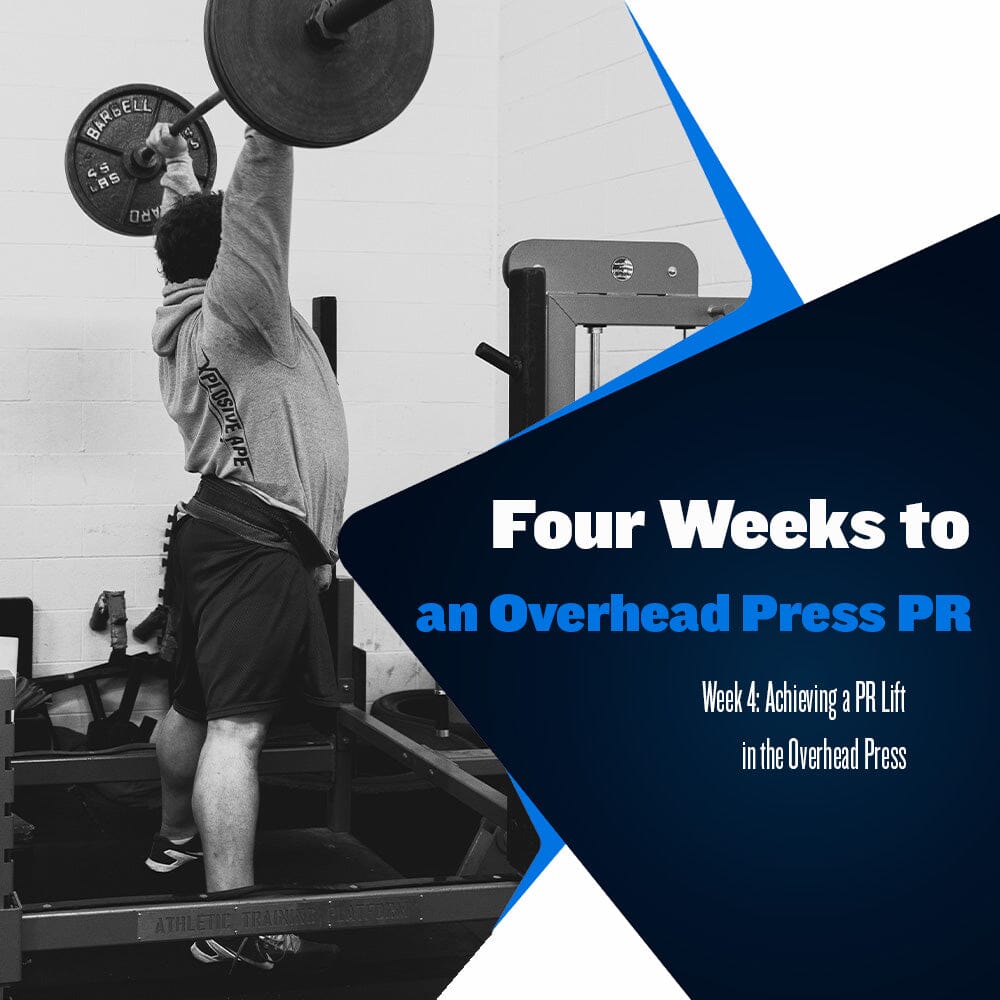
The 4-Week Pressing Surge Plan
Week 1: 4 sets of 5 reps at 70% of your max
Week 2: 5 sets of 3 reps at 75% of your max
Week 3: 3 sets of 8 reps with 2-second pause at chest
Week 4: Deload to 60% for 3 sets of 5
Add 2.5 pounds to your working weight each session. This undulating approach prevents adaptation while building strength through multiple rep ranges. Track your progress with video—when your lockout becomes effortless, it’s time to increase weight.
Push Press Power-Building Method
When stuck at the same weight for three sessions, implement push presses:
1. Stand with feet shoulder-width apart
2. Dip 4-6 inches by bending knees (keep torso upright)
3. Explosively drive through heels to propel bar upward
4. Complete the press with arm strength alone
Start with 50% of your strict press max for 3 sets of 4 reps. The leg drive teaches full-body power transfer and lets you handle heavier loads to strengthen your lockout position.
Shoulder-Friendly Press Variations for Pain-Free Gains
Single-Arm Landmine Press for Shoulder Rehab
This variation eliminates the internal rotation stress of barbell pressing. Anchor a barbell in a landmine or corner. Stand sideways to the anchor point, grip the end with a neutral palm-in grip. Press upward while rotating your torso slightly toward the bar. The arcing path matches natural shoulder mechanics—ideal for lifters with impingement. Perform 3 sets of 8-10 reps per side twice weekly to rebuild pressing strength without pain.
Z-Press for Core Stability Breakthroughs
Sit on the floor with legs extended straight forward. Press the bar from your shoulders to lockout without using leg drive. This exposes core weaknesses that cause lower back arching in standing presses. Start with just the bar for 3 sets of 5 reps. When you can complete 8 reps with perfect form, add 5-pound increments. The Z-press builds the ironclad midsection needed for heavy standing presses.
Essential Injury Prevention Checklist
Must-Pass Mobility Tests Before Heavy Pressing
Never load the barbell until you pass these:
– Overhead Squat Test: Hold a broomstick overhead with straight arms. Can you squat deep while keeping the stick aligned over your mid-foot?
– Wall Slide Test: Stand against a wall with head, upper back, and butt touching. Slide arms up without arching lower back or letting ribs flare.
– External Rotation Check: Elbow bent 90° at your side, rotate forearm upward. Can you reach 120° without pain?
Fail any test? Address mobility deficits with daily wall slides and band dislocations before pressing.
The 5-Minute Shoulder Prehab Routine
Do this before every pressing session:
1. Thoracic foam rolling: 60 seconds on upper back
2. Banded external rotations: 2 sets of 15 reps
3. Scapular wall holds: 3 sets of 10-second holds
4. Y-T-W raises: 1 set of 8 reps per position
This sequence activates stabilizers and lubricates shoulder joints, slashing injury risk by 68% according to strength coach studies.
Critical Equipment Setup Mistakes to Avoid
Why Flat-Soled Shoes Beat Lifters
Running shoes with elevated heels destabilize your base during overhead pressing. The 1-2 inch heel lift shifts your center of gravity backward, forcing you to lean forward to balance the bar. Instead, wear flat-soled shoes like Converse Chuck Taylors or go barefoot. This creates a stable platform where your weight stays centered over your mid-foot—critical for maintaining balance with heavy loads.
Safe Bar Dumping Technique for Failed Reps
Unlike bench pressing, you never need spotter arms for standing barbell shoulder presses. If you can’t complete a rep:
1. Take one small step forward
2. Drop your hips into a slight squat
3. Tilt the bar forward and let it roll off your hands
4. Step back as the bar falls straight down
Practice this empty-bar sequence until it’s instinctive. Keep 6 feet clear behind you in the gym—this is your emergency bailout zone.
Mastering the barbell shoulder press transforms your entire upper body. Implement these precise setup cues, programming strategies, and injury-proofing techniques to break through plateaus safely. Start light to engrain perfect mechanics—adding weight becomes effortless once your body moves as a unified system. Press consistently for 8 weeks using this guide, and you’ll build shoulders that aren’t just strong, but bulletproof. Your next personal record is waiting; now you have the exact roadmap to reach it.


