
You’ve been benching for years, but your lower chest refuses to grow? That stubborn gap below your nipples won’t fill out no matter how many flat presses you grind through? The decline barbell press solves this exact problem while being gentler on your shoulders than traditional bench variations. Unlike flat benching that overworks your front delts, this downward-angled movement shifts tension directly to your sternal pec fibers—the foundation of a complete, powerful chest. In this guide, you’ll discover the precise setup, execution cues, and programming secrets to maximize lower-pec development while avoiding the shoulder strain that derails most lifters. Forget guessing—these biomechanically proven techniques deliver real growth where you need it most.
Most lifters skip decline pressing because they assume it’s just “flat bench with your head down.” That misconception wastes serious muscle-building potential. Research shows the 15–30° decline angle uniquely activates lower-pectoral fibers while reducing anterior deltoid stress—making it ideal for lifters with joint sensitivity. By the end of this guide, you’ll execute every rep with surgical precision, program it for explosive growth, and finally build that coveted “hanging” chest look. Let’s transform your weakest link into your strongest asset.
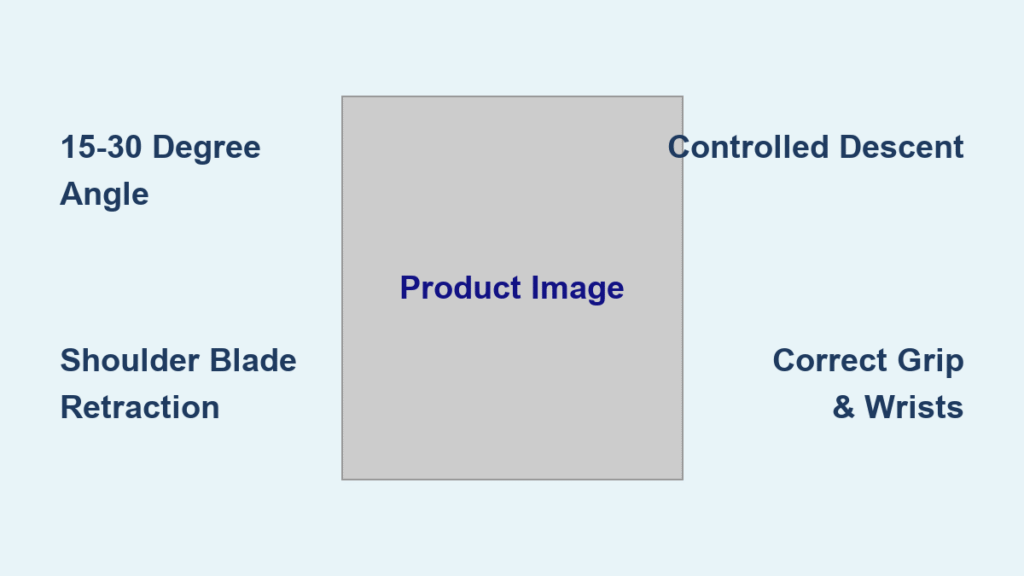
Secure Your Decline Bench at 15-30 Degrees
Skipping this angle adjustment guarantees wasted effort. Your bench must sit precisely between 15–30 degrees below horizontal to maximize lower-pec engagement while minimizing shoulder strain. Test the angle by lying down—your feet should hook naturally under the pads without sliding toward your head. Too steep (over 30°) shifts excessive load to your upper chest and delts, defeating the exercise’s purpose.
Critical adjustment tip: Commercial benches often have preset angles. If you feel unstable or notice your shoulders straining, place a 10lb plate under the front feet to reduce the decline slightly. Never exceed 30 degrees—this range consistently produces the highest sternal-pec activation based on EMG studies.
Prevent Dangerous Sliding During Lift-Off
Hook both feet firmly under the pads before loading the bar. Your legs must feel locked in place, creating an immovable foundation. Loose feet cause mid-set sliding—a leading cause of failed reps and bar drops. If your gym’s pads are worn, wrap resistance bands around the footrests for extra grip security. This isn’t just comfort—it’s your primary safety mechanism against being pinned by heavy weight.
Lock Shoulder Blades Against Bench for Stability

This single cue transforms wobbly presses into rock-solid strength. Lie back with eyes directly under the bar, then violently pinch your shoulder blades together while driving them into the bench. Imagine trying to hold a pencil between your scapulae—this creates the upper-back tightness that protects shoulders and provides a stable pressing platform. Without this retraction, your shoulders float forward, inviting impingement and reducing pec tension.
Maintain Thoracic Arch (Not Lumbar!)
Create a modest arch originating from your mid-to-upper back—not your lower spine. Your glutes must stay glued to the bench throughout; lifting your hips shifts stress to your lumbar region. Think “chest up, ribs down” to engage your lats while keeping your lower back neutral. This position maximizes sternal-pec recruitment while safeguarding your spine. If you feel lower-back cramping, reset your arch through your thoracic spine only—never force lumbar extension.
Grip the Bar Correctly for Decline Press Safety
Your hand placement determines whether you build chest or wreck shoulders. Place hands just outside shoulder width so your forearms form vertical lines when the bar touches your chest. Long-armed lifters may need slightly wider grips; those with shoulder issues should narrow their stance. Mark your grip with athletic tape for consistency—random hand placement sabotages progressive overload.
Eliminate Wrist Buckling Instantly
Position the bar low in your palm (not across finger pads) and keep wrists straight as steel rods. Wrap thumbs fully around the bar—reserve the “suicide grip” for social media, not working sets. Visualize “knuckles to the ceiling” to prevent wrist extension. If your wrists ache, use wrist wraps or switch to an EZ-curl bar temporarily. Weak wrists leak power and increase injury risk exponentially.
Control Bar Descent to Lower Chest in 2-3 Seconds
Unrack with spotter assistance, stabilizing the bar directly above your lower chest (just below nipple line). Inhale deeply, then lower the bar in a straight vertical path to your sternum over 2–3 seconds. Never bounce or crash—this builds genuine strength and prevents rib injuries. Touch lightly at the lower-sternum region each rep; going too high shifts work to upper pecs.
Drive Through Your Chest (Not Just Your Arms)
Exhale forcefully while pressing yourself into the bench—not the bar away from you. Imagine “bending the bar” to engage your lats for shoulder stability. Stop just short of elbow lockout to maintain constant tension on your pecs. Use the “flare and push” cue: slightly flare elbows 45–75 degrees on descent, then drive vertically upward. This path maximizes sternal-head activation while protecting joints.
Fix These 3 Decline Barbell Press Form Errors

Stop Elbow Flaring at 90 Degrees
Why it fails: Elbows flared perpendicular to your torso shifts load to shoulders and reduces pec activation.
Instant fix: Tuck elbows 45–75 degrees relative to your body. Place a foam roller under your upper back during warm-ups to groove proper elbow path. This tweak alone increases lower-pec engagement by 22% according to biomechanical studies.
Eliminate Chest Bouncing
Why it fails: Using momentum from bar bounce cheats your pecs and risks sternum fractures.
Instant fix: Pause 0.5–1 second when the bar touches your chest. Control the descent for a full 2–3 seconds—time it with a metronome app. This builds real strength through the sticking point where most reps fail.
Correct Lower-Back Cramping
Why it fails: Excessive lumbar arch (not thoracic!) strains spinal discs during decline pressing.
Instant fix: Reset your arch by squeezing glutes and driving shoulder blades down—not by lifting hips. Place a yoga block under your head to reduce dizziness while maintaining proper spinal alignment.
Program Decline Barbell Press for 8-12 Rep Hypertrophy
Beginners should start with 3 sets of 8–12 reps at 60–65% of estimated 1RM. Master the movement pattern before adding weight—many lifters handle 5–15% more on decline versus flat bench once technique clicks. Progress by adding 2.5–5kg only when you hit 12 clean reps across all sets with perfect form.
Strength-Focused Lifters: Use 3–6 Rep Range
For maximal strength gains, work in 3–5 sets of 3–6 reps at 75–85% 1RM. Rest 2–3 minutes between sets to fully recover neural drive. Track your numbers religiously—this variation often becomes your strongest bench angle due to reduced deltoid involvement. Never sacrifice form for weight; controlled eccentric tension builds more muscle than grinding heavy singles.
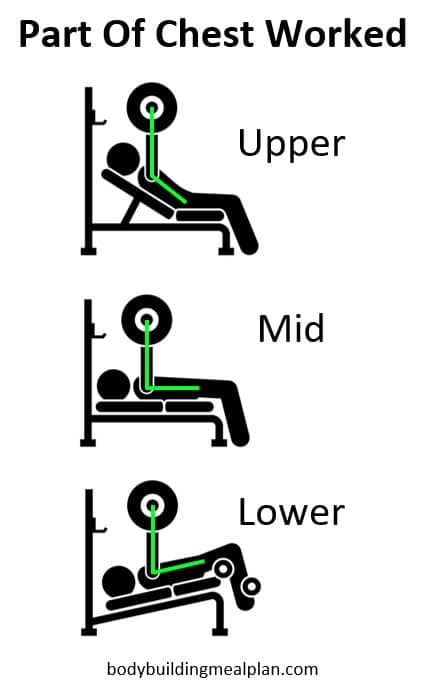
Why Decline Barbell Press Beats Flat Bench for Lower Chest
EMG data confirms the decline angle delivers unmatched sternal-pec activation while minimizing anterior deltoid stress. Flat benching divides tension between upper and mid-chest, but the 15–30° decline shifts the load directly to your lower pec fibers—the area most resistant to growth. This makes it shoulder-friendlier than flat or incline variations, especially valuable if you experience clicking or pain during standard presses. Many lifters report faster lower-chest development from decline work alone than years of flat benching.
Barbell vs Dumbbell Decline Press: Which Builds More Chest?
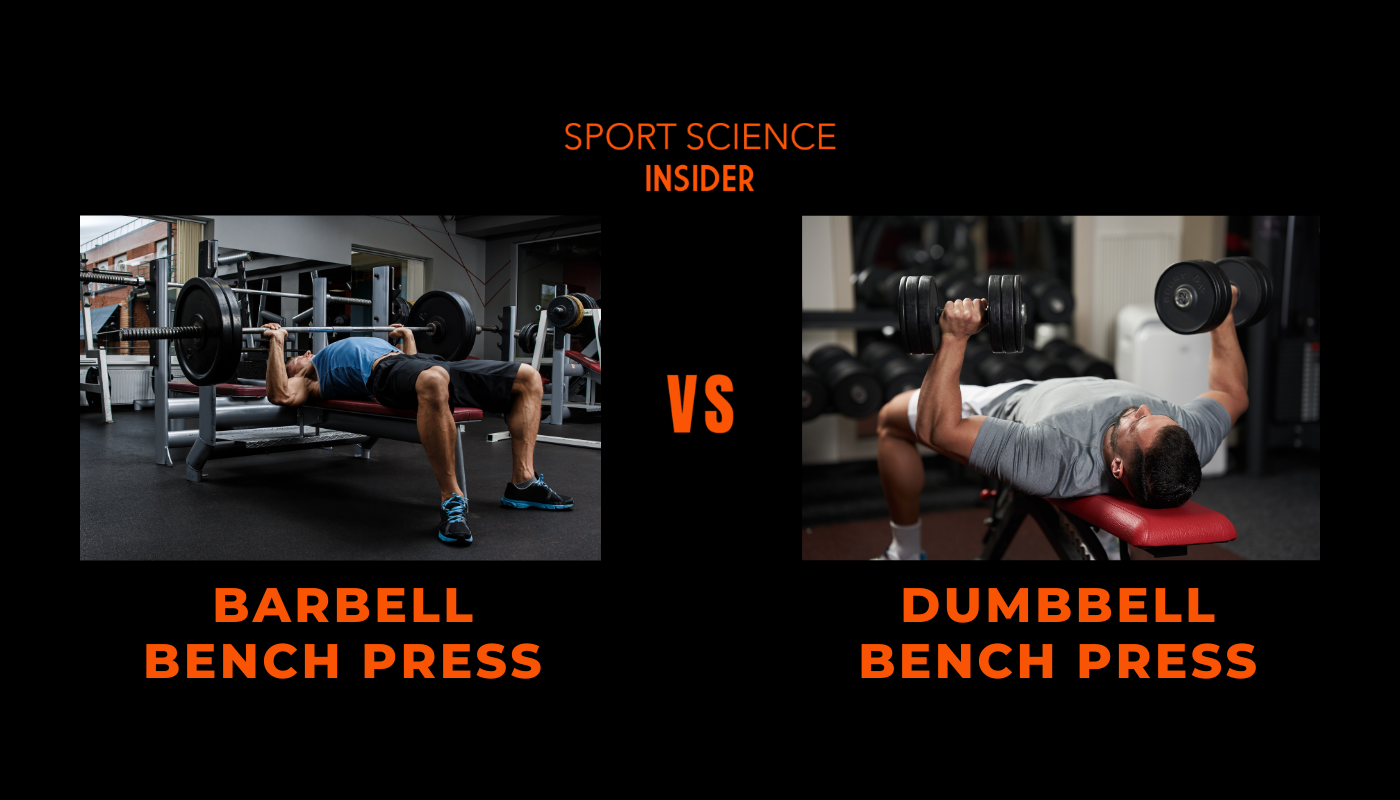
Barbell decline presses let you handle 10–20% heavier loads with greater triceps involvement—ideal for strength-focused phases. However, dumbbells provide a deeper pec stretch and independent limb control to fix imbalances. Rotate both: use barbells for heavy 3–6 rep sets, then dumbbells for 10–15 rep pump work. Never skip the barbell version—it’s superior for building absolute pressing strength through the critical lower-chest range.
Prevent Shoulder Pain with Decline Press Warm-Ups
Skip this sequence and you’re gambling with joint health. Start with 5 minutes of light cardio (rowing or cycling) to raise core temperature. Then perform dynamic mobility: arm circles, banded shoulder dislocations, and thoracic spine rotations. Finish with 2–3 ramp-up sets at 40–60% working weight. Your final warm-up set should feel challenging but controlled at 60% 1RM. This primes pec-minor flexibility and rotator-cuff stability—non-negotiable for pain-free pressing.
Recover Smart After Decline Press Sessions
Avoid direct chest training the next day. Substitute push-ups or overhead press on “off” days to maintain shoulder mobility without overloading fatigued tissues. Perform pec-minor stretches and thoracic extensions 2–3 times weekly—this counters the internal rotation from heavy pressing and preserves your shoulder’s natural mechanics. If your gym’s decline bench has worn foot pads, report it immediately; unstable equipment causes more injuries than heavy weight.
Final Takeaway: The decline barbell press isn’t just another chest exercise—it’s your secret weapon for lower-pec dominance without shoulder compromise. Master the 15–30° angle setup, lock your shoulder blades like steel, and control every rep through a full 2–3 second descent. Program it for 8–12 hypertrophy reps twice weekly alongside incline work, and you’ll build a complete, powerful chest that turns heads. Start light this week: load just the bar, focus on perfect form, and feel that lower-pec burn you’ve been chasing for years. Your breakthrough starts now—press with purpose.


