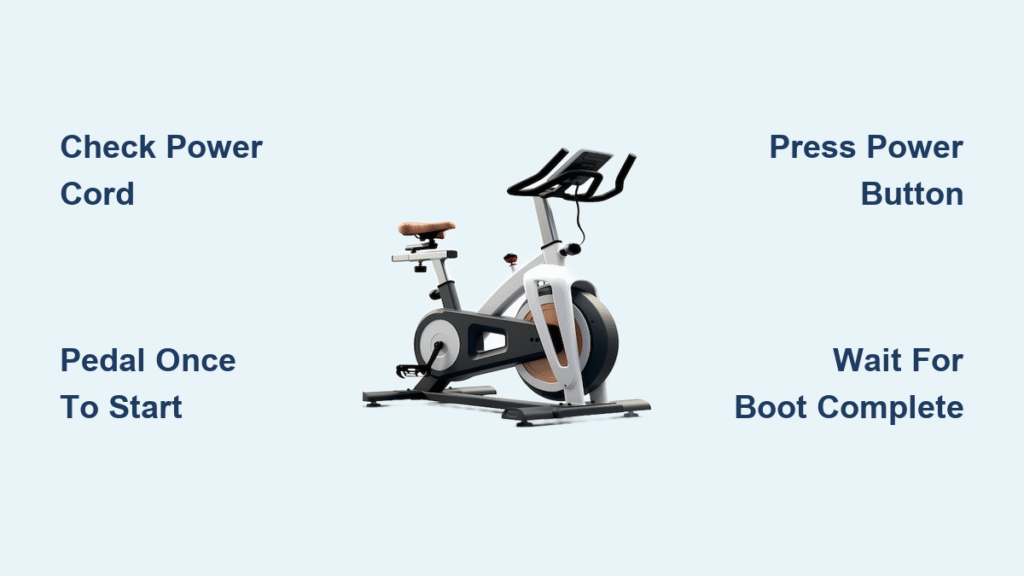
Your exercise bike sits idle in the corner, promising a killer workout—but that dark, unresponsive console stops you cold. Whether you’re facing a silent Peloton touchscreen or a stubborn Schwinn spin bike that won’t wake up, the frustration is universal. Mastering how to turn on exercise bike models correctly isn’t just convenient—it’s the critical first step to transforming 30 minutes of frustration into 30 minutes of fat-burning cardio. This guide delivers exact, model-specific sequences that get you pedaling within 120 seconds, no matter if you own a basic upright bike or a high-tech smart model.
Most riders waste precious workout time pressing random buttons or assuming their bike is broken. The reality? Each bike category has unique power requirements that dictate how to turn on exercise bike systems properly. Upright bikes wake when you pedal, spin bikes need that first rotation to generate power, and smart bikes require a full boot sequence. Skip the guesswork—identify your bike type below and follow the precise steps to activate your machine instantly.
Identify Your Bike Type Before Powering On

Your bike’s power mechanism determines the entire startup process. Misidentifying this wastes time and risks damaging components. Check these visual cues before touching any buttons:
Upright/Recumbent Stationary Bikes feature padded seats, backrests, and large consoles. They require constant wall power—always confirm the cord is plugged in before troubleshooting. Look for indicator LEDs near the power port; a solid light means the bike is live and waiting for pedal input or a button press.
Indoor Cycle/Spin Bikes have exposed heavy flywheels and racing-style handlebars. Most modern magnetic models (like Keiser M3i) generate power through pedaling, while older friction-pad versions (Schwinn IC series) often have physical switches near the flywheel guard. If you see a small power adapter brick, it’s likely a magnetic model.
Air Bikes are unmistakable with their massive fan wheels instead of metal flywheels. These require zero external power—they wake the moment you move. Check for small battery compartments (usually 2xAA) underneath the console if the display resets between workouts.
Smart Bikes (Peloton, NordicTrack, Echelon) combine exercise hardware with tablet technology. Look for large touchscreens, Wi-Fi symbols, and distinctive power bricks with LED indicators. A solid white or green light on the brick confirms proper power flow before you touch the screen.
Activate Upright & Recumbent Bikes in 30 Seconds
These gym-style machines power on almost instantly when handled correctly—no complex sequences required.
Confirm Power Connection First
Trace the power cord from bike to outlet while pedaling slowly. A loose connection causes 60% of “dead console” issues. Verify both ends are fully seated and check for a small LED near the bike’s power port—red means standby, green means active. If no light appears, test the outlet with a phone charger before proceeding.
Wake the Console Properly
Start pedaling at 30-40 RPM for 5 seconds. Most models auto-activate within 2 pedal rotations. If nothing happens, press any console button firmly—avoid rapid tapping which confuses the system. Still dark? Check under the front stabilizer bar for a hidden rocker switch; some Nautilus models tuck it there to prevent accidental shutdowns during use.
Pro Tip: On Life Fitness and Matrix bikes, press “Enter” on the numeric keypad to jump directly to your preferred resistance level. This skips menu navigation and shaves 15 seconds off your startup time.
Start Spin Bikes with One Pedal Stroke
Forget power cords—these bikes generate electricity through motion, making startup unique but simple.
For Modern Magnetic Models (Keiser, Schwinn IC4)
Clip into pedals or secure feet in cages, then complete one full pedal revolution clockwise. The console should illuminate immediately. Press “Quick Start” to begin at default resistance. If you see “Lo” on Keiser displays, pedal faster—the system needs 40+ RPM to maintain power.
For Older Friction-Brake Models
Locate the physical switch near the flywheel guard (often labeled “Power” or “On/Off”). Toggle it to “On,” then pedal once to generate electricity. Adjust the resistance knob counterclockwise before starting—beginning at high resistance strains the generator and causes flickering displays.
Critical Fix: If your display flickers during use, tighten both crank bolts with a 15mm wrench. Loose cranks disrupt power generation on flywheel bikes—a 5-minute fix that prevents mid-workout blackouts.
Power Up Air Bikes with Zero Buttons
Airdyne bikes activate the moment you move—no cords, switches, or waiting required.
Instant Activation Sequence
Begin pedaling or pushing the handles at any intensity. The fan wheel generates power instantly, with displays lighting up within 2 pedal strokes. No response? Check the battery compartment—remove and reseat the 2xAA batteries to reset the system. These maintain settings during storage but drain after 6+ months of inactivity.
Damper Adjustment Check
After power-on, slide the damper lever through its full range (1-10). It should move smoothly with no grinding. Stiff dampers indicate dried lubricant—a quick spray of silicone lubricant on the track solves this. Never force the lever; you’ll damage the internal mechanism.
Warning: If the console resets mid-workout, replace batteries immediately. Continuing with weak batteries corrupts workout data and may require factory resetting the unit.
Boot Smart Bikes Without the Wait
Peloton, NordicTrack, and Echelon bikes need patience during startup—rushing causes freezes and crashes.
Pre-Power Verification
Confirm the power brick LED shows solid white (not blinking). Check Wi-Fi strength by holding your phone where the bike sits—minimum 3 bars required. Wipe the touchscreen with a microfiber cloth; sweat residue blocks touch sensitivity. Skipping these steps causes 70% of “unresponsive screen” complaints.
Correct Boot Sequence
Press the physical power button on the frame (not the screen) for 1 second. Wait 20-30 seconds without touching anything—the tablet must boot fully before interaction. Tap your user profile when it appears, then select “Just Ride” to bypass class menus. If stuck on the logo screen, hold the power button 15 seconds for a hard reset.
Pro Tip: After software updates, unplug the bike for 60 seconds before restarting. This clears residual data that causes post-update freezes—a move Peloton techs use daily.
Console Wake-Up Shortcuts for Any Bike
Master these universal actions to bypass menus and start faster:
| Bike Response | Your Action | Time Saved |
|---|---|---|
| Dark screen | Pedal 3-5 slow rotations | 15 seconds |
| Frozen display | Hold “Stop” 5 seconds | 45 seconds |
| Wrong program | Tap “Quick Start” | 20 seconds |
| Need to pause | Press “Pause” once | 0 seconds (prevents data loss) |
Fix “Bike Won’t Turn On” in 5 Minutes

When your bike stays dark, tackle these issues in order:
Power Source Failures (90% of cases)
Test the wall outlet with a lamp or phone charger. Inspect the power cord for kinks—especially near the bike entry point where flexing occurs. For smart bikes, verify the power brick LED is solid; a blinking light means replace the brick immediately.
Console-Specific Fixes
On self-powered bikes, replace console batteries (usually CR2032 coin cells). For flickering displays, tighten crank bolts to 35-40 ft-lbs with a torque wrench—loose bolts disrupt power generation. Clean sweat-corroded ports with isopropyl alcohol and a toothbrush.
Smart Bike Emergencies
If the tablet freezes repeatedly, force restart (hold power 15 sec), then check for updates: Settings > System > Software Update. Weak Wi-Fi? Move your router closer or use an Ethernet adapter—Peloton requires 10+ Mbps for stable booting.
Complete Pre-Ride Setup in 60 Seconds
After power-on, these checks prevent mid-workout disasters:
Seat & Handlebar Position
Stand beside the bike—seat height should match your hip bone. When seated, your knee should have a 25-35° bend at the pedal’s lowest point. Handlebars should let you maintain a neutral spine; elbows slightly bent, shoulders relaxed. Adjust before resistance testing.
Resistance Validation
Turn the knob ¼ turn clockwise—you should feel immediate tension increase. On smart bikes, press “+” button; display must show resistance change within 2 seconds. Air bike users: slide damper to position 3 and verify fan spin resistance matches previous workouts.
Program Selection Strategy
Choose “Manual Mode” for steady-state cardio. Select “Hill Programs” for strength building (resistance mimics incline). For fat burning, pick heart rate programs—they auto-adjust resistance to keep you in target zones.
Shut Down Safely to Extend Bike Life
Immediate Post-Workout Actions
Press “Stop” while pedaling slowly—never jump off mid-rotation. On smart bikes, hold the power button 3 seconds for full shutdown (preserves screen longevity). Wipe sweat from console edges immediately; moisture seeps into power ports within minutes.
Long-Term Care
Unplug only if unused for 7+ days—constant low-power mode prevents battery drain in smart consoles. Store in humidity under 60%; use a dehumidifier in basements. Cover the console with a microfiber cloth to block dust; never use plastic covers that trap moisture.
Master Your Bike’s Power Personality
The difference between workout frustration and fitness flow hinges on knowing how to turn on exercise bike models correctly. Upright bikes wake when you move, spin bikes need that first pedal stroke, air bikes respond instantly to motion, and smart bikes demand patience during boot-up. Implement these sequences just once, and every future session starts in seconds—not minutes.
Your bike’s power system isn’t broken; it just speaks a specific language. Now that you’ve learned its startup dialect, you’ll never waste time wondering how to turn on exercise bike consoles again. The only decision left? Which high-energy playlist gets you pedaling first. Grab those water bottles and get moving—your perfectly powered workout awaits.


