
Your bench press stalls at the lockout. Your arms disappear in a t-shirt. You’ve tried every triceps exercise but still can’t build that horseshoe shape. If this sounds familiar, barbell skull crushers are your missing link. This brutally effective movement delivers unmatched triceps stimulation by combining deep muscle stretch with heavy loading—exactly what your lagging arms need. Forget flashy alternatives; when performed correctly, skull crushers trigger explosive growth in all three triceps heads, especially the long head that creates that coveted upper-arm sweep.
Don’t let the intimidating name scare you off. Despite rumors of elbow-shredding danger, this exercise becomes one of your safest when you master proper form. In this guide, you’ll learn the exact setup, execution, and progression strategies used by physique competitors to transform skinny arms. You’ll discover why 8+ reps are non-negotiable, how to eliminate joint pain, and which variations deliver results without wrecking your shoulders.
Equipment Setup for Skull Crushers
Required Equipment Checklist
Grab a standard barbell and flat bench—no fancy attachments needed. Position the bench perpendicular to a mirror to monitor form without straining your neck. Start with an empty bar (45 lbs) regardless of your strength level; most lifters dramatically overestimate what they can handle with full range of motion. If pushing beyond 8 reps, always use a spotter who stands at head level with hands ready to assist. For wrist comfort, keep an EZ curl bar nearby—it reduces joint stress by 25-30% through its ergonomic grip angles.
Bench Positioning Fundamentals
Lie back with your head fully supported and eyes directly under the bar path. Plant your feet firmly on the floor, creating a stable base that prevents torso rocking. Pinch your shoulder blades together like you’re holding a pencil between them—this activates your upper back stabilizers and protects your shoulders. Your upper arms must remain perpendicular to the floor throughout the movement; if they drift forward, you’ll shift tension to your chest and lose triceps activation.
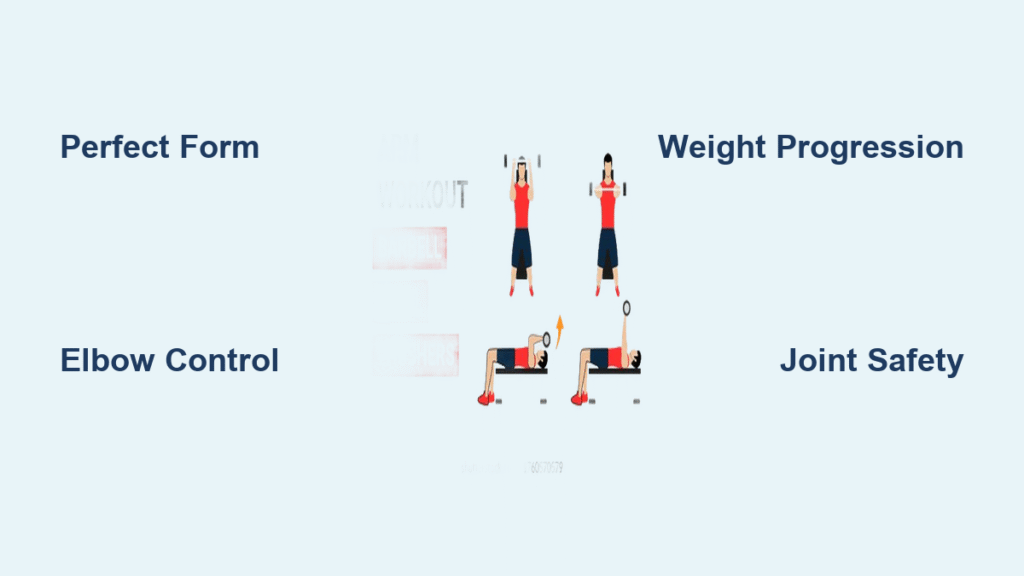
Perfect Form Execution Guide
Starting Position Setup
Sit on the bench with the barbell resting on your thighs. Grip the bar shoulder-width apart with palms facing down, then lie back while pressing the bar to full extension above your chest. Your wrists, elbows, and shoulders should form a straight vertical line. Never grip too wide (reduces triceps engagement) or too narrow (increases wrist strain). Keep your core braced and lower back pressed into the bench to prevent arching.
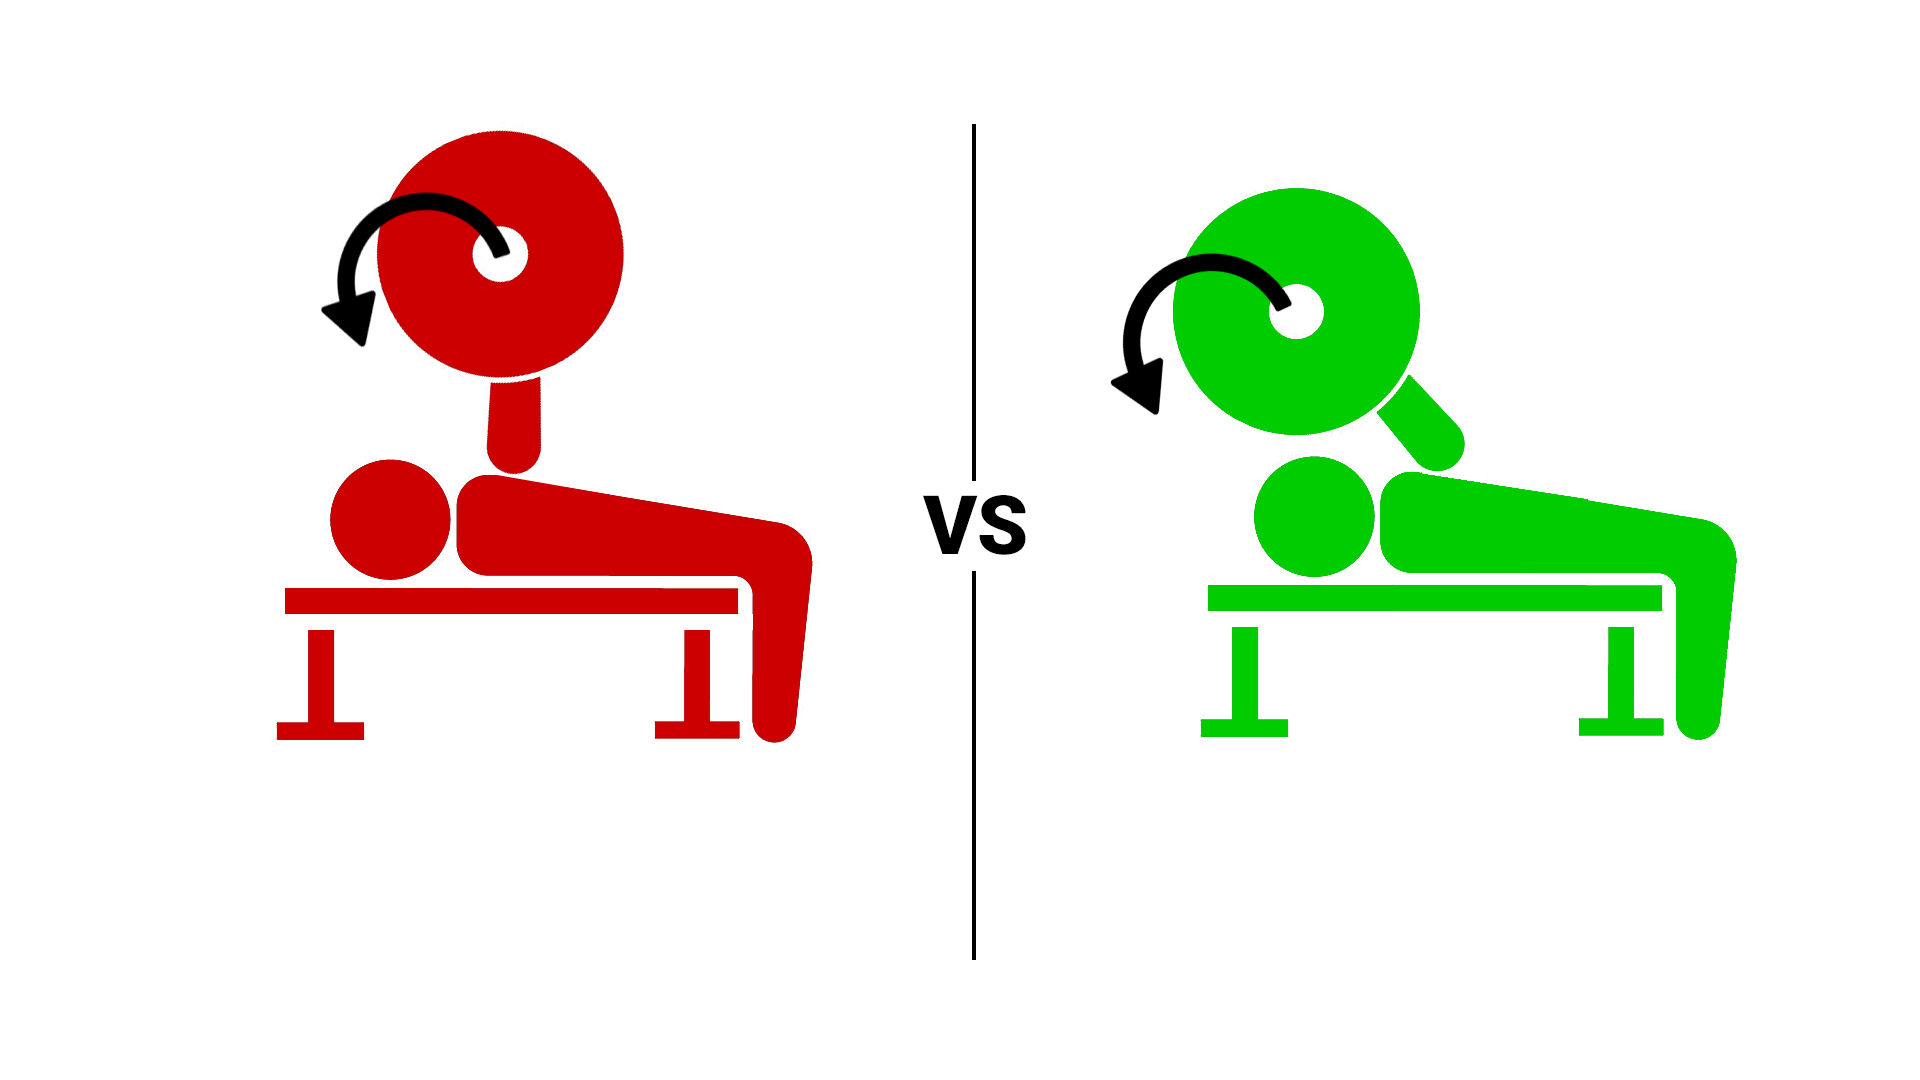
The Descent Phase
Inhale deeply as you lower the bar toward your forehead by only bending at the elbows. Keep your upper arms locked in position—any movement here sabotages the exercise. Lower until the bar hovers one inch above your forehead or passes behind your head for maximum long-head stretch. At the bottom position, you should feel an intense triceps stretch without shoulder discomfort. If your shoulders ache, stop higher and build mobility gradually.
Powerful Extension
Exhale forcefully while driving the bar back up using pure triceps power. Do not lock out your elbows completely at the top; maintain constant tension by stopping just short of full extension. This keeps your triceps under continuous load, maximizing muscle fiber recruitment. Focus on “pulling” the bar upward with your elbows rather than pressing with your hands—a mental cue that boosts triceps activation by up to 20%.
Critical Form Mistakes to Fix
Elbow Flaring Epidemic
The Problem: Letting elbows drift outward shifts tension to shoulders and reduces triceps activation by 40%.
The Solution: Actively squeeze elbows toward each other throughout the movement. Imagine crushing an invisible basketball between them. Check your form in the mirror—elbows should stay directly above your shoulders at all times.
Weight Ego Lifting
The Problem: Using excessive weight causes partial reps that barely stress the triceps.
The Solution: Drop weight until you hit 8-12 full-range reps with control. Progressive overload only works when form stays pristine—add 2.5-5 lbs only after nailing the top of your rep range for two consecutive sessions.
Wrist Breaking
The Problem: Wrist collapse under load transfers force inefficiently and strains joints.
The Solution: Maintain neutral wrists by actively flexing your forearms. Switch to an EZ bar immediately if discomfort persists—it aligns wrists in a natural position while preserving muscle activation.
Advanced Variation Arsenal
EZ Bar Skull Crushers
The EZ bar’s curved grip reduces wrist and elbow strain without sacrificing effectiveness. Start with 10-15% less weight than your standard barbell load to master the movement pattern. This variation is ideal for lifters with pre-existing joint issues or those training for higher rep ranges (15+).
Dumbbell Skull Crushers
Use individual dumbbells to correct muscle imbalances and increase range of motion. Perform with a neutral grip (palms facing) to minimize shoulder stress. Dumbbells force each arm to work independently—crucial for lifters whose dominant side compensates during barbell work.
Band-Resisted Skull Crushers
Anchor a resistance band to the bench base and loop it around the bar. This creates accommodating resistance—greater tension at the top where triceps are strongest. Perfect for building explosive lockout power while reducing joint stress at the stretched position.
Programming Your Progress
Optimal Set and Rep Schemes
- Hypertrophy: 3-4 sets of 8-12 reps with 2-second lowering phase
- Strength: 4-5 sets of 5-8 reps using 75-85% of your 1RM
- Endurance: 2-3 sets of 15-20 reps with 45-60 seconds rest
Weekly Frequency Guidelines
Perform skull crushers once weekly after compound pressing movements like bench press. Allow 72 hours before your next upper-body session for full triceps recovery. Never train them when elbow tendons feel tender or inflamed.
Progressive Overload Strategy
Increase weight only when hitting the top of your rep range for all sets. If stalled, add reps weekly (e.g., 8→9→10) before increasing load. Every 4-6 weeks, reduce volume by 50% for a deload week to prevent overuse injuries.
Safety Protocols That Matter
Joint Protection Essentials
Always warm up elbows with 2 sets of light resistance band extensions before loading the bar. Stop immediately if sharp pain occurs—only muscle fatigue should be felt. If lateral elbow pain develops, switch to dumbbells and reduce weight by 30% for two weeks.
Injury Prevention Checklist
- Maintain rigid torso by engaging core and retracting shoulder blades
- Never bounce at the bottom position—control every inch of movement
- Use 2-3 second eccentrics to maximize tension while minimizing joint stress
- Keep feet planted to prevent lower back arching
Troubleshooting Common Issues
Elbow Pain Solutions
If pain strikes during lowering, immediately reduce weight and check elbow alignment. Most cases resolve by switching to EZ bar variations and emphasizing the 2-second lowering phase. Persistent pain requires 1-2 weeks of rest followed by high-rep (15-20) dumbbell skull crushers with minimal weight.
Range of Motion Limitations
Tight shoulders restrict the behind-head stretch. Start by lowering only to forehead level, then gradually increase depth over 3-4 weeks. Pair with daily resistance band shoulder dislocations (10 reps) to safely enhance mobility.
Sticking Point Strategies
Hit a wall at 8 reps? Implement pause skull crushers: hold the bottom position for 3 seconds before extending. This builds strength in the weakest range while reinforcing perfect form under fatigue.
Muscle Growth Optimization
Stretch-Mediated Hypertrophy
The overhead arm position creates extreme long-head stretch—proven to trigger 40% more muscle damage than standard extensions. This “loaded stretch” is why skull crushers outperform pushdowns for mass building. Maximize it by lowering behind your head (if shoulders allow) while maintaining elbow stability.
Time Under Tension Manipulation
Use a 4-second rep cadence: 2 seconds lowering, 1-second pause at bottom, 1-second extension. This increases metabolic stress 30% compared to fast reps, flooding triceps with growth-inducing metabolites.
Mind-Muscle Connection Development
Focus exclusively on elbow extension—your hands are merely handles. Visualize your triceps pulling the bar upward while shoulders stay relaxed. This mental cue boosts activation more than any weight increase.
Integration with Your Program
Push Day Placement
Perform skull crushers after compound presses but before isolation work. Example sequence: bench press → overhead press → skull crushers → triceps pushdowns. This ensures maximal triceps loading while fresh.
Periodization Progression
Cycle through 4-week blocks: Weeks 1-2 focus on form with 50-60% 1RM (12-15 reps), Weeks 3-4 increase load to 70-80% 1RM (8-10 reps). This prevents stagnation while protecting elbow tendons from chronic overload.
Mastering barbell skull crushers transforms not just your triceps but your entire upper-body strength. Start conservatively with perfect form—empty barbell for 12 controlled reps—and progress only when technique stays flawless. Within 8 weeks of strategic implementation, you’ll notice thicker arms, stronger bench lockouts, and that satisfying horseshoe curve emerging. Remember: the most effective triceps builder demands respect, not recklessness. Prioritize control over weight, and your skull-crushing pump sessions will deliver results that last.


