
Your quads burn, your knees ache, and your posterior chain feels untouched after back squats? You’re not alone. Most lifters default to one barbell squat style while missing out on targeted muscle growth, strength gains, and joint relief available through strategic variation selection. With 15+ legitimate barbell squat types shifting force distribution across your hips, knees, and spine, choosing the right movement for your anatomy and objectives transforms stalled progress into breakthrough results. This guide cuts through the noise to show you exactly which barbell squat variations deliver specific outcomes—no more guessing whether high-bar or safety bar squats will fix your quad weakness.
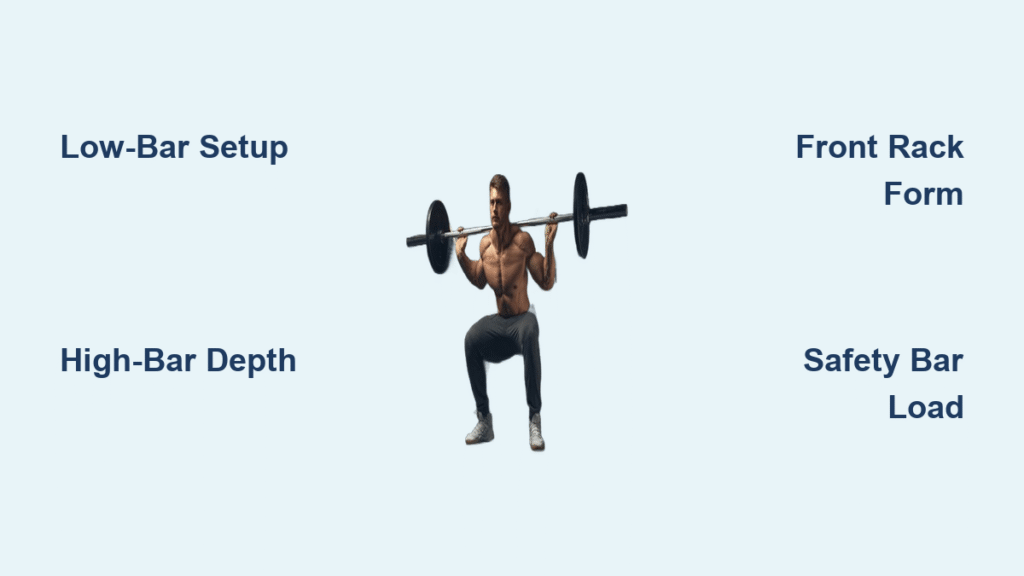
Back Squat: Low-Bar vs High-Bar Setup Decisions
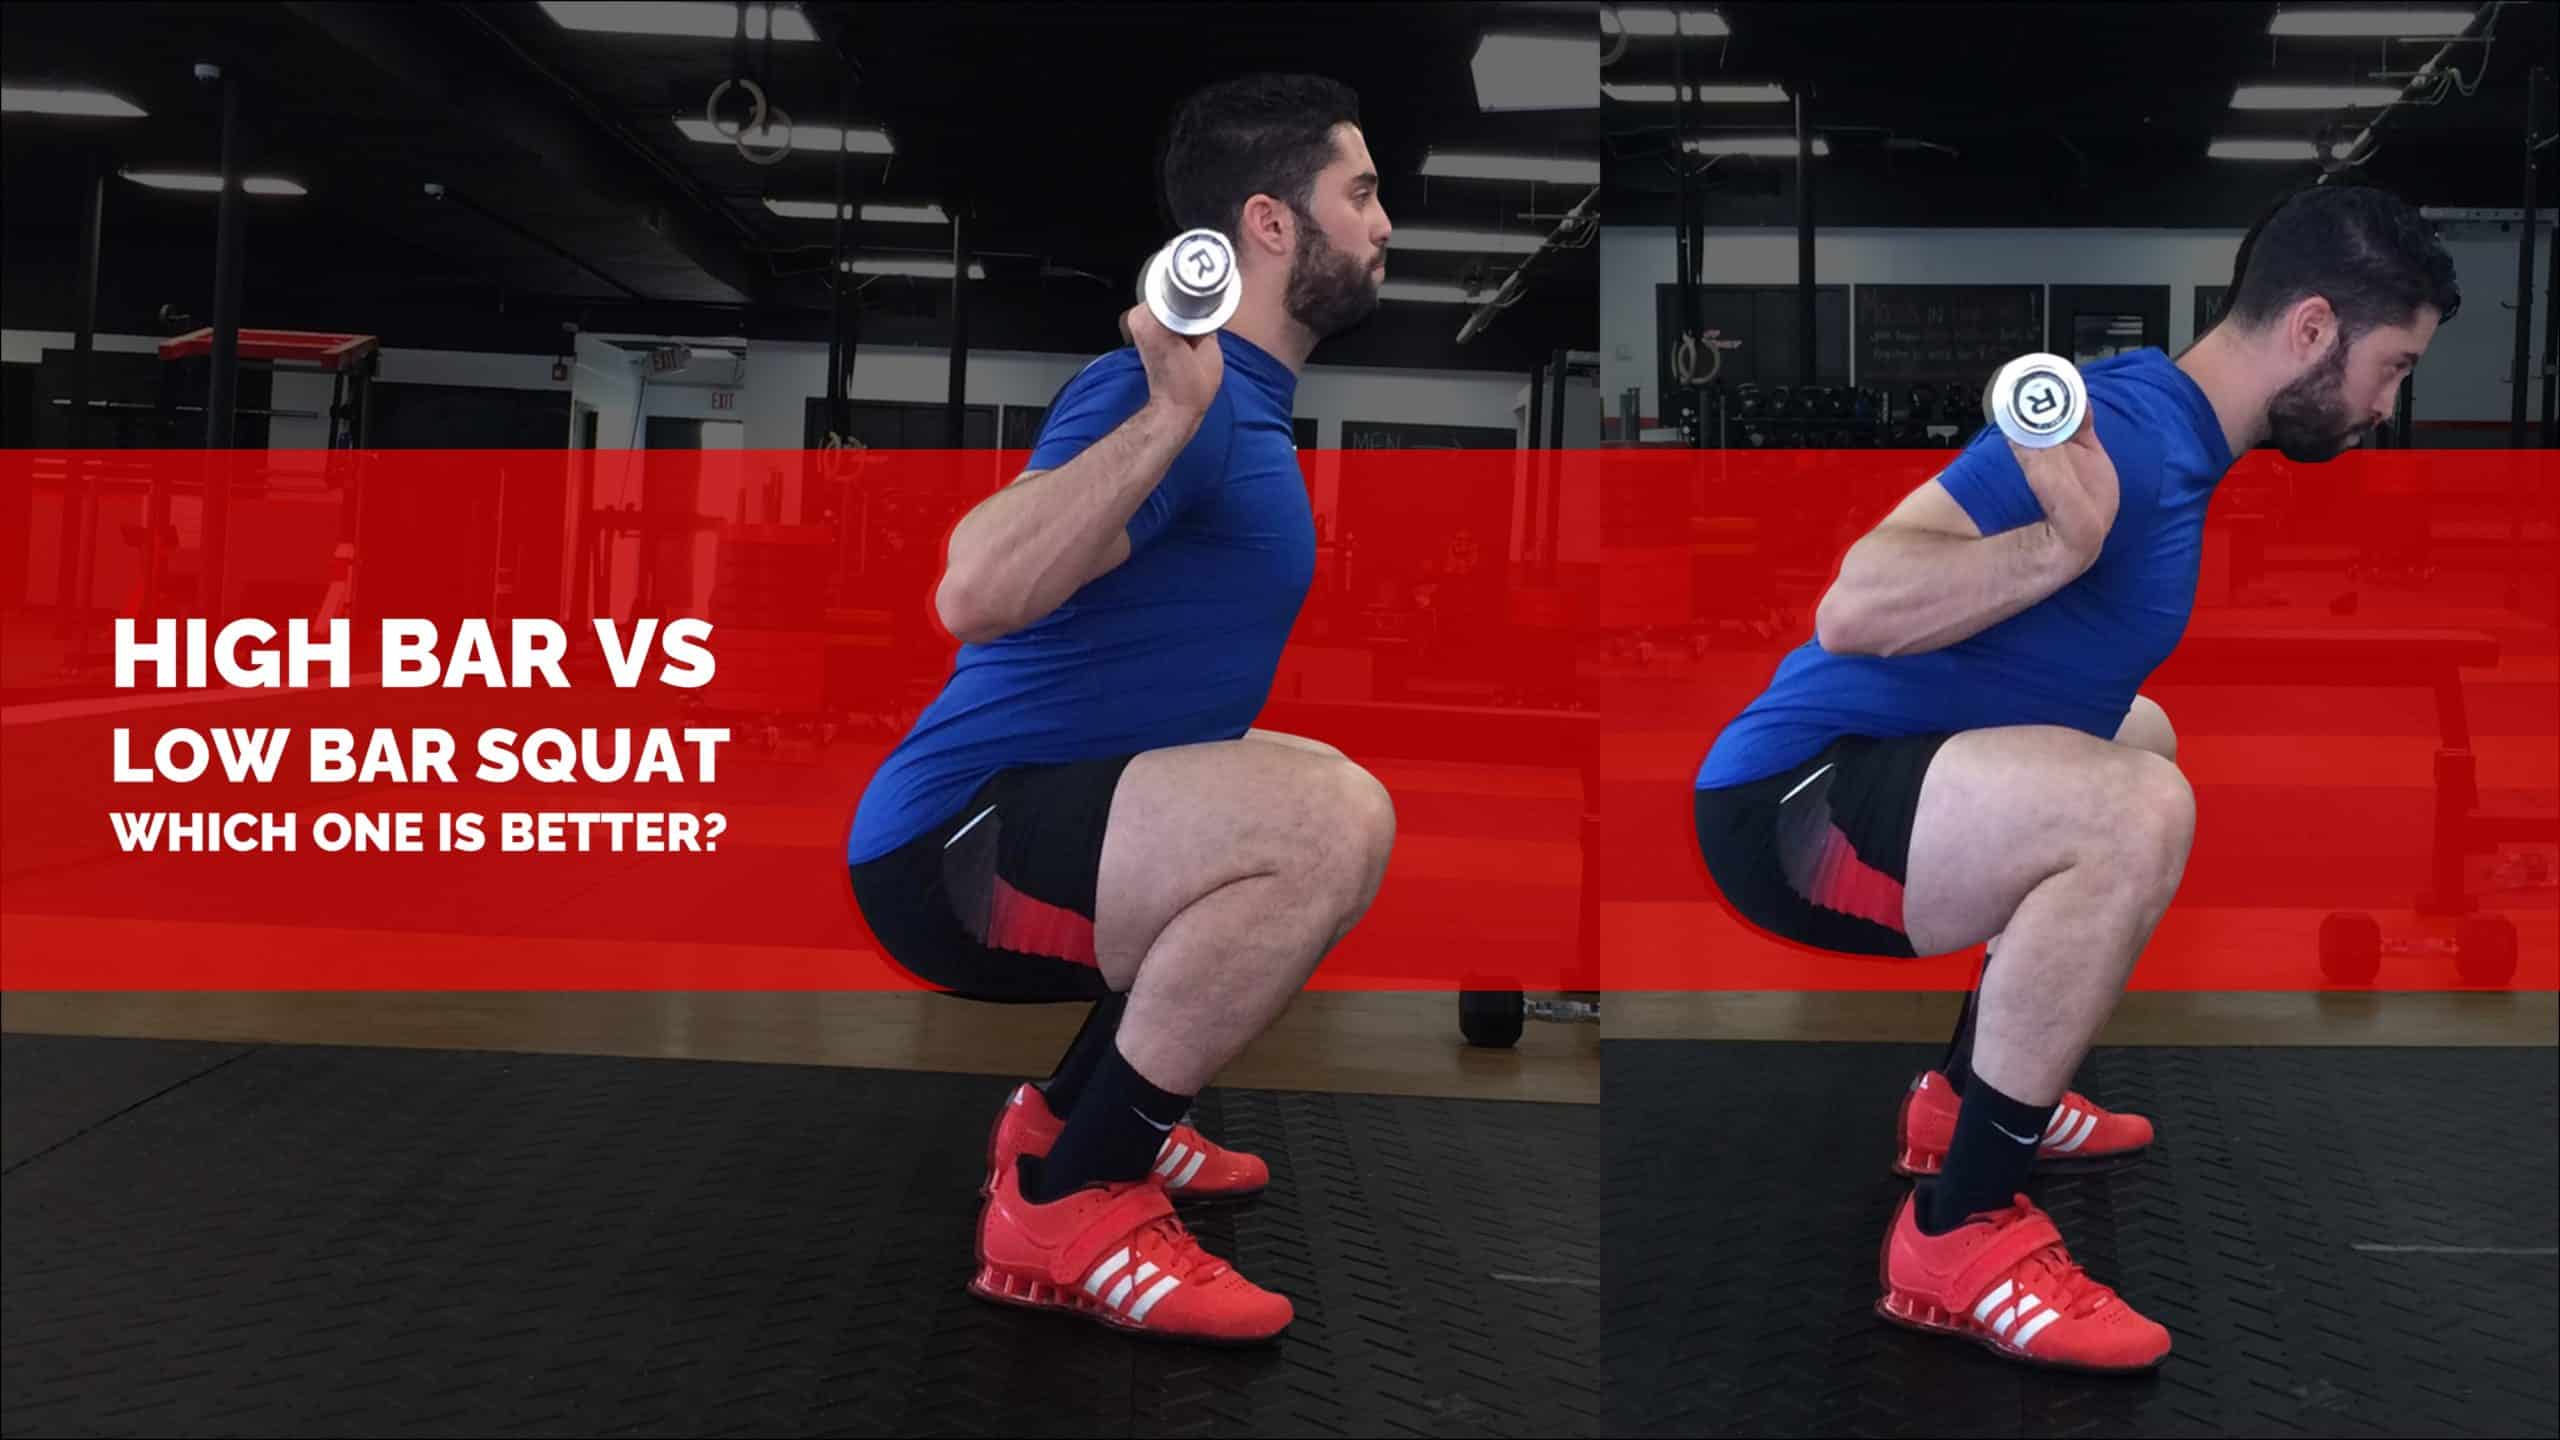
Why Your Hip Structure Dictates Bar Placement
Long femurs or stiff ankles sabotage high-bar squats but thrive with low-bar positioning. Rest the bar on your rear deltoid shelf (below the spine of your scapula), not your traps. This shifts your torso 10-15 degrees forward, engaging hamstrings and glutes to share the load with quads. Powerlifters dominate with this style because it allows heavier absolute loads by reducing spinal shear.
Critical execution cues
– Grip the bar just outside your power rings—thumb width matters for stability
– Pull elbows down and inward to create a “meaty shelf” supporting the bar
– Walk out in two controlled steps, feet shoulder-width apart, toes pointed 15–30° outward
– Initiate descent by pushing hips back first, not bending knees
High-Bar Squat Setup for Quad Dominance
When your upper traps sit naturally higher (common in Olympic lifters), high-bar placement maximizes quad engagement. The bar rests directly atop your upper traps with elbows driving under the bar to keep your torso upright. This demands exceptional ankle dorsiflexion and hip mobility but torches quads like no other variation.
Fix your depth instantly
1. Squeeze shoulder blades together before unracking to build a natural trap shelf
2. Brace your core as if preparing for a punch—create 360° tension
3. Descend until your hip crease drops below your knee joint line
4. Drive upward through your mid-foot, exhaling forcefully at the sticking point
Pro tip: If your chest caves during high-bar squats, your elbows are dropping. Keep them parallel to the floor throughout the movement.
Front Squat: The Knee-Friendly Quad Builder
Front Rack Position Without Wrist Pain
Barbell placement on your anterior deltoids—not your collarbones—is non-negotiable. Rest the bar across the front of your shoulders with fingertips supporting it (not bearing weight). For wrist limitations, use the cross-arm grip: place hands under the bar with elbows high, forearms parallel to the floor. This variation reduces lumbar shear by 18% compared to back squats according to biomechanical studies.
Movement Pattern for Maximum Quad Activation
- Adopt a hip-width stance with minimal toe flare
- Initiate descent by driving knees forward before sitting hips back
- Maintain chest-up posture—if elbows drop, your torso will collapse forward
- Pause for one second with thighs parallel to the floor, then drive through heels
- Load reality check: Expect 60-70% of your back-squat max. Chasing heavy numbers sacrifices depth and elbow height—prioritize form over weight.
Overhead Squat: The Ultimate Mobility Diagnostic
Why You Can’t Reach Full Depth
This variation exposes deficits most lifters ignore: insufficient shoulder external rotation, thoracic stiffness, or ankle mobility. If your elbows bend or bar drifts forward during descent, you’ve hit your limiting factor. Always start with a PVC pipe to assess your baseline before adding load.
Step-by-Step Correction Protocol
- Grip the bar wider than shoulder-width, press overhead with locked elbows
- Position feet shoulder-width apart, toes slightly out
- Descend while keeping the bar stacked over your mid-foot—no forward lean
- Hold the bottom position for two seconds to build positional confidence
- Drive upward without shifting the bar’s path
Programming hack: Use 3 sets of 5 reps with an empty barbell twice weekly. Within 4 weeks, your high-bar squat depth will improve by 15-20% as thoracic and ankle restrictions release.
Safety Bar Squat: The Joint-Sparing Powerhouse

How the Cambered Bar Changes Everything
The padded yoke and forward handles shift the load slightly anterior to your center of gravity. Unlike front squats, this requires zero wrist or shoulder mobility while forcing an upright torso. The camber naturally pitches you forward—counteract this by driving elbows upward throughout the descent.
Execution sequence
– Position the safety bar high on your traps like a high-bar squat
– Grab the handles or cross arms over the yoke for stability
– Brace your core aggressively before initiating descent
– Descend under control until thighs break parallel
– Explode upward while maintaining elbow height to prevent chest collapse
Ideal for lifters with shoulder injuries or those needing high-volume leg work without spinal fatigue. You’ll lift 10-15% less than back squats but with dramatically reduced joint stress.
Box Squat: Precision Depth for Posterior Chain Power
Setting Your Box Height Correctly
Your hip crease must land just below your knee joint at the bottom position. Too high cheats depth; too low forces lumbar rounding. Measure this by sitting on the box with perfect posture before adding weight.
Touch-and-Go vs Dead-Stop Techniques
- Touch-and-go: Lightly graze the box without relaxing—maintains stretch reflex for speed work
- Dead-stop: Fully release hip tension for 1-2 seconds before exploding upward—builds starting strength
Critical mistake to avoid: Sitting down instead of back onto the box. Push hips backward as if sitting in a chair behind you. This engages hamstrings and glutes while protecting knees. Start with 60% of your back-squat max to master the pattern.
Cyclist Squat: Heel-Elevated Quad Isolation
Why Heel Elevation Transforms Quad Engagement
Placing heels on 2-4 inch plates or a slant board shifts force distribution anteriorly. With your center of gravity moving forward, knees travel farther over toes, spiking quad activation by 22% compared to standard back squats. This bypasses weak ankle dorsiflexion while isolating quads.
Perfect execution checklist
– Adopt a narrow stance (feet hip-width) with toes pointed forward
– Drive knees aggressively forward during descent—torso remains upright
– Pause at full depth with quads parallel to the floor
– Squeeze quads forcefully to stand—no hip drive assistance
– Load range: Use 40-60% of back-squat max for 8-12 reps to maximize hypertrophy without spinal compression
Warning: Never force depth beyond your natural ankle range. Stop when knees track over second toes.
How to Choose Your Perfect Barbell Squat Variation
| Your Primary Goal | Best Barbell Squat Types | Rep Range & Load Guidance |
|---|---|---|
| Maximal strength | Low-bar back, Anderson, pin squats | 3-5 reps @ 80-90% 1RM |
| Quad hypertrophy | Cyclist, front, tempo squats | 6-12 reps @ 60-75% 1RM |
| Glute and hamstring focus | Sumo, box, landmine squats | 8-12 reps @ 65-80% 1RM |
| Technique and mobility | Overhead, pause squats | 3-5 reps @ light load |
| Injury management | Safety bar, belt, Zercher squats | 5-10 reps @ 50-70% 1RM |
Beginner progression path: Master bodyweight squats → goblet squats → Smith machine squats → high-bar back squats. Attempt front squats only after achieving parallel depth with 1.5x bodyweight in back squats.
Critical Programming Principles
Rotate barbell squat variations every 4-6 weeks to prevent plateaus and build balanced strength. If your knees ache during back squats, switch to safety bar squats for two weeks—this often resolves pain by reducing shear forces. Never perform more than two squat variations weekly; pair heavy back squats with lighter tempo front squats for optimal recovery. Always warm up with 2 sets of 10 bodyweight squats plus ankle and hip mobility drills before loading the bar.
Proven weekly template:
– Day 1: Low-bar back squat 5×5 @ 80% 1RM
– Day 3: Front squat 4×6 @ 70% 1RM with 3-second eccentric
– Day 5: Box squat 6×3 @ 75% 1RM (dead-stop style)
Your barbell squat success depends entirely on matching the variation to your unique anatomy and goals—not lifting the heaviest weight possible. Prioritize depth consistency over ego lifting, rotate styles strategically, and watch previously stubborn muscle groups finally respond. The right barbell squat variation isn’t just an exercise—it’s your most powerful tool for building resilient, functional strength that lasts decades.


