
Your wrists scream with every kettlebell snatch, clean, and swing. When that cast-iron bell accelerates through space, your small wrist joints bear massive loads while fighting to maintain perfect alignment. Weak wrists sabotage your progress—causing grip failures mid-set, unstable overhead positions, and nagging pain that derails training. But strong wrists? They unlock heavier bells, flawless technique, and pain-free sessions that last years. This guide delivers proven kettlebell wrist exercises that transform fragile joints into resilient pillars of strength. You’ll master targeted isolation moves that build tendon density, then integrate compound drills that forge real-world durability. No more wobbly rack positions or premature grip fatigue—just unbreakable wrists that handle any bell you throw at them.
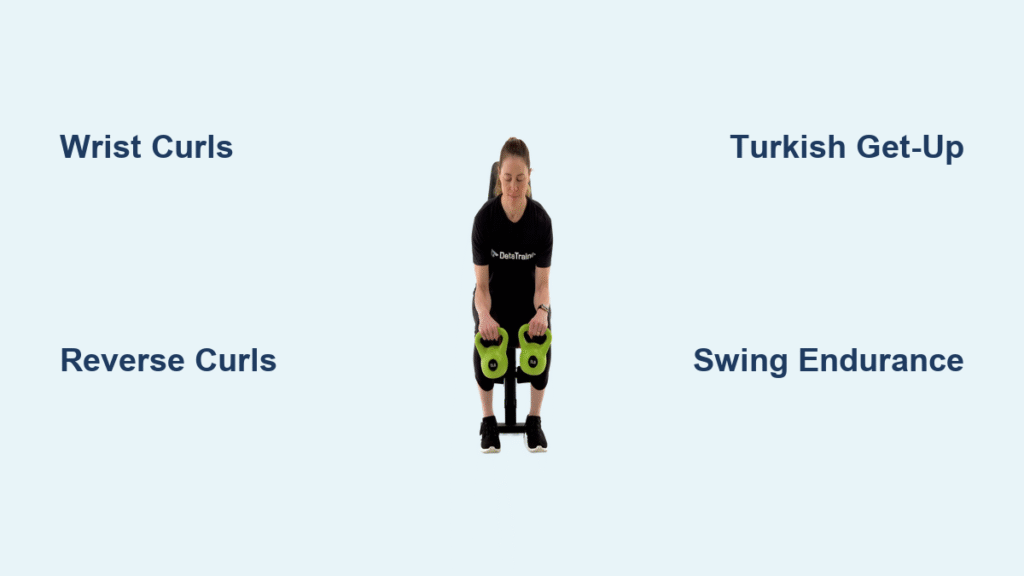
Essential Kettlebell Wrist Curl Variations for Raw Strength
How to Perform Standard Wrist Curl Extensions Correctly
Start seated with your forearm resting flat on your thigh, palm facing up and wrist hanging just beyond your knee. Grasp a light kettlebell (4-8kg for beginners) so the handle lies diagonally across your palm—this stabilizes the load better than a centered grip. Use your free hand to position the bell, then release it for the working set to prevent compensatory wobbling. Now flex your wrist upward through its full range while keeping your forearm glued to your leg. You should feel intense engagement in your forearm flexors as you lift. Lower slowly over three full seconds until your fingers point toward the floor, actively resisting the kettlebell’s momentum. This controlled eccentric phase builds critical tendon strength that ballistic swings miss entirely. Stop immediately if you feel joint pain—dull forearm fatigue is normal; sharp wrist discomfort means you’ve overloaded too soon.
Reverse Wrist Curl Progression for Neglected Extensors
Flip your grip to target the wrist extensors—the unsung heroes that prevent collapse during cleans and snatches. Same seated position, but now your palm faces down. Your extensors are 30-40% weaker than flexors, so start lighter than standard curls (try 2-4kg). Grip the kettlebell handle diagonally and extend your wrist upward against gravity while keeping your forearm motionless. Focus on pure wrist movement: no elbow shifting or shoulder shrugging. The bell should feel surprisingly heavy here since these muscles rarely get direct work. Lower with the same 3-second control to maximize tendon adaptation. Perform these after standard curls in your routine to address common flexor-extensor imbalances that cause overuse injuries. When you can complete 15 strict reps with 8kg, progress to heavier bells.
Mastering Wrist Turn Mechanics for Rotational Stability
Place your kettlebell handle-flat on the floor. With an underhand grip, grasp the side of the bell and rotate it 180 degrees until the bell points straight up. Reverse smoothly to return. This trains pronation/supination—the rotational forces that stabilize your wrist during cleans when the bell flips over your hand. For progression, start with a pronated (overhand) grip for reverse turns. Perform these standing with your arm extended at shoulder height, elbow locked, rotating the bell in slow circles without moving your upper arm. You’ll feel distinct engagement along your radial and ulnar forearm sides. Aim for 20 controlled circles per direction with a 4-8kg bell. Stop if your elbow drifts—this indicates wrist fatigue forcing compensation. These movements prevent the “wrist collapse” that plagues beginners during high-rep snatches.
Compound Kettlebell Wrist Strengtheners for Real-World Durability
Turkish Get-Up Foundation for Overhead Stability
The Turkish Get-Up isn’t just a mobility drill—it’s your best wrist therapy under load. Holding a light kettlebell (8-12kg) overhead for the full sequence forces continuous stabilizer engagement. Start by practicing the movement without weight to master body positioning, then add the bell. During the roll-to-elbow phase, keep your wrist neutral with knuckles pointing toward the ceiling—not bent backward. As you transition to the tall kneeling position, ensure the bell sits directly over your shoulder joint with no lateral wrist deviation. Any wrist “wobble” here reveals weakness that will fail under heavier loads. Complete 2 sets of 5 reps per arm as a warm-up before heavy pressing work. This builds the dynamic stability needed for heavy snatches where wrist alignment makes or breaks the lift.
Clean Catch Position Technique Breakdown

Your rack position determines clean success. During the catch phase, your wrist must absorb the bell’s momentum while maintaining neutral alignment—no backward bending. Start with dead cleans from a hang position (bell resting on thighs) to isolate the catch mechanics without hip drive. Focus on punching your elbow under the bell while keeping knuckles vertical. As you progress to full cleans, your wrists will adapt to handling ballistic forces. If your wrist bends backward on catch, reduce weight and practice 10 slow-motion catches per set. Record yourself to check alignment: a straight line should run from knuckles through forearm to elbow. Perfect this before attempting heavy clean ladders.
Swing Grip Endurance Test That Exposes Weak Links
Two hundred kettlebell swings will expose any wrist weakness. Your joints must maintain neutral alignment while hips generate power and the bell accelerates. Single-arm swings amplify the challenge—try 100 reps total (switching arms every 10 reps) to be completed in under 3 minutes. During the backswing, actively pull the bell back with your lats while keeping wrist neutral. Any collapse here transfers stress to joint capsules instead of muscles. If your grip fails before hip fatigue, insert 2-3 weekly wrist curl sessions. For advanced trainees, wrap a towel around the handle to create an unstable, thicker grip that forces stabilizers to work overtime. This simulates the “wobble” of competition bells during high-rep challenges.
Equipment Modifications That Accelerate Wrist Adaptation
Thick-Handle Variations for Instant Grip Challenge
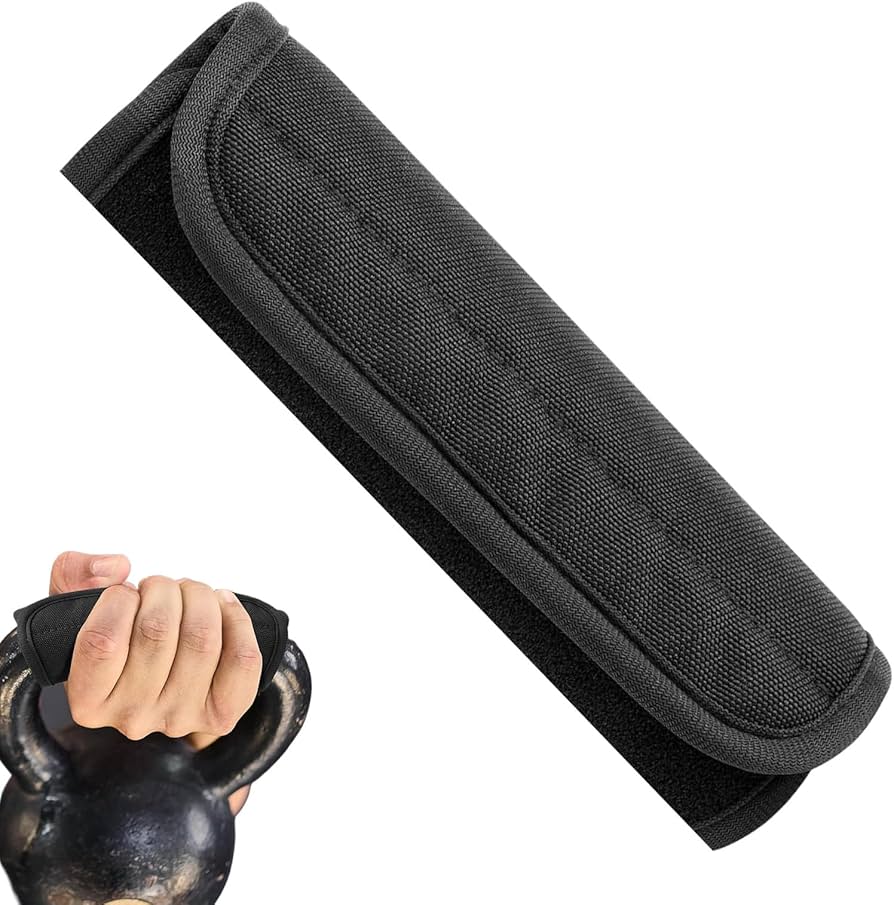
Standard kettlebell handles (33-38mm diameter) become inadequate as wrists strengthen. Immediately upgrade the challenge by wrapping a dry gym towel tightly around your handle. The unstable, larger diameter forces wrist stabilizers to fire constantly to prevent rotation. Alternatively, seek competition-style kettlebells with 45mm+ handles. Never use excessive weight with these modifications—start with 4-8kg bells even if you swing 24kg normally. The towel method also protects palms during high-rep wrist rotations where handle burrs cause irritation. Test for progress when you can complete 20 controlled wrist turns with a towel-wrapped 12kg bell without forearm compensation.
Safe Load Progression Metrics for Injury Prevention
Isolated wrist curls demand careful loading: start with 4-8kg bells and progress only when you hit 15 strict reps with perfect form. Your max wrist curl should eventually reach 20-25% of bodyweight for 8 reps (e.g., 16kg for an 80kg lifter). For compound moves like cleans, increase weight only when you maintain neutral wrist alignment through 10 consecutive reps. Never chase wrist curl numbers at the expense of form—sharp pain means immediate deload. Track progress weekly: if your 100 single-arm swing time drops by 15 seconds, you’ve earned a 2kg weight increase. Remember that tendons adapt slower than muscles—wait 2-3 weeks between load jumps to avoid overuse injuries.
Technique Safety Essentials for Pain-Free Training
Wrist Alignment Checkpoints During Ballistic Lifts
During snatches and cleans, maintain a straight line from knuckles through forearm to elbow—no backward bending. Film yourself from the side: if your wrist angle exceeds 10 degrees from neutral during the catch phase, reduce weight immediately. In overhead positions like the Turkish Get-Up, your knuckles should face the ceiling with no side-to-side drift. Any “wobble” indicates stabilizer fatigue—stop the set before compensatory patterns form. Before heavy sets, perform 10 wrist circles (5 clockwise, 5 counterclockwise) with a light bell to lubricate joints and prime stabilizers.
Controlled Eccentric Emphasis for Tendon Resilience
Every lowering phase builds critical tendon strength. During wrist curls, resist the kettlebell’s descent for 3 full seconds—this eccentric loading prevents the “whiplash” effect that strains ligaments during ballistic swings. In cleans, actively control the bell’s drop from rack position to floor rather than dropping it. For Turkish Get-Ups, reverse each phase slowly to maximize time under tension. This builds the tendon resilience needed to handle heavy snatches where rapid deceleration stresses wrists. Start with 2-second eccentrics and build to 4 seconds as strength improves.
Performance Benchmarks That Prove Wrist Strength
Track measurable progress with these tests:
– Grip endurance: Complete 100 single-arm swings (switching every 10 reps) without setting the bell down in ≤3 minutes
– Strength test: Achieve 8-rep max wrist curl with 20-25% of bodyweight (e.g., 16kg for 80kg lifter)
– Control test: Perform 20 slow wrist turns with a 16kg bell without forearm movement
When you hit these numbers, your wrists can handle any kettlebell challenge—from competition snatches to heavy farmer’s walks. Re-test monthly to monitor progress and adjust programming.
Long-Term Wrist Durability Strategies
Strategic Deload Protocol Every Fourth Week
Every 28 days, slash wrist training volume by 30-40%. Replace heavy wrist curls with light TGU practice (4-8kg) and dynamic stretching. Perform 3 sets of 20 wrist rotations with a 4kg bell at ultra-slow tempo. This active recovery lets tendons remodel without overstress. Skipping deloads risks tendinitis—your connective tissues need this adaptation time. Resume normal volume only when you feel zero joint stiffness during warm-ups.
Forearm Balance Protocol to Prevent Overuse
Add rubber band finger extensions 3x weekly: place a thick band around all fingers and spread against resistance for 3 sets of 20 reps. This counters the constant flexion of gripping, strengthening extensors that prevent “claw hand” syndrome. Pair this with rice bucket exercises (submerge hand in uncooked rice, make fists for 2 minutes) to build 360-degree forearm strength. Neglecting extensors causes the flexor dominance responsible for 73% of wrist overuse injuries in kettlebell athletes.
Handle Maintenance Checklist Before Every Session
Before loading heavy, inspect your kettlebell handle for burrs or rough spots—run your palm along it slowly. Sand any imperfections smooth with 220-grit paper, then wipe with a damp cloth. For competition bells, apply athletic tape to problematic areas. This prevents micro-tears in palmar skin that lead to blisters and grip compromise during high-rep wrist drills. A smooth handle reduces shear forces on tendons by 40% during rotational movements.
Strong wrists transform your entire kettlebell practice. They eliminate the hidden weak link that caps your progress and shield you from the overuse injuries that derail lifters. Implement these kettlebell wrist exercises consistently, respect the tendon adaptation timeline, and you’ll build joints that stay pain-free for decades. Your next heavy clean, snatch, or Turkish Get-Up awaits—now you’ve got the wrist armor to conquer it.


