

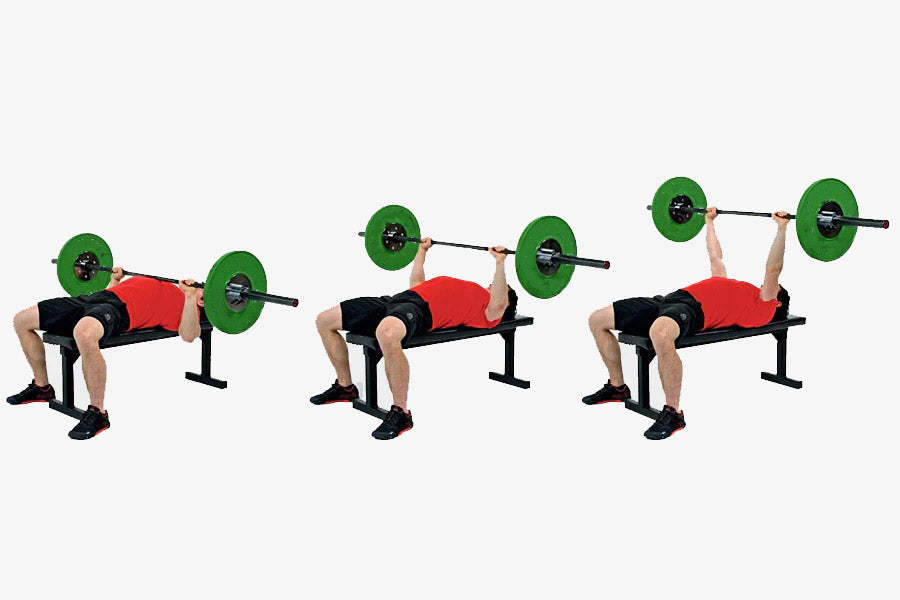
That moment when the barbell crashes onto your collarbones during the clean phase? Or when your press drifts forward despite Herculean effort? You’re not alone. The barbell clean and press—a single explosive sequence hauling weight from floor to locked-out overhead position—exposes weaknesses most lifts hide. Once an Olympic staple, this unforgiving movement builds brutal full-body strength but demands precision. In this guide, you’ll learn exactly how to execute it safely, fix common breakdowns, and program it for muscle growth or conditioning. No leg drive allowed in the press phase—just raw power you’ll feel for days.
Why the Olympics Banned the Clean and Press After 1972
Judges once watched lifters like Tommy Kono dominate with strict military presses. But by the 1950s, athletes discovered “lay-back”—recruiting hips and torso to hoist heavier weights. Soviet and American lifters clashed over rule interpretations at the 1956 Melbourne Games, with officials accusing each other of illegal leg drive. The tipping point came in 1972 Munich: Cold War tensions made consistent judging impossible. The International Weightlifting Federation axed the lift entirely, leaving only powerlifters and CrossFitters to keep its legacy alive. Today’s strict barbell clean and press requires zero leg kick—making it a purer test of shoulder strength than the push-press.
How to Spot Illegal Technique in Competition
- The Lean Test: If the lifter’s head moves behind their torso at lockout, they used leg drive
- Knee Bend Clue: Visible knee flexion during the press phase = automatic disqualification
- Bar Path Check: A straight vertical ascent means strict form; forward drift indicates cheating
Shoulders Under Fire: Why Your Delts Burn During the Press Phase
Unlike the jerk, the barbell clean and press forces shoulders to shoulder (pun intended) 100% of the load. Your anterior deltoids fire like pistons to drive the bar upward while traps and upper chest stabilize the weight. But here’s the catch: weak front-rack positioning sabotages everything. If elbows drop during the catch, your press becomes a chest-dominant struggle. Fix this by:
– Bracing wrists aggressively against the bar (like holding a tray)
– Tucking elbows tight until triceps are parallel to the floor
– Squeezing shoulder blades down to create a stable shelf
Pro Tip: Do 3 sets of 10-second front-rack holds before lifting. Notice if your elbows sag—this predicts press failure.
Stop These 4 Barbell Clean and Press Mistakes Immediately
Bar Looping Away From Your Body Mid-Pull
Why it happens: Hips rising too fast or premature arm bending. The bar swings like a pendulum, killing momentum.
Fix: Stand barefoot on a yoga mat. As you pull from the floor, drag the bar up your shins until knees clear. If bar leaves contact, reset. Do 5 sets of 3 reps daily to groove the path.
Soft Catch Causing Bar Crashes on Collarbones
Why it happens: Slow pull-under or low elbows during the clean. The bar lands on your throat, not your shoulders.
Fix: Practice “tall cleans” weekly:
1. Stand upright, bar at thighs
2. Explosively shrug and pull elbows high without bending knees
3. Catch bar in front-rack, dropping only 2 inches
Do 4 sets of 5 reps to rewire elbow speed.
Press Drifting Forward Off Your Midline
Why it happens: Dropped elbows or leaning torso. The bar moves away from your center of gravity.
Fix: Front squat 2x weekly. If you can’t hold elbows high for 3 reps at 70% of your clean weight, your rack position is broken. Start with 3 sets of 5 holding the bottom position.
Lumbar Hyperextension During Lockout
Why it happens: Weak core failing to transfer leg drive into the press. Your lower back bows dangerously.
Fix: Do ab-wheel rollouts 3×10 before pressing. If you can’t keep ribs down during the rollout, you’ll arch under the bar.
Pressing More Than You Can Clean? Here’s Your Fix Plan

Most lifters can press 20-30% more than they clean—a recipe for failed sets. If your press max is 150 lbs but clean max is 120 lbs:
- Start with hang cleans: Pull from mid-thigh 2x weekly (4 sets of 3 reps at 70% of clean max). This isolates the explosive second pull.
- Do jump shrugs: Stand with bar at thighs, explode upward without pulling elbows, jumping as high as possible. Builds triple-extension power.
- Film your bar path: Record side-view videos. If the bar peaks behind your knees during the clean, you’re losing speed.
Critical Checkpoint: Your clean should feel like “jumping under the bar,” not pulling it up. If you’re straining vertically, your timing is off.
Program Your Barbell Clean and Press for Strength (Not Soreness)
Heavy Strength Days (2x Weekly)
- Reps: 3 sets of 2 reps
- Weight: 85-90% of 1-rep max
- Rest: 3 minutes between sets
- Key: Fail only on the press phase—not the clean. If the clean fails, the weight is too heavy.
Conditioning Circuits (1x Weekly)
Try this AMRAP under 12 minutes:
– 5 deadlifts (bar from floor, clean grip)
– 5 clean and presses
– 5 front squats
– 5 bent-over rows
Use 60% of your push-press max. Rest only while holding the bar in front-rack.
Avoid This Mistake: Skipping front squats. If you can’t front squat 80% of your clean weight for 3 reps, your rack position will collapse under load.
Dumbbell Clean and Press: The Beginner’s Secret Weapon
If barbell technique feels overwhelming, start here:
- Hinge over dumbbells with neutral spine (knees soft, chest up)
- Explode upward through heels, shrugging shoulders violently
- Catch dumbbells at shoulders in a quarter squat—elbows under wrists
- Dip slightly, then drive overhead with full lockout
- Lower under control to shoulders, then to floor
Why it works: The dumbbells let wrists rotate naturally, bypassing mobility issues that wreck barbell form. Do 4 sets of 6 reps 2x weekly before graduating to the barbell.
Safety Gear That Actually Matters for Clean and Press
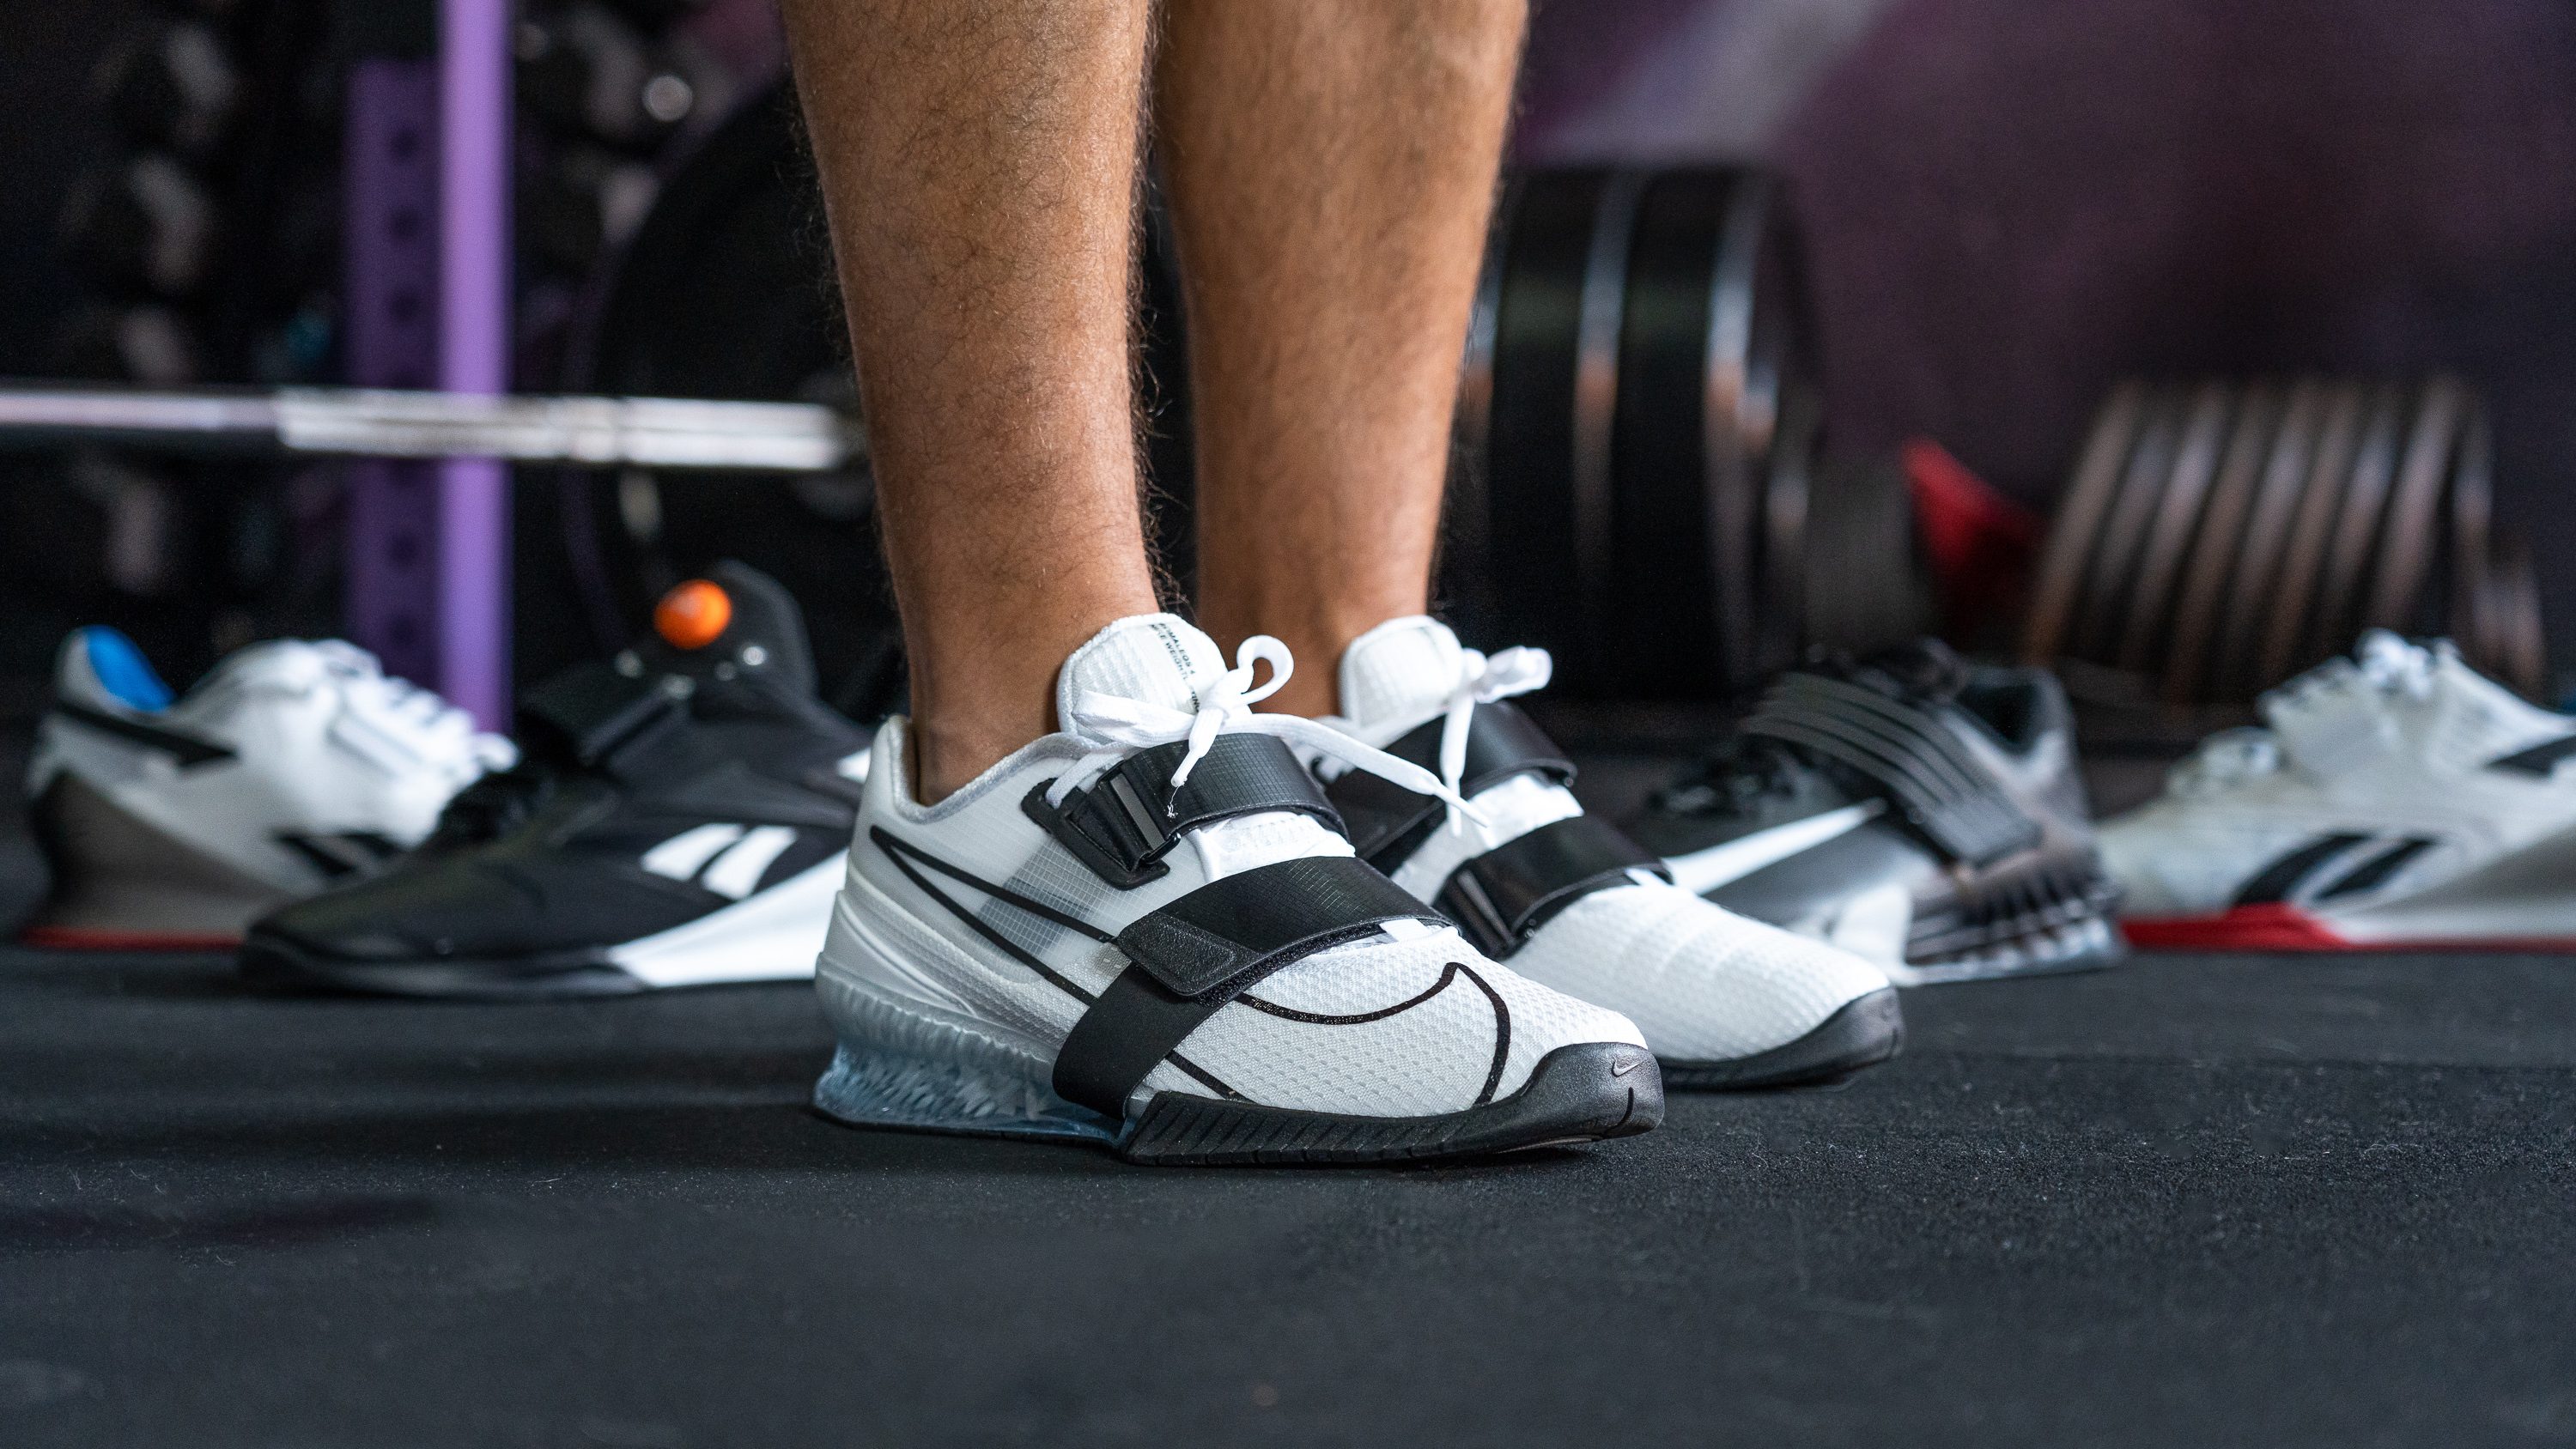
- Weightlifting shoes: Non-negotiable for ankle mobility. Flat-soled shoes force you to lean forward, disrupting balance.
- Bumper plates: Essential if dropping the bar during cleans. Metal plates crack concrete and bounce unpredictably.
- NO STRAPS: They weaken grip for the clean phase. Chalk is mandatory—sweaty palms cause bar crashes.
- Belt position: Wear it higher than deadlift position—just below ribcage—to brace core during the press.
Warning: If your wrists bend backward during the rack position, stop immediately. This strains tendons and requires front-rack mobility work.
Long-Term Progression: How to Add 50 lbs to Your Clean and Press
Monthly Technique Check
Film 3 clean and press reps from the side every 30 days. Measure:
– Bar height at peak of second pull (should clear hips by 2-3 inches)
– Time between full extension and bar catch (under 0.5 seconds)
Accessory Lifts That Transfer
- Strict press: 3×5 after clean work to expose shoulder weakness
- Hang cleans: 4×3 from knee height to fix second-pull speed
- Front squat: 3×5 to solidify rack position
When to Deload
Cut volume by 50% if:
– Your clean fails before the press for 2 consecutive sessions
– You need 5+ minutes rest between sets at 70% intensity
– Front-rack discomfort lingers past workout
Mastering the barbell clean and press transforms your entire physique—not just your shoulders. It forges explosive hip power, ironclad core stability, and shoulders that won’t quit when the bar gets heavy. Start with dumbbells if needed, film your lifts monthly, and prioritize front-rack strength over ego lifting. Within 8 weeks, you’ll pull the bar higher, catch it smoother, and press it with authority. Remember: the clean reveals your power, but the strict press exposes your truth. Fix one fault this week—your future self (and your collarbones) will thank you.


