
You’ve felt that frustrating disconnect—your arms burn while your back stays silent during bent over barbell rows. This classic movement remains one of the most misunderstood exercises in strength training, with lifters routinely missing key muscle engagement due to subtle form errors. Understanding exactly which muscles fire during each phase transforms this compound lift from an arm workout into your most powerful back-building tool.
The bent over barbell row muscles worked extend far beyond your lats, creating a full posterior chain symphony from grip to glutes. When executed correctly, it builds the coveted V-taper while reinforcing hip-hinge mechanics and spinal stability. This guide reveals precise muscle activation patterns based on grip, torso angle, and elbow position—so you finally feel your back working instead of just your biceps.
Stop guessing which muscles should fire during this essential movement. You’ll discover how to shift emphasis between muscle groups for specific goals, avoid common form pitfalls that sabotage results, and leverage programming strategies that maximize growth. Whether you’re correcting desk-job posture or chasing deadlift PRs, mastering these muscle activation patterns delivers immediate performance upgrades.
Latissimus Dorsi: Your Width-Building Powerhouse
How to Maximize Lat Activation
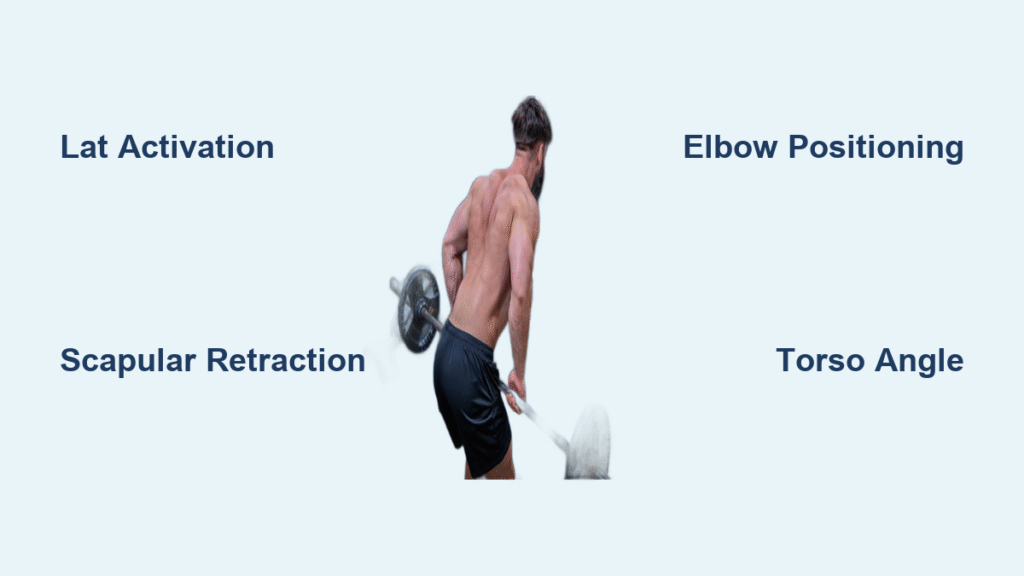
Your lats drive the horizontal pulling motion when you maintain a 30-45 degree elbow angle relative to your torso. As you pull the bar toward your lower ribs, these broad muscles contract to extend and adduct your shoulders. The critical cue: imagine driving your elbows toward the ceiling rather than straight backward. This path creates maximum lat tension while preventing rear delt overcompensation.
Avoiding the Flare-Elbow Trap
When elbows drift above shoulder height, lat engagement plummets by up to 40% according to biomechanical studies. You’ll feel this shift immediately as your upper back takes over. Maintain strict elbow positioning by visualizing squeezing oranges in your armpits throughout the movement. This keeps the bar path vertical over your mid-foot while ensuring your lats—not smaller muscles—handle the primary load.
Trap and Rhomboid Development for Thickness
Middle/Lower Trap Engagement Secrets
These muscles create that sought-after “shelf” below your neck when you focus on scapular retraction at the top of each rep. Instead of just pulling the bar upward, consciously squeeze your shoulder blades together like closing elevator doors. Hold this contraction for one full second before lowering. This technique specifically targets the middle and lower traps that combat rounded-shoulder posture from daily computer use.
Diagnosing Weak Rhomboids
If you experience cramping between your shoulder blades during rows, that’s actually a positive sign—your rhomboids are finally activating after being chronically underused. Many lifters mistake this sensation for form error when it indicates proper muscle recruitment. To intensify rhomboid engagement, pause briefly when the bar touches your abdomen, then actively pull your sternum toward the bar before initiating the descent.
Grip Variations That Shift Muscle Emphasis
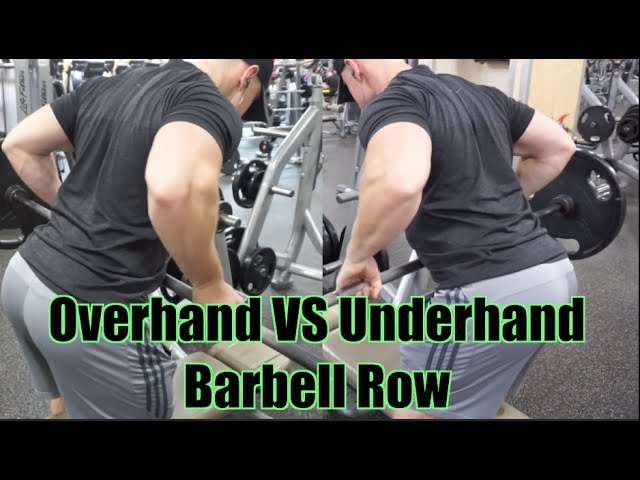
Underhand vs. Overhand Grip Impact
Switching to an underhand (supinated) grip dramatically increases biceps involvement while shifting lat activation toward the lower muscle fibers. This Yates Row variation creates that distinctive lower-lat “shelf” but reduces upper back engagement. Warning: supinated grips place 30% more stress on the biceps tendon—limit heavy underhand rows to 1-2 sets per week if you’ve had elbow issues.
Wide-Grip Rear Delt Focus
When your hands extend beyond shoulder width with an overhand grip, the exercise transforms into a rear delt isolation movement. This variation particularly benefits lifters with overdeveloped front delts from excessive bench pressing. You’ll feel the shift immediately in your posterior shoulders—ideal for balanced shoulder development but less effective for overall back width.
Torso Angle Adjustments for Targeted Growth
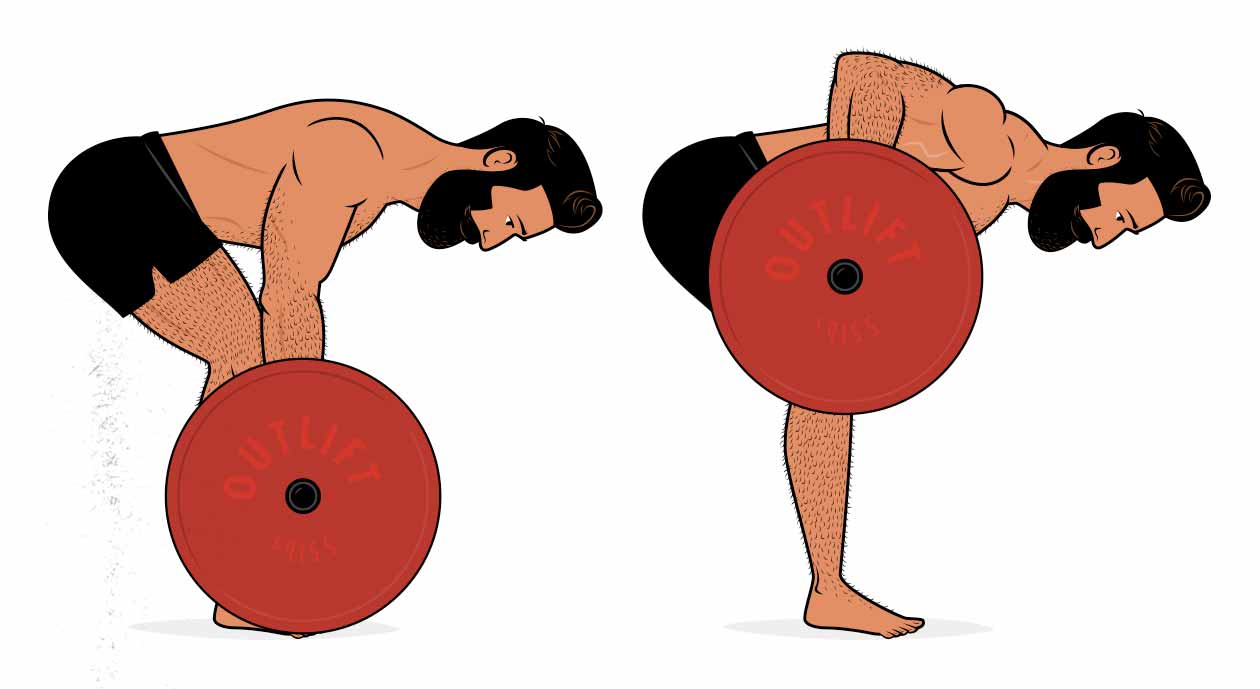
Near-Parallel Position Benefits
Positioning your torso within 0-15 degrees of horizontal maximizes lat stretch and mid-back activation. This angle creates greater mechanical tension through the full range of motion but demands exceptional core stability. If your lower back fatigues before your back muscles, reduce the angle to 30 degrees while focusing on maintaining neutral spine alignment throughout.
Upright Torso Modifications
Standing at 45 degrees shifts emphasis toward upper traps and rear delts while reducing spinal loading. This position suits lifters recovering from lower back injuries or those struggling with hip hinge mechanics. The trade-off: you’ll lose some lat engagement, so prioritize strict scapular retraction to maintain mid-back development.
Critical Form Faults That Sabotage Muscle Activation
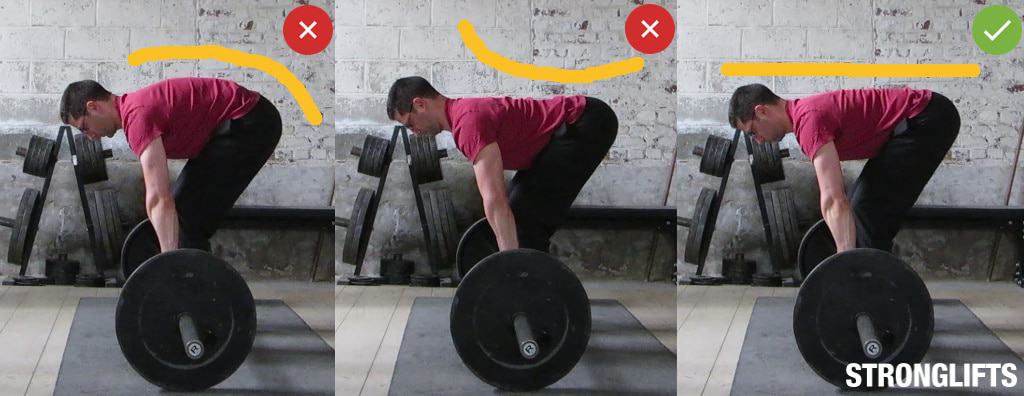
Rounded Upper Back Consequences
Allowing thoracic flexion during rows reduces trap and rhomboid contraction by 25% while increasing spinal shear forces. You’ll recognize this error when your shoulders round forward and chest collapses. Fix it immediately by reducing weight 30% and practicing scapular wall slides before each set—pressing your shoulder blades flat against a wall while maintaining chest-up posture.
Hip Rise Compensation Fix
When hips shoot upward before the pull, you convert the row into a hip-dominant movement that bypasses your lats. This common error occurs when lifters prioritize weight over back engagement. Reset your hip position after every rep: consciously push your hips back while maintaining the same torso angle. Start with empty-bar Pendlay rows (resetting on floor each rep) to retrain proper sequencing.
Programming Strategies for Specific Goals
Strength-Building Protocol
For raw power gains, perform 4 sets of 4-6 reps at 85% of your max with 3-minute rest periods. This heavy loading maximizes neural drive to prime movers while building the core stability needed for heavy pulls. Always reset your hip hinge between reps—never let momentum cheat the concentric phase. Progress by adding 2.5 pounds once you hit 6 reps on all sets.
Hypertrophy-Optimized Approach
Build back thickness with 3 sets of 8-12 reps at 70% max using 90-second rest periods. Focus on a 1-second pause at peak contraction and controlled 2-second eccentric. This tempo creates optimal time under tension for lats and mid-back muscles. If your biceps fail before your back, switch to overhand grip and consciously retract your scapulae before initiating each pull.
Variation-Specific Muscle Targeting
Pendlay Row Precision Technique
The floor-reset Pendlay variation eliminates momentum to isolate lats and mid-back. Start each rep from a dead stop with hips lowered and torso near-parallel. Explosively pull the bar to your lower abdomen while driving elbows upward. This style particularly benefits lifters who struggle to feel back engagement during continuous-tension rows—expect immediate improvements in mind-muscle connection.
Single-Arm Dumbbell Row Advantages
Unilateral rows address strength imbalances while allowing greater lat stretch. Place your supporting hand and knee on a bench, keeping your spine neutral. Pull the dumbbell toward your hip crease while rotating your torso slightly upward at the top. This rotation intensifies lower lat engagement—crucial for creating that tapered back appearance.
Functional Benefits Beyond Muscle Growth
Posture Restoration Mechanism
Rows directly counteract forward shoulder positioning by strengthening scapular retractors and the multifidus muscles. These deep spinal stabilizers, often weakened by sitting, improve segmental stability to reduce chronic lower back pain. Perform 2 sets of high-rep rows (15-20 reps) daily with light weight to retrain proper movement patterns—your posture will visibly improve within 3 weeks.
Deadlift Lockout Synergy
The static hip hinge position and upper back engagement during rows carry over directly to deadlift performance. Heavy rows build the isometric endurance in erector spinae and glutes needed for strong lockouts. Lifters consistently report 5-10% deadlift PR increases within 8 weeks of adding heavy barbell rows to their pull days—proof of this exercise’s functional carryover.
Injury Prevention Tactics
Lower Back Protection Protocol
If you experience lumbar discomfort, immediately switch to chest-supported variations like incline bench rows. These maintain back muscle stimulus while eliminating spinal loading. Always initiate rows with a deep hip hinge—not spinal flexion—and maintain intra-abdominal pressure throughout. Perform 2 sets of bird-dog exercises before rowing to activate spinal stabilizers.
Biceps Tendon Preservation
Limit underhand-grip rows to moderate weights (≤75% max) and avoid full elbow lockout at the bottom position. Rotate grip styles weekly—substitute one underhand session with neutral-grip T-bar rows to reduce supination torque. If you feel tendon pain, wrap your thumbs around the bar (false grip) to decrease biceps activation by 15% while maintaining back engagement.
Final Muscle Activation Checklist
Drive your elbows toward the ceiling while maintaining a strong hip hinge—your bar should contact your lower ribs on every rep for peak scapular contraction. Prioritize strict form over weight: if you can’t feel your lats working, reduce load 20% and focus on the mind-muscle connection. Remember that the bent over barbell row muscles worked create a full posterior chain cascade from grip to glutes—this is why it remains the ultimate back-building exercise when executed correctly.
Track your progress by recording which muscles fatigue first during rows. When your lats consistently burn before your biceps, you’ve mastered the activation pattern. Implement these muscle-specific techniques for 4 weeks, and you’ll develop the thicker, wider back that turns heads in the gym while building functional strength that protects your spine for life.


