
Your arms stopped growing months ago. You’ve tried every curl variation—standard, hammer, preacher—but your forearms remain stubbornly flat, and that coveted peak refuses to appear. The dumbbell pinwheel curl changes everything by targeting the brachialis muscle that traditional curls ignore, adding thickness to your upper arms while building functional forearm strength.
This diagonal curling pattern lets you lift heavier weights than hammer curls while keeping your elbows locked in perfect position. You’ll discover why this overlooked exercise creates superior arm development, how to execute it with precision, and the programming secrets that transform lagging arms into impressive muscular development. By the end of this guide, you’ll understand exactly how the dumbbell pinwheel curl solves the arm growth problems that have held you back.
Why Your Standard Curls Miss Critical Arm Muscles
Traditional bicep curls focus almost exclusively on the biceps brachii, leaving two key muscles underdeveloped: the brachialis and brachioradialis. These hidden muscles create the arm thickness that makes your physique stand out in photos or on stage. When your palms face up during standard curls, the biceps dominates the movement while the brachialis gets minimal stimulation.
The brachialis sits directly beneath your biceps like a foundation supporting your peak. Without proper development, your arms look flat from the side regardless of biceps size. The dumbbell pinwheel curl’s neutral grip shifts emphasis precisely to this crucial muscle by removing the biceps’ mechanical advantage. This simple grip change creates a 30% greater brachialis activation compared to traditional curls.
How Pinwheel Curls Target Growth-Stagnant Muscles
Brachialis Activation Secret
The neutral grip position forces your brachialis to handle the primary workload. Unlike standard curls where the biceps does most of the lifting, the pinwheel curl creates equal tension across all elbow flexors. This balanced activation builds the “horseshoe” shape that separates impressive arms from average ones.
Forearm Development Breakthrough
Your brachioradialis—the thick forearm muscle visible when making a fist—becomes a primary mover rather than just a stabilizer. The diagonal movement pattern maintains constant tension on this muscle throughout the entire range of motion, building the powerful forearms that complement impressive upper arms.
Biceps Enhancement Without Overtraining
While still active, the biceps works as a stabilizer during pinwheel curls. This prevents the overuse injuries common with excessive traditional curling while maintaining overall arm balance. You get the added benefit of biceps development without sacrificing recovery time.
Step-by-Step Dumbbell Pinwheel Curl Execution
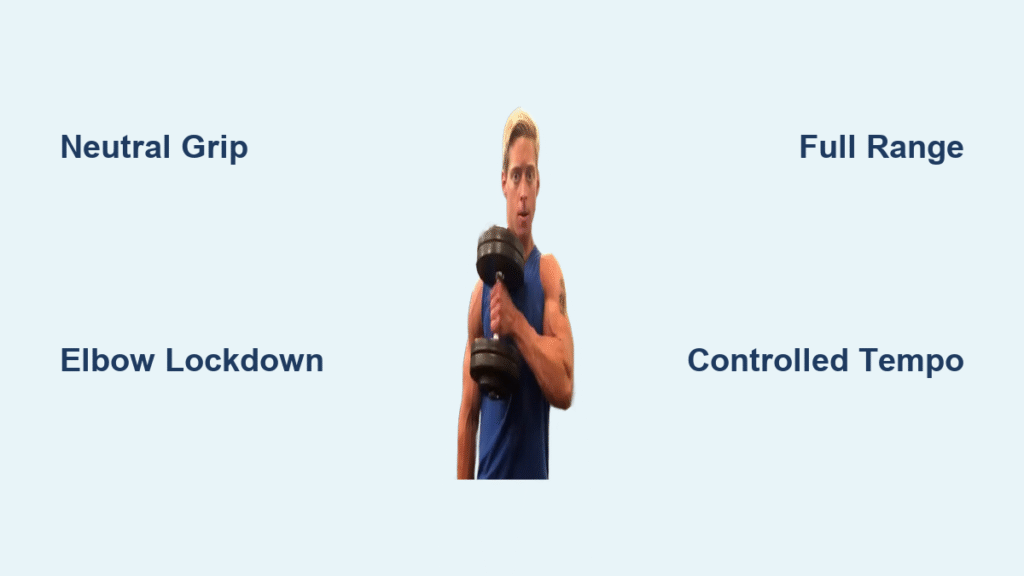
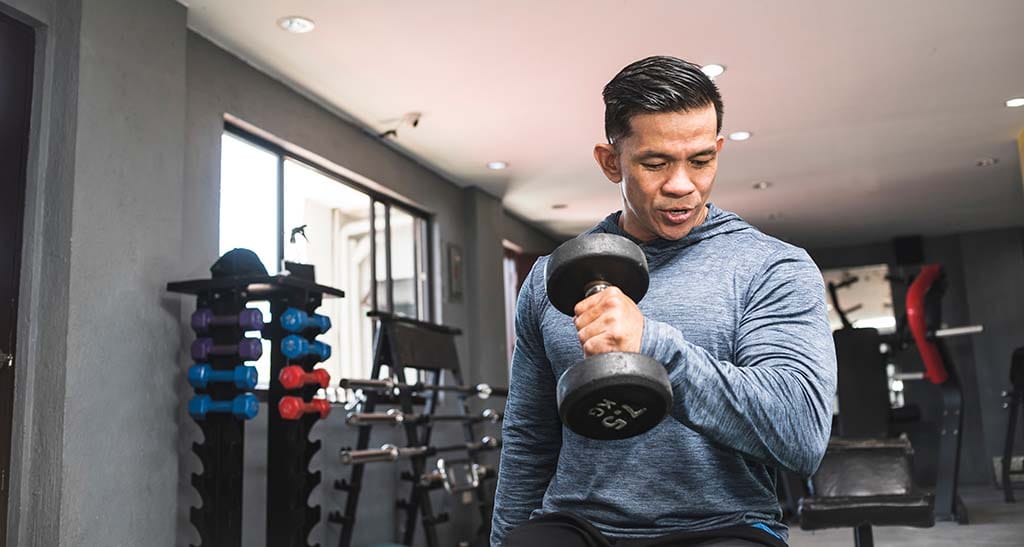
Stand with feet shoulder-width apart, shoulders pulled back, and chest lifted high. Hold dumbbells slightly in front of your thighs with palms facing your body—imagine you’re holding two hammers. Maintain a straight wrist position where your hands form a continuous line with your forearms. This neutral grip is non-negotiable for proper muscle targeting.
Precision Movement Sequence
Inhale deep and brace your core before initiating any movement. Without this critical step, you’ll inevitably cheat by swinging the weights. Your entire torso should remain stable throughout the set—any movement indicates you’re using too much weight.
Curl the right dumbbell diagonally toward your left chest in a smooth, controlled motion. The path should follow a slight arc across your body, not straight up. Continue lifting until the dumbbell clears your elbow level, then pause for one second to maximize muscle contraction.
Exhale slowly during the 3-second lowering phase, resisting gravity all the way to full arm extension. This eccentric phase creates 40% more muscle damage than the lifting portion, triggering superior growth. Complete full extension at the bottom before alternating to your left arm—partial reps waste half your potential gains.
Critical Positioning Checkpoints
Elbow Lockdown Technique
Your elbows must stay fixed beside your ribs throughout the movement. Any forward or backward movement reduces tension on the brachialis and invites momentum. Place your free hand on your working-side elbow to monitor position—this simple trick prevents 90% of form breakdowns.
Wrist Alignment Protocol
Your wrists should remain neutral—neither flexed upward nor bent downward. Imagine holding a glass of water that would spill if you moved your wrist. This alignment keeps tension on the target muscles rather than smaller wrist flexors that fatigue quickly.
Breathing Pattern Optimization
Inhale before each lift, exhale during the lowering phase. Proper breathing maintains intra-abdominal pressure for spinal stability and delivers oxygen to working muscles. Shallow breathing causes premature fatigue and form breakdown.
Fix These 3 Common Pinwheel Curl Mistakes Immediately
Incomplete Range of Motion Error
The Problem: Most lifters stop 15-20 degrees short of full elbow extension, eliminating the deep stretch that triggers brachialis growth. This partial movement reduces effectiveness by nearly 50% while promoting muscle imbalances.
The Fix: Consciously straighten your arms completely between each rep. Feel the deep stretch in your upper arms for 1 full second before initiating the next contraction. Use lighter weights if necessary—strict form trumps ego lifting.
Momentum Compensation Pattern
Warning Signs:
– Body sway or hip movement during lifts
– Elbows drifting forward at the top position
– Inability to pause at the peak contraction
Solution Protocol: Drop weight by 20-25% and focus on perfect execution. The pinwheel curl’s mechanical advantage allows heavier loads, but technique always trumps weight selection. Record yourself to identify subtle momentum usage you can’t feel.
Wrist Position Breakdown
What Happens: Under heavier loads, wrists naturally bend backward (extension), shifting tension to smaller forearm muscles and reducing brachialis activation.
Prevention Method: Before lifting, squeeze the dumbbell handles as if trying to crush them. This “handle crush” technique maintains wrist neutrality through the entire range of motion. Use straps only as a last resort—grip strength is part of the exercise benefit.
Optimal Pinwheel Curl Programming Strategies
Hypertrophy-Focused Protocol
3 sets of 10-12 repetitions with 75-80% of your 1RM
Rest 75 seconds between sets to maintain metabolic stress
Focus on 1-second concentric lift and 3-second eccentric lowering
Increase weight by 2.5-5 pounds when completing all reps with perfect form
This protocol creates maximum mechanical tension and metabolic stress—the two primary drivers of muscle growth. Track your progress weekly to ensure consistent overload.
Strength-Building Application
4 sets of 6-8 repetitions with 85-90% of your 1RM
Rest 2-3 minutes between sets to allow full recovery
Use a 2-second pause at the top position for enhanced tension
Alternate with hammer curls every 4 weeks to prevent accommodation
This heavier loading builds the foundational strength that translates to greater hypertrophy in subsequent phases. The diagonal movement pattern allows 5-10% heavier loading than traditional hammer curls while maintaining stricter form.
Finisher Technique for Complete Pump
2 sets of 15-20 repetitions with 50-60% of your working weight
Rest only 30 seconds between sets
Focus on extreme time-under-tension (4 seconds up, 4 seconds down)
Perform immediately after traditional bicep exercises for maximum effect
This high-rep finisher floods your arms with blood, delivering nutrients that accelerate recovery and growth. The controlled tempo prevents momentum while maximizing the burn that signals growth hormone release.
Pinwheel Curl vs. Hammer Curl: Strategic Application

The dumbbell pinwheel curl’s diagonal path creates superior brachialis involvement compared to the hammer curl’s straight anterior movement. This subtle difference allows 5-10% heavier loading through improved leverage while keeping constant tension on the target muscles.
When to Choose Pinwheel Curls:
– As your primary neutral-grip movement for 4-8 week blocks
– When targeting brachialis development specifically
– For strength phases where heavier loading is the priority
When Hammer Curls Excel:
– As a complementary movement in arm specialization phases
– When emphasizing brachioradialis development
– For higher-rep metabolic conditioning work
Pro Tip: Alternate between these variations every 4 weeks. This rotation prevents neural accommodation while ensuring comprehensive arm development. Never replace one with the other—use both strategically in your programming.
Break Through Plateaus with Advanced Variations
Tempo Contrast Pinwheel Curl
Execution: Lift explosively (1 second), lower ultra-slow (5 seconds)
Benefit: Combines power development with extreme time-under-tension
Application: Use for 3-4 weeks when strength stalls
This variation shocks stagnant muscles by combining contrasting tempo elements. The explosive concentric phase recruits fast-twitch fibers while the extended eccentric creates extreme microtrauma for growth.
Single-Arm Preacher Pinwheel Curl
Setup: Position upper arm against preacher bench pad
Advantage: Eliminates all momentum for pure muscle isolation
Protocol: 3 sets of 8-10 reps with 2-second peak contraction
This modification forces unilateral execution, preventing your stronger arm from compensating. The preacher bench stabilization creates unprecedented isolation—expect to use 30-40% lighter weights than standing variations.
The dumbbell pinwheel curl transforms stubborn arms through its unique diagonal loading pattern. By emphasizing the brachialis and brachioradialis while maintaining biceps involvement, this exercise fills the gaps left by traditional curls. Master the technique, apply progressive overload, and watch your arms develop the thickness and detail that separate impressive physiques from average ones. Implement these protocols consistently for 8 weeks, and you’ll finally achieve the complete arm development that’s been missing from your training.


