
That first ride where your legs burn after 5 minutes? Or the frustration of staring at a silent bike while dreading another failed fitness attempt? You’re not alone. Over 68% of new exercisers quit within 3 weeks—but this exercise bike program for beginners flips the script. Designed specifically for absolute newcomers, this science-backed plan builds real results in just 20 minutes a day while protecting your joints. You’ll learn exactly how to set up your bike to prevent knee pain, what resistance feels “right” (not punishing), and why stationary cycling burns more fat than running for new riders. Most importantly, you’ll finish Week 1 feeling energized—not exhausted—so you actually stick with it.
Unlike running or outdoor cycling, your stationary bike delivers consistent progress regardless of weather, traffic, or fitness level. Harvard research confirms beginners burn 210-294 calories in just 30 minutes of moderate effort—without pounding joints. This program eliminates guesswork so you can focus on one thing: showing up and pedaling. Let’s transform uncertainty into confidence, one revolution at a time.
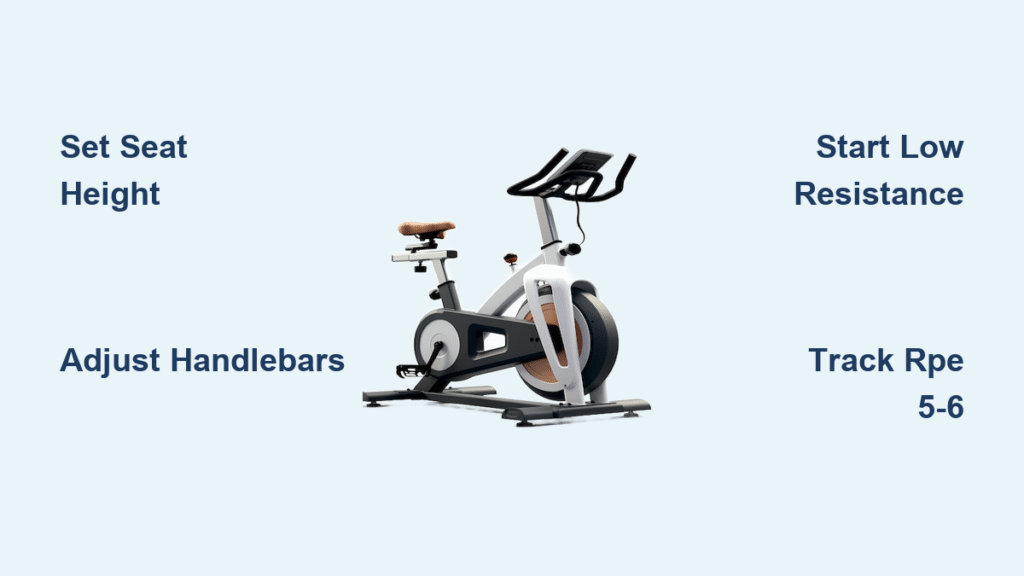
Stop Knee Pain Before Your First Ride: 5-Minute Bike Setup Fix
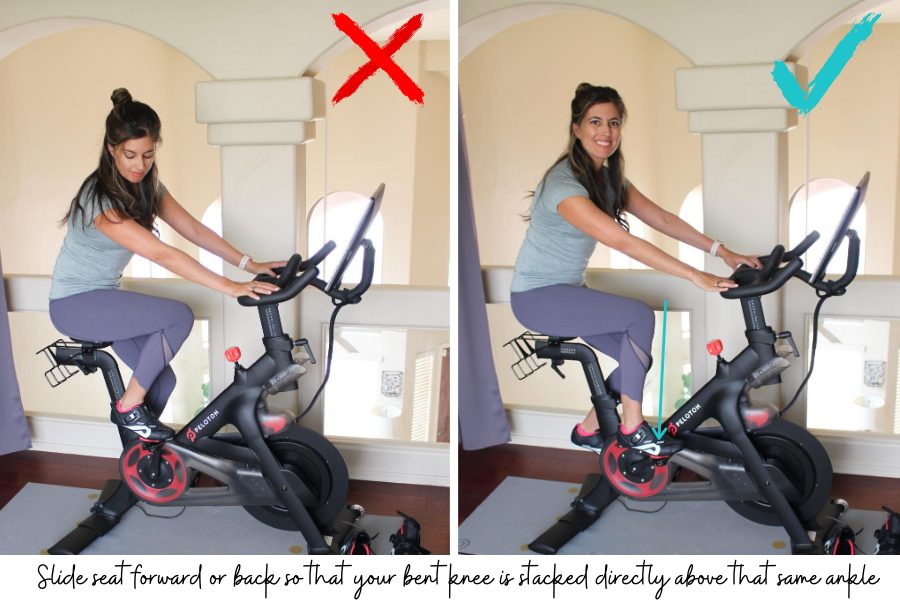
Seat Height That Prevents Joint Damage
Stand beside your bike. Adjust the seat so its top aligns with your hip bone. When seated with pedal at 6 o’clock, your knee should bend 25-30 degrees—not locked straight. Too high? You’ll rock side-to-side, straining hips. Too low? Knee pain guaranteed. Test by placing your heel on the pedal; it should straighten fully without lifting your pelvis.
Handlebar Position for Back Safety
Grip the handlebars while seated. Your elbows should bend slightly with shoulders relaxed—not hunched toward your ears. If you’re straining to reach, slide the seat forward. A neutral spine (not rounded or arched) prevents lower-back strain during longer rides. Pro tip: Place a tennis ball between your lower back and the seat—if it stays put during pedaling, your posture is perfect.
Foot Placement for Power and Comfort
Position the ball of your foot directly over the pedal spindle. Secure straps snugly but not tight enough to cause numbness. This maximizes power transfer while preventing foot fatigue. After finding your sweet spot, mark seat height and handlebar position with colored tape—next setup takes 30 seconds.
Decode Beginner Workout Language (Skip the Jargon)

What RPM Really Means for New Riders
RPM (Revolutions Per Minute) isn’t about speed—it’s about efficiency. Start at 70-90 RPM: a smooth, sustainable spin where your legs feel light. Below 60 RPM with heavy resistance? You’re grinding, not cycling—this strains knees. Above 100 RPM? You’re bouncing in the saddle. Critical rule: When increasing resistance, drop RPM to maintain control. Your target zone: 75-85 RPM for steady rides, 90-100 RPM for short bursts.
RPE: Your Secret Consistency Tool
Forget heart rate monitors. Rate of Perceived Exertion (RPE 1-10) is your beginner superpower:
– RPE 4: Fully conversational (warm-up/cool-down)
– RPE 6: Can speak short sentences only (your “work” zone)
– RPE 8: One-word gasps (limit to 30-second sprints)
Aim for RPE 5-6 during Week 1—challenging but sustainable. If you’re breathless after 10 minutes, resistance is too high.
Your Exact Week 1 Schedule: 3 Beginner Rides That Work
20-Minute Starter Session (Mon/Wed/Fri)
This ride builds confidence without exhaustion:
– Minutes 1-5: Warm-up, light resistance, RPE 4 (chat easily)
– Minutes 6-8: Add 2 resistance clicks, RPE 5 (slightly breathless)
– Minutes 9-10: Increase speed OR resistance (not both), RPE 6
– Minutes 11-13: Return to baseline, RPE 5
– Minutes 14-15: Repeat Minute 9 effort
– Minutes 16-20: Cool-down, RPE 4
Success sign: You feel energized after, not drained. Skip standing—it’s advanced.
18-Minute Time-Saver for Busy Days
Perfect when motivation is low:
– 5 min: Gradual warm-up (last 2 min standing)
– 4 min: Moderate pace (RPE 5-6)
– 2 min: “Hill climb” (higher resistance, RPE 7)
– 1 min: Recovery spin (RPE 3)
– 30 sec: Standing sprint (RPE 8)
– 45 sec: Recovery
– Repeat sprint/recovery twice
– 2 min: Cool-down
Pro tip: Set phone timer for intervals—no staring at the clock.
30-Minute Endurance Builder (Weekend)
Builds mental toughness gradually:
1. 7 min easy spin (RPM 75-85)
2. 5 min moderate effort (RPE 5-6)
3. 2 min heavy resistance (max sustainable, RPE 7)
4. 2 min recovery
5. 1 min easy spin
6. Repeat Steps 2-4
7. 5 min cool-down
Warning: If knees ache during Step 3, reduce resistance 3 clicks immediately.
Avoid These 3 Beginner Mistakes That Cause Quitting
Cranking Resistance Too High
Why it backfires: New riders often max resistance to “feel the burn,” causing joint strain and form collapse. This triggers the “never again” feeling.
Fix: Start at resistance level 3 (if 10 total). Only increase when 90 RPM feels effortless. Perfect form beats heavy resistance every time.
Skipping Recovery Days
The trap: “It’s low-impact—I can ride daily!”
Science says: Your fitness improves during rest, not pedaling. Overtraining spikes cortisol (fat-storing hormone) and kills motivation.
Fix: Schedule 2 rest days weekly. Do light walking or stretching instead.
Obsessing Over Calories Burned
The distraction: Staring at the calorie counter sets you up for disappointment (your bike’s estimate is often 20% off).
Better focus: Track consistency. “Rode 3x this week” beats “burned 217 calories.”
Safety Checklist: Stop Before Injury Happens
Pre-ride (30 seconds):
– Check seat/post bolts (wiggle test)
– Secure foot straps—not tight enough to cut circulation
– Fill water bottle (sip every 5 minutes)
During ride:
– STOP IMMEDIATELY if: Dizziness, chest pressure, or sharp knee pain occurs
– Adjust now if: Hands go numb (loosen grip), back arches (slide seat forward)
Post-ride:
– Wipe sweat zones with disinfectant
– Note any joint discomfort lasting >48 hours
Week 2-4 Progression: When to Increase Difficulty

Week 2: Add Time, Not Intensity
Keep RPE at 5-6 but extend rides:
– Monday: 25 minutes
– Wednesday: 30 minutes
– Friday: 35 minutes
Key: Add minutes ONLY to recovery segments (cool-downs), not hard efforts.
Week 3: Introduce Micro-Intervals
Add one “power burst” per ride:
– After 10 minutes of easy riding, do 3x 60-second surges at RPE 7 (30 seconds recovery between)
– Do NOT increase resistance—just pedal faster while maintaining form
Week 4: Double Your Endurance
- Saturday: 60-minute ride at RPE 5
- Structure: 10 min warm-up → 40 min steady → 10 min cool-down
- Success metric: Complete without stopping or significant discomfort
Long-Term Roadmap: Beyond Week 4
Phase 1: Foundation (Weeks 1-4)
- Focus: 3 rides/week (20-45 min), RPE 4-6
- Goal: Ride consistently without dreading sessions
Phase 2: Build (Weeks 5-8)
- Add: 4th weekly ride, 3-minute hill repeats (RPE 7)
- Critical: One “recovery week” every 4 weeks (reduce time 30%)
Phase 3: Performance (Weeks 9-12)
- Try: Structured apps like TrainerRoad (free trial)
- Never skip: Sleep (8+ hours) and hydration (2L water daily)
Your Next Move: Start Today in 3 Steps
- Do this now: Set your bike to resistance level 3 and ride 15 minutes at RPE 4 (conversational pace).
- Schedule tomorrow’s ride: Block 20 minutes in your calendar—same time, same resistance.
- Track one thing: Note how you feel after (energy level 1-10).
Every expert cyclist started exactly where you are now—uncertain about 20 minutes on a silent machine. This exercise bike program for beginners turns that uncertainty into measurable progress by Week 1. Your bike doesn’t judge your starting point; it only responds to consistent effort. Pedal now, and let the transformation begin.


