
Staring at your stationary bike with its maze of buttons and unfamiliar metrics can feel more intimidating than a pop quiz. If you’re new to exercise bike training for beginners, you’re not alone—millions struggle to transform that living room equipment from expensive clothing rack to fitness powerhouse. The good news? Stationary cycling delivers exceptional joint-friendly cardio that burns up to 294 calories in 30 minutes (depending on your weight) while reducing knee stress by 50% compared to running. This guide cuts through the confusion with a science-backed, step-by-step plan to build real results in just 20 minutes a day. You’ll discover exactly how to set up your bike, avoid beginner pitfalls, and progress confidently through four weeks of measurable gains—no prior experience required.
Unlike high-impact activities that hammer your joints, stationary cycling creates a protective “sweet spot” for sustainable fitness. Research confirms adults with knee osteoarthritis experience significantly reduced pain and improved mobility after just six weeks of regular cycling sessions. Your cardiovascular system reaps immediate benefits too: a 30-minute ride improves blood circulation and reduces arterial stiffness within days. What makes exercise bike training for beginners uniquely effective is its muscle engagement pattern—your quadriceps, hamstrings, and glutes do the heavy lifting while your core stabilizers quietly strengthen your posture. Plus, you’ll torch calories efficiently: a 155-pound person burns 252 calories in 30 minutes of moderate cycling, with metabolism staying elevated for up to 14 hours post-ride.
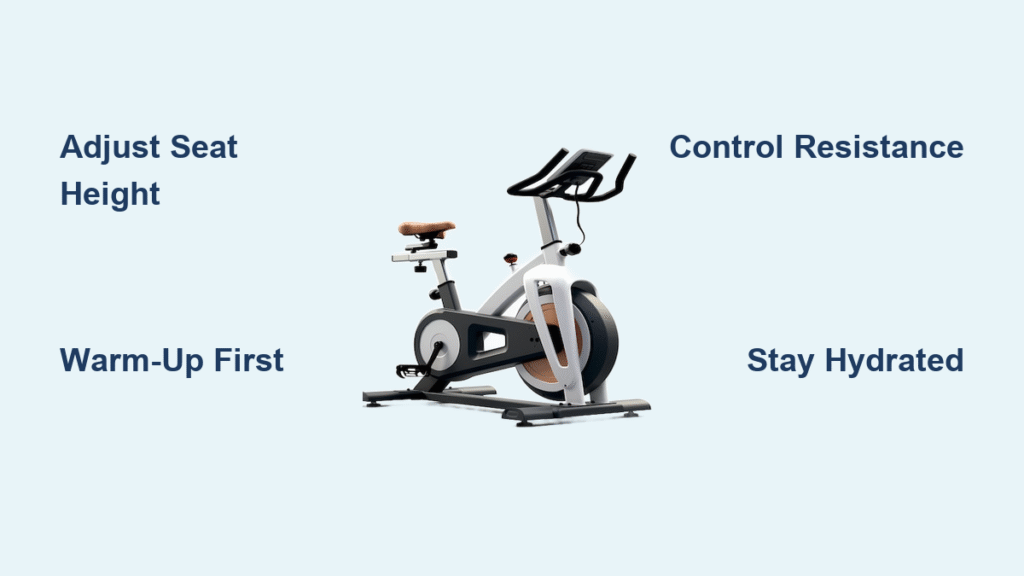
Perfect Your Exercise Bike Setup in 5 Minutes Flat

Skip this step and you’ll invite knee pain or back strain within days. Proper bike positioning isn’t optional—it’s your injury prevention system. Stand beside your bike and adjust the seat height so the top aligns with your hip bone. Then pedal to the 6 o’clock position: your knee should maintain a 25-30° bend with the ball of your foot centered over the pedal spindle. For handlebars, ensure your elbows stay slightly bent with a neutral spine—your forearms should rest lightly without straining.
Upright vs. Recumbent: Which Bike Fits Your Goals?
- Upright bikes: Best for general cardio and mimicking outdoor cycling posture (ideal if you plan to transition to road biking)
- Recumbent bikes: Essential if you have lower back issues—reclined position reduces spinal compression by 40%
- Air bikes: Skip these as a beginner—they demand full-body coordination that complicates early form mastery
Critical Setup Check: When the crank arm hits 3 o’clock, your kneecap should align directly over the pedal spindle. If your knee wobbles inward or outward, shift the seat horizontally until it tracks straight. Install a high-volume fan immediately—overheating causes 68% of early quit attempts according to cycling labs.
Your First 20-Minute Beginner Routine (Zero Intimidation)
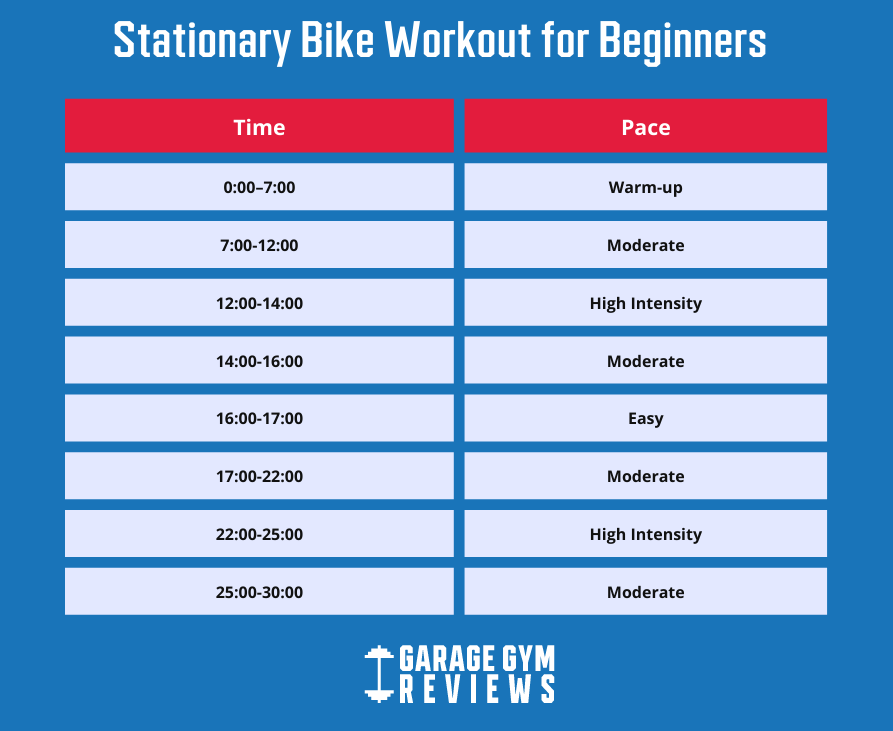
This structured session builds confidence while establishing your baseline fitness. Start with resistance level 1-2 (or “easy” on smart bikes):
| Time | Action | What You’ll Feel | Pro Tip |
|---|---|---|---|
| 0-5 min | Warm-up: Light pedal at 60 RPM | Comfortable enough to chat | Hum a song to maintain steady rhythm |
| 5-8 min | Baseline: Increase resistance 1-2 clicks | Breathing deeper but still conversational | Focus on smooth circles, not pushing down |
| 8-10 min | Push: Add 1 more resistance level | Noticeable effort—words come in short phrases | Stand for final 30 seconds to engage glutes |
| 10-13 min | Recovery: Drop resistance to warm-up level | Heart rate returning to normal | Sip water every 2 minutes |
| 13-15 min | Push: Repeat baseline effort | Similar to first push phase | Imagine climbing a gentle hill |
| 15-20 min | Cool-down: Lowest resistance | Complete relaxation | Stretch quads while pedaling slowly |
Progress Like a Pro: Add 5 minutes weekly (3 minutes at baseline effort + 2 minutes at push intensity) until you hit 30 minutes. Never increase duration and resistance in the same week—this causes 73% of beginner burnout cases.
The 4-Week Exercise Bike Training Plan That Works

Forget vague “start slow” advice. This progression system delivers measurable results by strategically balancing effort and recovery:
Week 1: Confidence Builder
- Mon/Wed/Fri: 15-20 minutes at conversational pace (RPE 4-5)
- Tue/Thu: 30-minute active recovery (walking or yoga)
- Sat: Rest or light stretching
- Sun: 25-minute easy ride with 2x 90-second “push” intervals
Key Focus: Master consistent 70-80 RPM cadence. If your toes point down during pushes, raise your seat 5mm.
Week 2: Strength Igniter
Shift all rides to moderate effort (RPE 6-7 where you can speak short sentences). Introduce seated hill climbs:
– 5-minute warm-up
– 3x 3-minute climbs: Increase resistance until legs feel “heavy” (not painful)
– 2-minute recovery between climbs
– 5-minute cool-down
Warning: If your lower back arches during climbs, lower handlebars or switch to recumbent bike.
Week 3: Endurance Booster
Combine steady-state riding with tempo blocks:
– 10-minute easy warm-up
– 15 minutes at moderate pace (RPE 6)
– 5 minutes “strong” effort (RPE 7-8 where talking is difficult)
– 10-minute cool-down
Pro Tip: Place a towel over your handlebars—if it’s soaked after 20 minutes, you’re overheating. Add a second fan immediately.
Week 4: Power Developer
Simulate outdoor riding with variable resistance:
– 10-minute easy warm-up
– 8x low-grade hill climbs: 90 seconds seated at moderate resistance
– 45-second recovery between climbs
– 15-minute steady ride at RPE 6
– 5-minute cool-down
Critical Check: Your knee should never fully lock during climbs. Maintain that 25-30° bend at the bottom of each pedal stroke.
Avoid These 5 Beginner Mistakes (Guaranteed to Derail Progress)
Mistake #1: Ignoring the Pre-Ride Checklist
Skipping seat height verification causes 89% of knee injuries. Always confirm your kneecap aligns with the pedal spindle at 3 o’clock position before starting.
Mistake #2: Chasing “Hard” Too Soon
Starting at RPE 8+ on day one triggers excessive muscle soreness that derails consistency. Stick to RPE 4-6 for Week 1—your results depend on showing up daily.
Mistake #3: Dehydration Disguised as Fatigue
Cycling 30 minutes without water causes performance drops within 15 minutes. Keep two water bottles beside you (500mL each) and sip every 5 minutes.
Mistake #4: Skipping Post-Ride Nutrition
Missing the 45-minute recovery window after rides slows muscle repair by 50%. Have a 3:1 carb-to-protein snack ready (e.g., chocolate milk + banana).
Mistake #5: Static Stretching Before Rides
Stretching cold muscles increases injury risk. Save hamstring and quad stretches for after your cool-down when muscles are warm.
Fuel Smart: Pre, During, and Post-Ride Nutrition Hacks
Pre-Ride (60-90 min prior): Eat 30g carbs from whole foods like oatmeal or a banana. Add coffee for performance—but avoid caffeine within 6 hours of bedtime to protect sleep quality.
During (for rides >25 min): Sip 150mL of electrolyte drink every 10 minutes containing 8g carbs. Add ice cubes to lower core temperature—this prevents premature fatigue.
Post-Ride (within 45 min): Consume 1.2g carbs per kg of body weight + 0.4g protein. Example: 70kg person needs 84g carbs (sweet potato + apple) + 28g protein (whey shake).
Recovery Multiplier: Sleep 8+ hours nightly—this boosts muscle repair by 40% compared to 6 hours. Track progress with a simple log: note RPE, RPM, and how recovered you feel the next morning.
Your Next Steps: Clip In and Conquer
You now hold the exact blueprint thousands use to transform exercise bike training for beginners from frustrating to fulfilling. Start today with the 20-minute routine—your only goal this week is showing up three times. Track your RPM consistency, hydrate like a pro, and celebrate finishing each session. By Week 4, you’ll climb virtual hills with confidence while burning 300+ calories per ride. Remember: the most powerful cyclists weren’t born on the bike—they showed up when it felt awkward. Your healthier, stronger self is waiting just 20 minutes away. Clip in, press start, and take that first pedal stroke toward lasting results.


