
Nothing ruins a productive workout faster than an improperly configured weight bench. An incorrectly adjusted bench can compromise your form, reduce muscle activation, and most critically, put you at serious risk of injury during heavy lifts. Whether you’re performing flat bench press, incline dumbbell work, or shoulder exercises, knowing exactly how to adjust weight bench settings properly transforms your equipment from a simple platform into a precision training tool. Most gym accidents involving weight benches stem from improper adjustments rather than equipment failure, making this knowledge essential for lifters of all experience levels.
This comprehensive guide delivers the exact steps to configure your bench for optimal safety and effectiveness across all major exercises. You’ll discover the precise angles that maximize muscle engagement for your specific body type, the critical safety checks that prevent equipment collapse, and the maintenance routines that keep your bench functioning reliably for years. By the end of this article, you’ll have complete confidence in your ability to adjust weight bench settings for any exercise in your routine.
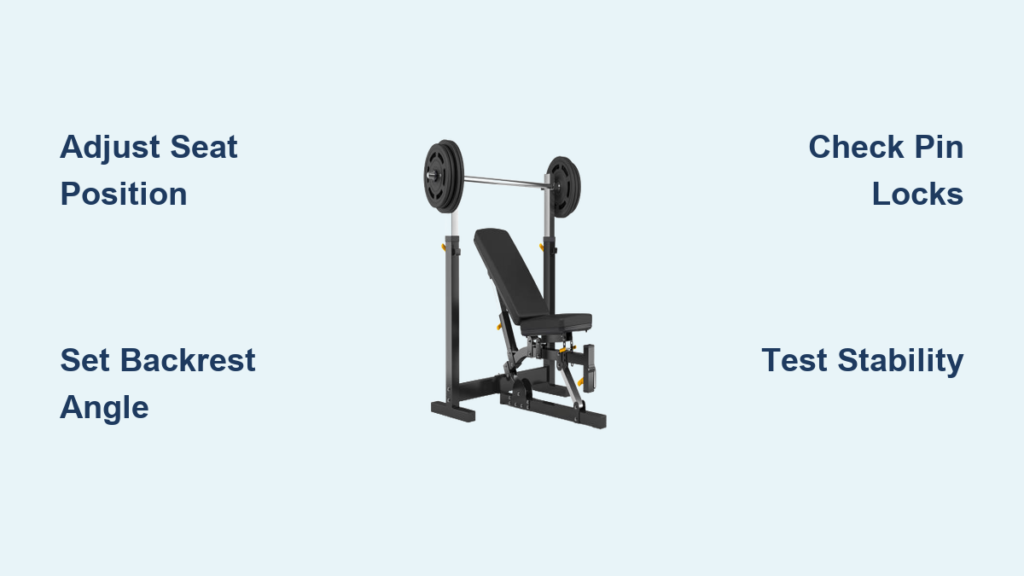
Master Seat Position Adjustment for Optimal Stability
Your seat position directly controls hip alignment and stability during pressing movements, making it the foundation of proper bench technique. Most weight benches feature either a sliding mechanism or a pin-and-hole system beneath the seat surface that allows precise positioning. To properly adjust your seat:
- Locate the adjustment mechanism—typically found on the underside of the seat or along the side frame
- Release the locking pin by pulling it outward or twisting the handle
- Slide or pivot the seat to your desired position
- Always confirm the pin fully engages with an audible click and visual inspection
- Apply significant downward pressure to test stability before adding weight
The ideal seat position varies by exercise and body type. For flat bench press, position yourself so your eyes align with the bar when lying back, allowing you to unrack and rack weights safely. Your feet should rest flat on the floor with knees bent at approximately 90 degrees, creating a solid base for generating leg drive. When adjusting your seat for incline work, slide forward slightly to prevent your hips from lifting off the bench during the pressing motion. Never skip the stability test—a partially engaged pin might hold your body weight but fail under heavy load, causing catastrophic collapse.
How Seat Angle Affects Muscle Engagement
A flat seat position (0 degrees) provides maximum stability for heavy compound lifts like bench press and overhead press. This position allows full leg drive while maintaining proper spinal alignment. When your seat tilts to an incline position, it shifts your hips forward and upward, changing the angle of pressing movements to emphasize different portions of your chest and shoulder muscles. For individuals with longer torsos, a slightly elevated seat position may be necessary to achieve proper shoulder alignment during incline pressing. Shorter lifters often need to slide the seat backward to maintain proper foot placement while keeping their shoulders firmly planted against the backrest.
Set Backrest Angle for Maximum Muscle Activation

The backrest adjustment determines your pressing angle and spinal positioning, making it the most critical factor for chest and shoulder development. Weight benches typically offer one of three adjustment mechanisms: a pin-and-hole system with preset angles, a step-ladder design allowing incremental changes, or a smooth lever enabling continuous angle adjustment. Understanding your specific bench’s mechanism helps you transition quickly between positions during your workout.
Flat Position for Maximum Pressing Strength
Set your backrest completely flat (0 degrees) for standard bench press, dumbbell flyes, and core exercises. This position allows your shoulder blades to retract fully against the bench while maintaining a neutral spine, creating the most stable platform for heavy pressing. Position yourself so your eyes align with the bar when lying back, ensuring you can safely unrack and rack weights. Your shoulder blades should remain in contact with the pad throughout the entire movement range, and your feet should plant firmly on the floor to generate leg drive. Critical mistake to avoid: allowing your lower back to arch excessively, which shifts stress from your chest to your shoulders and increases injury risk.
Incline Position for Targeted Chest Development
A 15 to 30-degree incline targets your upper chest and front deltoids more effectively than a flat position, while steeper inclines of 45 degrees or greater emphasize shoulder isolation. When setting an incline angle, position your shoulders back and down with scapula retracted, maintaining this position throughout each repetition. Those with longer torsos may need steeper inclines (up to 60 degrees) to achieve proper shoulder alignment without their shoulders rolling forward under load. Individuals with limited shoulder mobility should use shallower angles (15-25 degrees) to maintain safe form without straining their joints. Pro tip: Start with a moderate incline (30 degrees) and adjust based on how your shoulders feel during the first set—discomfort indicates an angle that’s too steep for your current mobility.
Decline Position for Lower Chest Focus
Benches offering decline positioning (negative angles) engage your lower chest fibers while reducing shoulder strain. This position creates unique tension on the lower pectoral muscles that flat and incline positions cannot replicate. When using decline settings, ensure your head and neck have adequate support to prevent strain. Start with modest decline angles (-15 degrees) and progress gradually, as this position can place significant stress on your neck if your bench lacks proper head support. Safety check: always verify the decline mechanism is fully locked before lying back, as decline positions place more weight toward the head end of the bench, increasing collapse risk if pins aren’t fully engaged.
Configure Leg Extension and Curl Attachments Properly
Benches equipped with leg extension attachments require precise adjustments to ensure proper knee alignment and appropriate resistance. These attachments typically include an ankle pad, weight stack selector, and lever arm controlling the starting angle. Position the ankle pad comfortably above your heel—not on your Achilles tendon—to prevent painful pressure points during contractions. Select your weight stack pin position based on your strength level, starting lighter than you think necessary until you understand how the attachment feels through the full range of motion.
Adjust the lever arm so your legs begin at roughly 90 degrees of knee flexion, allowing complete extension at the top of each repetition without locking your knees excessively. When using leg attachments, verify that the pivot points move freely and that the padding remains in good condition. Worn padding creates pressure points that distract from your form and reduce exercise effectiveness. If your bench includes a preacher curl attachment, apply the same principles of pad positioning and weight selection to ensure comfortable, effective arm training. Critical maintenance step: regularly check the attachment bolts for tightness, as vibrations from leg exercises gradually loosen these critical fasteners.
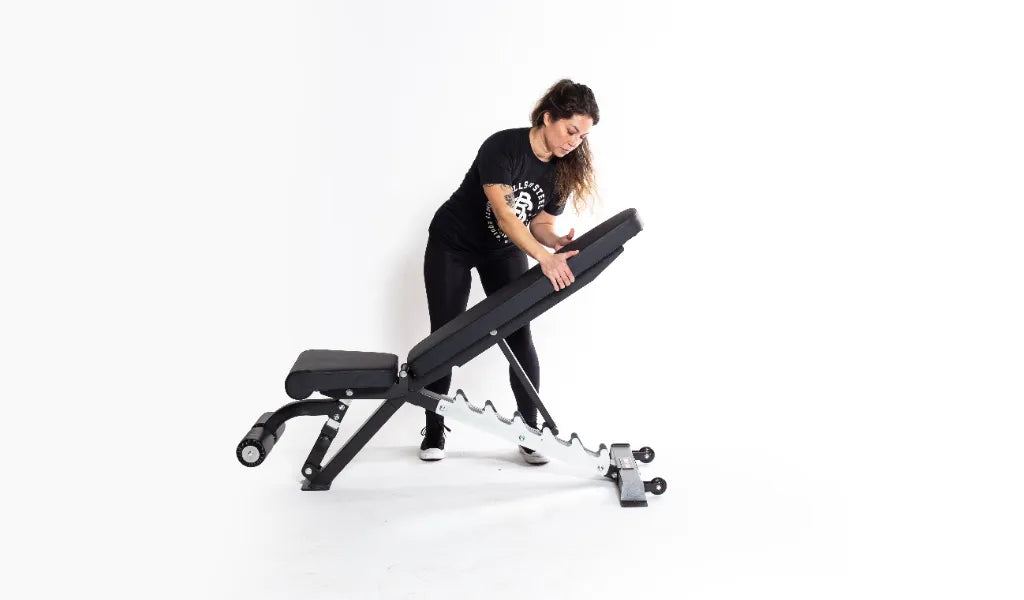
Essential Safety Checks Before Every Workout

Before each training session, perform a systematic 30-second inspection of your bench’s adjustment mechanisms. These quick checks prevent the majority of bench-related injuries caused by equipment failure. First, verify that all adjustment pins are fully engaged by checking for visible gaps between the pin and the hole—many injuries occur because pins appear inserted but haven’t fully clicked into place. Push firmly on each adjusted component to confirm the locking mechanism has engaged completely.
Next, test stability by applying weight gradually—push down on the backrest and seat as if preparing to lift, listening for any creaking, shifting, or unstable movements. Inspect adjustment hardware for signs of wear including bent pins or elongated holes from repeated use. Check the padding condition by pressing firmly across the entire surface—significant wear or compressed foam that doesn’t rebound indicates your bench needs attention. Most overlooked check: confirming your bench feet sit flat on a stable surface without wobbling, as an unlevel bench creates unstable conditions even with perfect adjustment.
Match Bench Settings to Your Unique Body Structure
Proper bench adjustment accounts for individual body proportions that significantly affect exercise form. Two people of identical height may require different bench settings based on their torso length, arm length, and flexibility levels. Those with longer torsos often need steeper inclines during pressing movements to maintain proper shoulder alignment. Longer arms may necessitate wider grip settings and potentially different bench angles to achieve optimal muscle engagement throughout each repetition.
Your bench adjustment is correct if your lower back maintains its natural curvature without excessive arching, your shoulder blades stay in contact with the pad throughout pressing movements, and you can complete your full range of motion without pain or discomfort. Quick test: when performing bench press, your elbows should form approximately 90 degrees at the bottom of the movement with upper arms parallel to the floor. If your elbows point more forward or backward, adjust your seat position until you achieve this optimal alignment.
Avoid These Dangerous Adjustment Mistakes
Even experienced lifters make critical adjustment errors that compromise safety. Skipping the stability test ranks as the most dangerous common mistake—always verify your bench is secure before adding weight, even if you just adjusted it moments ago. Using incorrect angles for specific exercises wastes your training time and can create muscle imbalances; a bench set at 15 degrees won’t adequately target your upper chest, while 60 degrees may place too much stress on your shoulders.
Neglecting pin engagement causes more equipment failures than any other factor. Partially engaged pins often appear fully inserted at a glance, making this mistake particularly insidious. Always confirm complete engagement by attempting to wiggle the adjusted component and listening for a solid click. Overlooking wear on adjustment mechanisms invites sudden equipment failure—regular inspection catches bent pins, worn holes, and loose components before they fail during exercise. Critical reminder: replace worn parts immediately rather than continuing to use compromised equipment.
Mastering how to adjust weight bench settings transforms this versatile equipment into a precisely calibrated training tool tailored to your body and goals. By understanding seat positioning, backrest angles, and attachment configuration, you can configure any bench for maximum effectiveness across your entire workout routine. Combine these adjustment skills with consistent safety checks and regular maintenance, and your weight bench will provide safe, effective training for years to come. Remember that proper adjustment isn’t just about optimizing muscle growth—it’s your first line of defense against preventable gym injuries.


