
Your resistance bands sit unused in the corner because you can’t figure out how to attach resistance bands securely for effective workouts. This common frustration sends many fitness enthusiasts back to traditional weights, missing out on the versatility and joint-friendly benefits of band training. The truth is, properly attaching resistance bands transforms them from flimsy rubber strips into powerful training tools that can challenge even advanced lifters. Whether you’re struggling with door anchors slipping during rows or unsure how to anchor bands for glute bridges, mastering these attachment techniques unlocks consistent tension that builds real muscle and strength.
Poor band attachments lead to frustrating workout interruptions, inconsistent resistance, and even safety hazards when bands release unexpectedly. But when you learn the right methods for your specific band type and exercise goals, you’ll experience smooth resistance curves that maximize muscle engagement throughout every movement. This guide cuts through the confusion with step-by-step attachment instructions verified by professional trainers, so you can set up any resistance band exercise with confidence—no more guessing whether your anchor point will hold during that final rep.
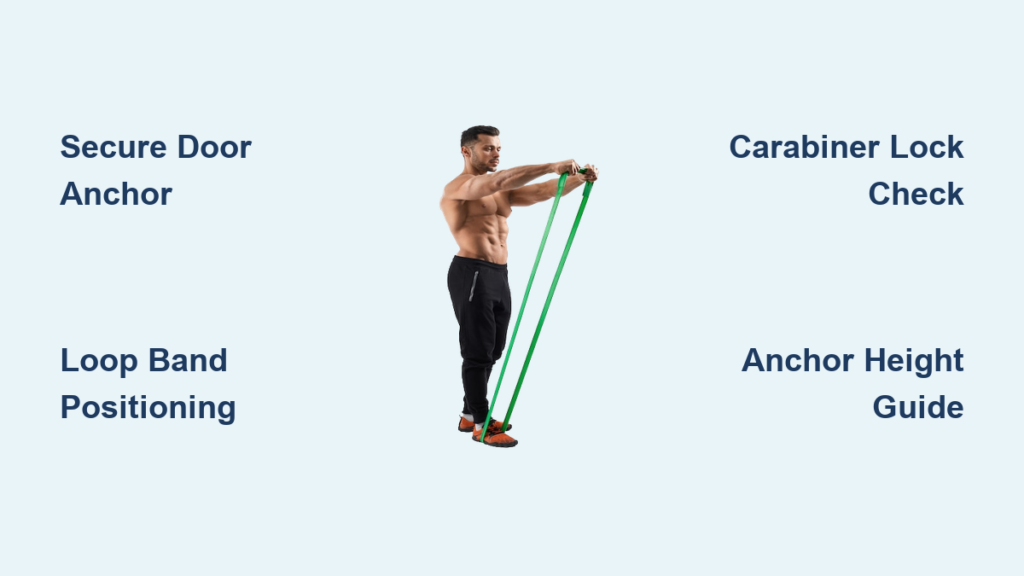
Loop Band Attachment Methods That Actually Work
Loop bands require zero connectors but demand precise positioning to maximize effectiveness during lower body exercises. To attach loop bands for squats, stand with feet shoulder-width apart, step into the band, and pull it upward until it sits just above your knees. The band should rest securely without rolling down during movement—this positioning creates outward resistance that activates your gluteus medius throughout the squat range of motion. For hip thrusts, position the band higher across your hips just below the pelvis to target the gluteus maximus more directly.
When using loop bands for upper body exercises like standing rows, create a secure anchor point by stepping on the center of the band with both feet while holding the ends. The key to consistent tension is maintaining proper foot placement—stand with feet hip-width apart directly over the band’s center point. As you pull the band ends upward, the resistance increases naturally through the movement, mimicking the strength curve of traditional rowing exercises.
Pro Tip: Loop bands slip less when positioned over clothing rather than bare skin during lower body exercises. Cotton workout pants provide just enough friction to keep bands in place without damaging the material.
Door Anchor Installation Without Damaging Your Door
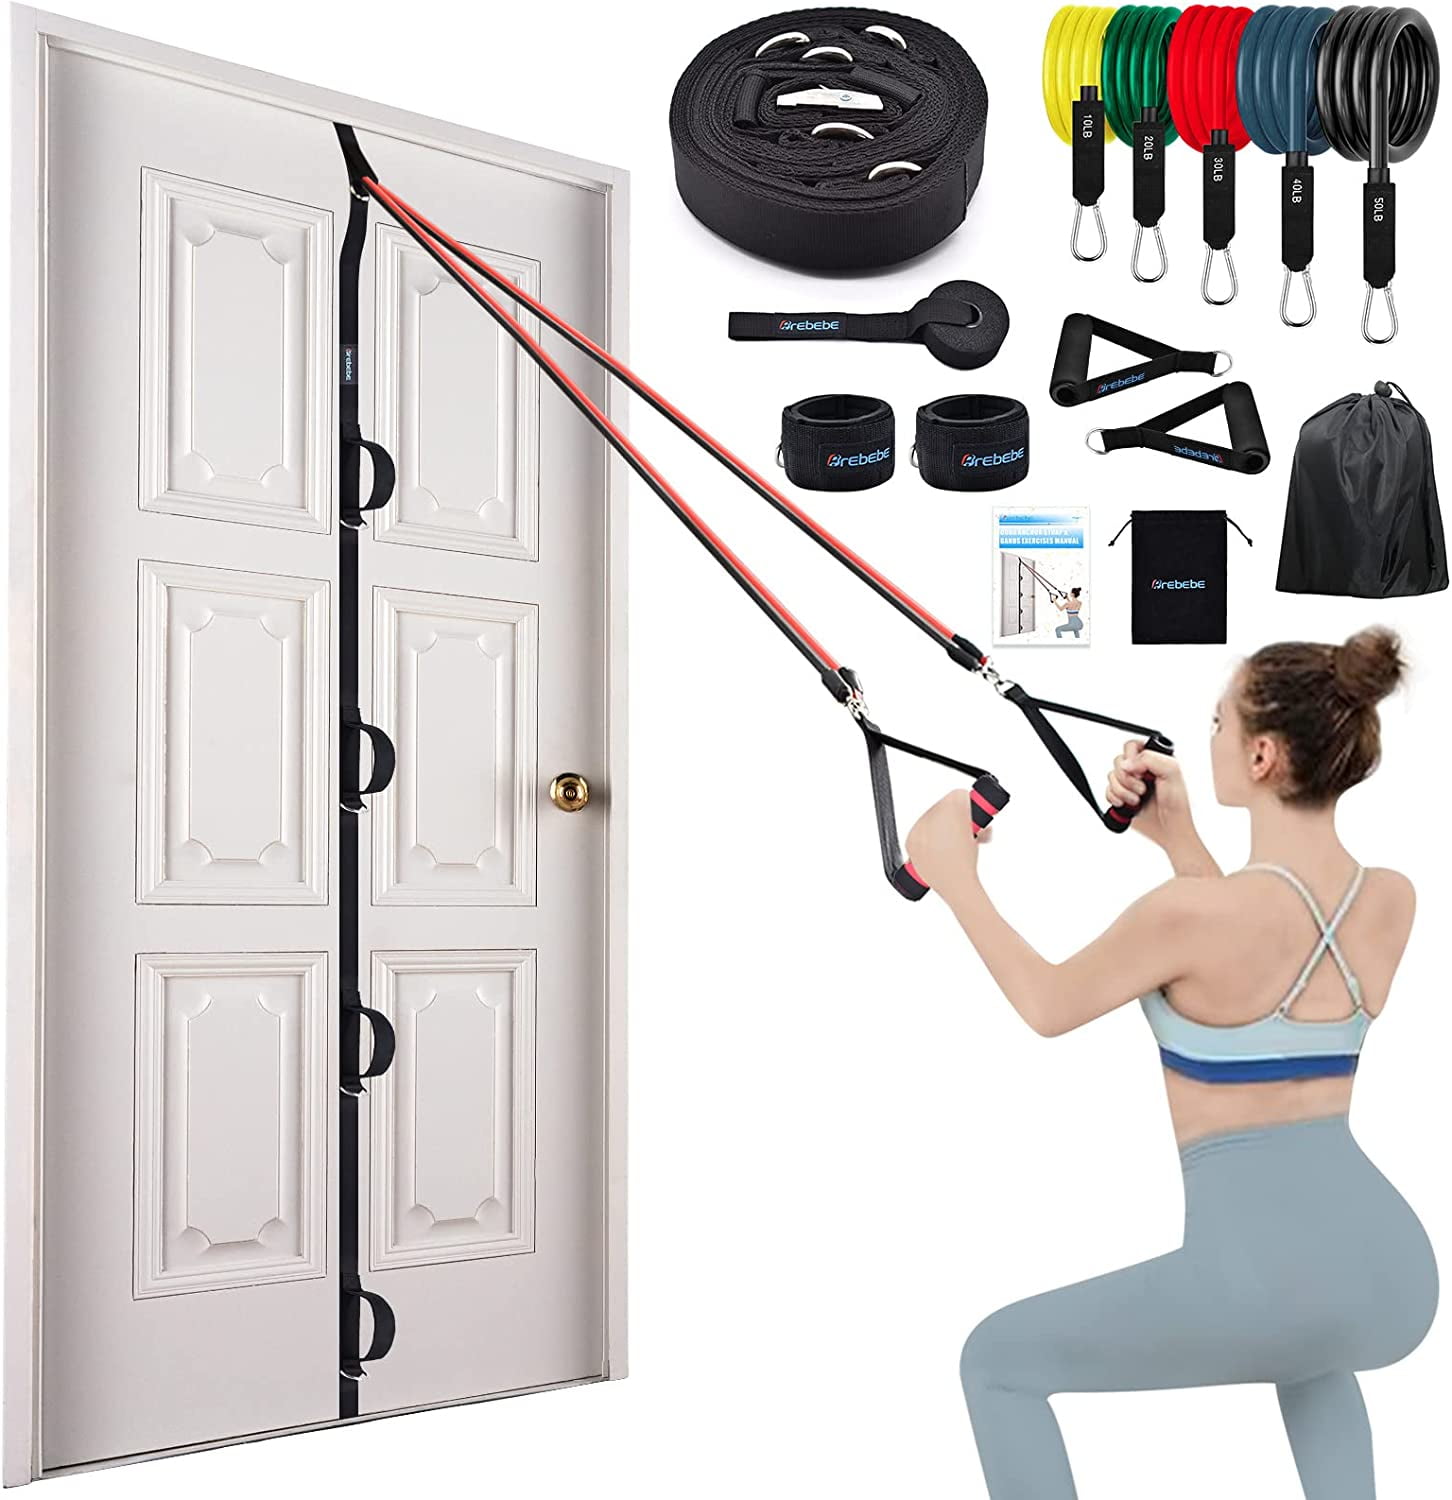
Door anchors represent the most accessible home gym solution, but improper installation causes most attachment failures. Follow these exact steps for secure door anchor setup:
- Close your door completely and verify it’s solid-core (hollow-core doors won’t hold)
- Position the padded portion of the anchor against the door on the side that opens toward you
- Slide the anchor between door and frame at your target height (knee level for leg exercises, chest height for rows)
- Close the door slowly while holding the attachment loop
- Test security by pulling firmly at a 45-degree angle before attaching bands
Your door frame must withstand at least 200 pounds of force to safely anchor resistance bands. Solid wood doors work best, while metal frames require verification that the latch mechanism engages fully with the strike plate. Never use door anchors on glass doors, sliding doors, or doors with weather stripping that creates gaps.
Troubleshooting Common Door Anchor Problems
- Slipping anchor: The door isn’t closing fully on the padding—reposition the anchor or tighten door hinges
- Anchor pad damage: Rotate the pad position with each use to distribute wear evenly
- Limited height options: Install two anchors at different heights or use an adjustable model that slides vertically
Secure Carabiner Connections That Won’t Fail Mid-Workout

Carabiners transform resistance bands into versatile training tools, but improper connection causes most safety issues. For bands with built-in loops, thread the carabiner through the entire loop thickness—not just the outer layer—and verify the gate closes completely. Auto-lock carabiners provide the safest connection since they automatically secure after closing, eliminating human error in the locking process.
When attaching multiple bands to a single anchor point:
– Use a carabiner chain with multiple connection points
– Attach the strongest band closest to the anchor
– Never exceed 80% of the anchor point’s weight rating
– Check all connections before applying full tension
Warning: Snap hooks without auto-locking mechanisms can accidentally release during dynamic movements—always choose screw-lock or auto-lock carabiners rated for at least 200 pounds for resistance band training.
Body-Based Attachments for Equipment-Free Training
Foot and ankle attachments work for lower body exercises when no anchor points exist. For resisted glute bridges:
1. Sit on the floor with legs extended
2. Place the band across the balls of your feet
3. Wrap the band around each foot just above the ankle
4. Cross the band behind your knees for added tension
Hand and wrist attachments enable upper body exercises without equipment. Wrap flat bands around your palms with the band crossing the back of your hand, then grip the ends securely. For band pull-aparts, hold the band with both hands at shoulder width while extending arms straight forward—this creates constant tension through shoulder retraction.
Pro Tip: Textured grip gloves improve band security during body-based attachments, especially for high-tension exercises where bands might slip on sweaty skin.
Wall and Floor Mount Systems for Permanent Home Gyms
Wall-mounted anchors provide professional-grade stability for serious training. Install using these critical steps:
– Locate wall studs with a stud finder (never mount into drywall alone)
– Use 3-inch lag bolts for wood studs or appropriate masonry anchors for concrete
– Position the anchor plate at multiple heights for versatility
– Test with gradual tension increases before full workouts
For floor anchors, secure directly into floor joists for wooden subfloors or use epoxy-anchored bolts for concrete. Position floor anchors away from doorways and high-traffic areas to prevent tripping hazards during exercises like resisted sled pushes.
Exercise-Specific Anchor Height Guide

Your anchor point height determines which muscles receive maximum stimulation during band exercises:
- Chest presses: Anchor at nipple height for horizontal pressing movements
- Lat pulldowns: Position anchor above head level for full overhead range
- Glute bridges: Floor-level anchor with band across hips
- Standing rows: Anchor at waist height for proper scapular retraction
- Face pulls: Anchor at eye level to target rear delts effectively
Time-Saving Shortcut: Mark your door frame with painter’s tape at optimal heights for different exercises so you can quickly reset between movements.
Safety Checks Before Every Band Workout
Before starting any resistance band session, perform these critical safety checks:
– Inspect bands for cracks, tears, or permanent stretching
– Verify anchor points withstand firm pulling from multiple angles
– Ensure carabiner gates close and lock completely
– Clear the workout area of tripping hazards within the band’s range
Warning: Never stretch resistance bands beyond 2.5 times their resting length—excessive stretching dramatically increases the risk of snapping and potential injury.
Troubleshooting Band Slippage During Exercises
Band slippage undermines workout effectiveness and creates dangerous instability. Fix these common issues:
- Door anchor slippage: Place a folded towel between door and frame for added friction
- Bar-mounted band slippage: Wrap bands twice around the bar before connecting
- Body attachment slippage: Apply athletic tape to skin where bands contact
- Handle slippage: Use chalk or grip-enhancing gloves during high-tension sets
Band Attachment Maintenance for Longevity
Extend your resistance band system’s lifespan with proper care:
– Store bands away from direct sunlight and extreme temperatures
– Clean with mild soap and water after sweaty workouts
– Rotate band usage to distribute wear evenly
– Replace bands showing permanent deformation or surface cracks
Door anchors require regular inspection of stitching integrity and padding condition. Replace anchors with worn padding that no longer grips door surfaces securely—this simple maintenance prevents dangerous attachment failures during workouts.
Mastering how to attach resistance bands properly transforms your home gym experience from frustrating to phenomenal. The techniques covered in this guide work for every band type and exercise modality, eliminating the guesswork that prevents effective training. Start with one attachment method that matches your current equipment, practice until it becomes second nature, then expand to more advanced configurations as your confidence grows. Remember that consistent tension throughout the full range of motion—not maximum resistance—is what builds real strength with bands. When you nail these attachment techniques, your resistance bands become indispensable tools that deliver gym-quality results anywhere, anytime.


