
Nothing frustrates calisthenics enthusiasts more than realizing commercial parallettes cost $100+ when you could build your own for less than $30. These elevated handstands bars transform your home workout space, letting you perform deeper dips, cleaner L-sits, and proper handstand push-ups with increased range of motion. Building parallettes is surprisingly straightforward with basic tools and materials available at any hardware store. Whether you’re a beginner building your first set or an experienced athlete wanting custom dimensions, this guide gives you everything needed to create professional-quality parallettes that withstand years of intense training. You’ll learn exactly how to build parallettes using wood or PVC, avoid common construction mistakes, and customize them for your specific body type and workout needs—all without spending a fortune on commercial equipment.
Selecting the Right Parallette Material for Your Build
Wood and PVC represent the two dominant materials for DIY parallettes, each with distinct advantages that suit different training environments and user preferences. Hardwood builds using oak or maple provide superior grip texture that naturally improves with use and offers a more traditional gymnastics feel that many athletes prefer. These wooden versions handle sweat better than PVC and develop a comfortable patina over time, though they require proper sealing to prevent moisture damage. The main downside is the additional time needed for cutting, sanding, and finishing compared to PVC options, making wood less ideal for beginners with limited tools.
PVC parallettes have surged in popularity due to their virtually indestructible nature, weather resistance, and assembly speed. A complete PVC set can be built in under an hour with no power tools required, making it perfect for apartment dwellers or those on tight schedules. The smooth plastic surface stays clean and requires minimal maintenance, though many athletes find it slippery when sweaty without proper grip enhancements. Schedule 40 PVC (with thicker walls) supports most users comfortably up to 250 pounds, while standard PVC works well for lighter athletes. If you plan to use your parallettes outdoors or in humid environments, PVC’s moisture resistance makes it the superior choice despite the slightly less comfortable grip.
Critical Dimensions That Make or Break Your Parallettes

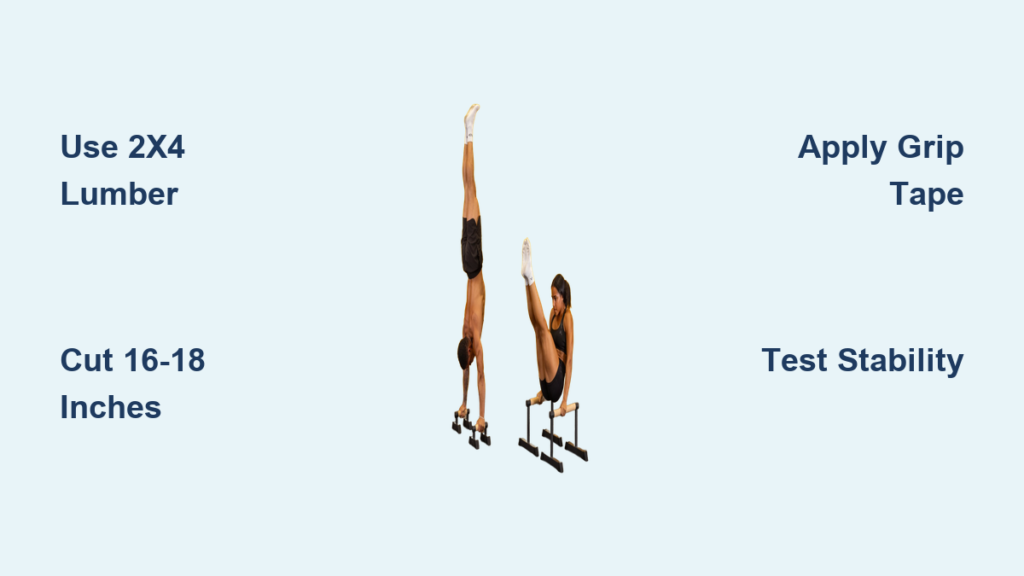
Choosing the right dimensions affects your workout performance more than most beginners realize. Height determines your range of motion during exercises like dips and handstand push-ups, with 16-18 inches representing the sweet spot for most users. Shorter parallettes (12-14 inches) provide more stability for beginners learning L-sits, while taller versions (20-24 inches) allow deeper dips for advanced athletes. Measure from the floor to the top of the grip surface—don’t forget to account for any grip tape or finishing materials that add thickness.
The width between bars significantly impacts your exercise technique. Narrower spacing (14-16 inches) makes planche progressions easier but reduces stability for balance-intensive moves, while wider setups (18-22 inches) provide more stability but limit advanced progression work. For versatile training, aim for 16-18 inches between grip centers. Grip diameter matters too—1.25-1.5 inches offers the best balance between comfort and performance. Thinner grips build more forearm strength but fatigue hands faster, while thicker grips provide better comfort during extended holds but reduce the challenge for grip strength development.
Building Wooden Parallettes Without Professional Tools
You don’t need expensive equipment to create durable wooden parallettes—just a circular saw, drill, and basic sanding supplies. Start by cutting four legs from 2×4 lumber to your desired height (typically 16-18 inches), then cut four horizontal supports at 12-14 inches for the top and bottom connections. For the grips, use hardwood dowels or cut your own from solid wood stock, creating two pieces approximately 28 inches long to allow 2-3 inches of overhang on each side. Pre-drill all holes before assembly to prevent wood splitting, especially near the ends where stress concentrates during use.
Assemble the frame using wood glue and 2.5-inch wood screws for maximum strength. Clamp the pieces together while the glue sets for 24 hours to ensure solid joints. Install the grips by drilling precise holes in the frame ends and securing them with additional wood glue—this prevents rotation during exercises. Sand thoroughly starting with 80-grit paper to remove rough spots, then progress through 120 and 220 grit for a smooth finish that won’t tear your hands. Apply three coats of matte polyurethane or teak oil, sanding lightly between coats, to protect against sweat damage while maintaining optimal grip. Allow 48 hours for complete curing before use.
Avoid These Common Wooden Parallette Mistakes
Many DIY builders compromise their parallettes’ longevity by skipping critical steps. Never use particleboard or MDF for structural components—these materials swell and weaken when exposed to sweat. Avoid glossy finishes on grip surfaces as they become dangerously slippery during workouts. Don’t skip the clamping step during assembly, as this creates weak joints that may fail under load. Most importantly, never skip the sanding progression—rough surfaces cause painful blisters and calluses that hinder training progress. Test your parallettes gradually with light weight before attempting full workouts to ensure all joints remain solid.
Constructing PVC Parallettes in Under an Hour
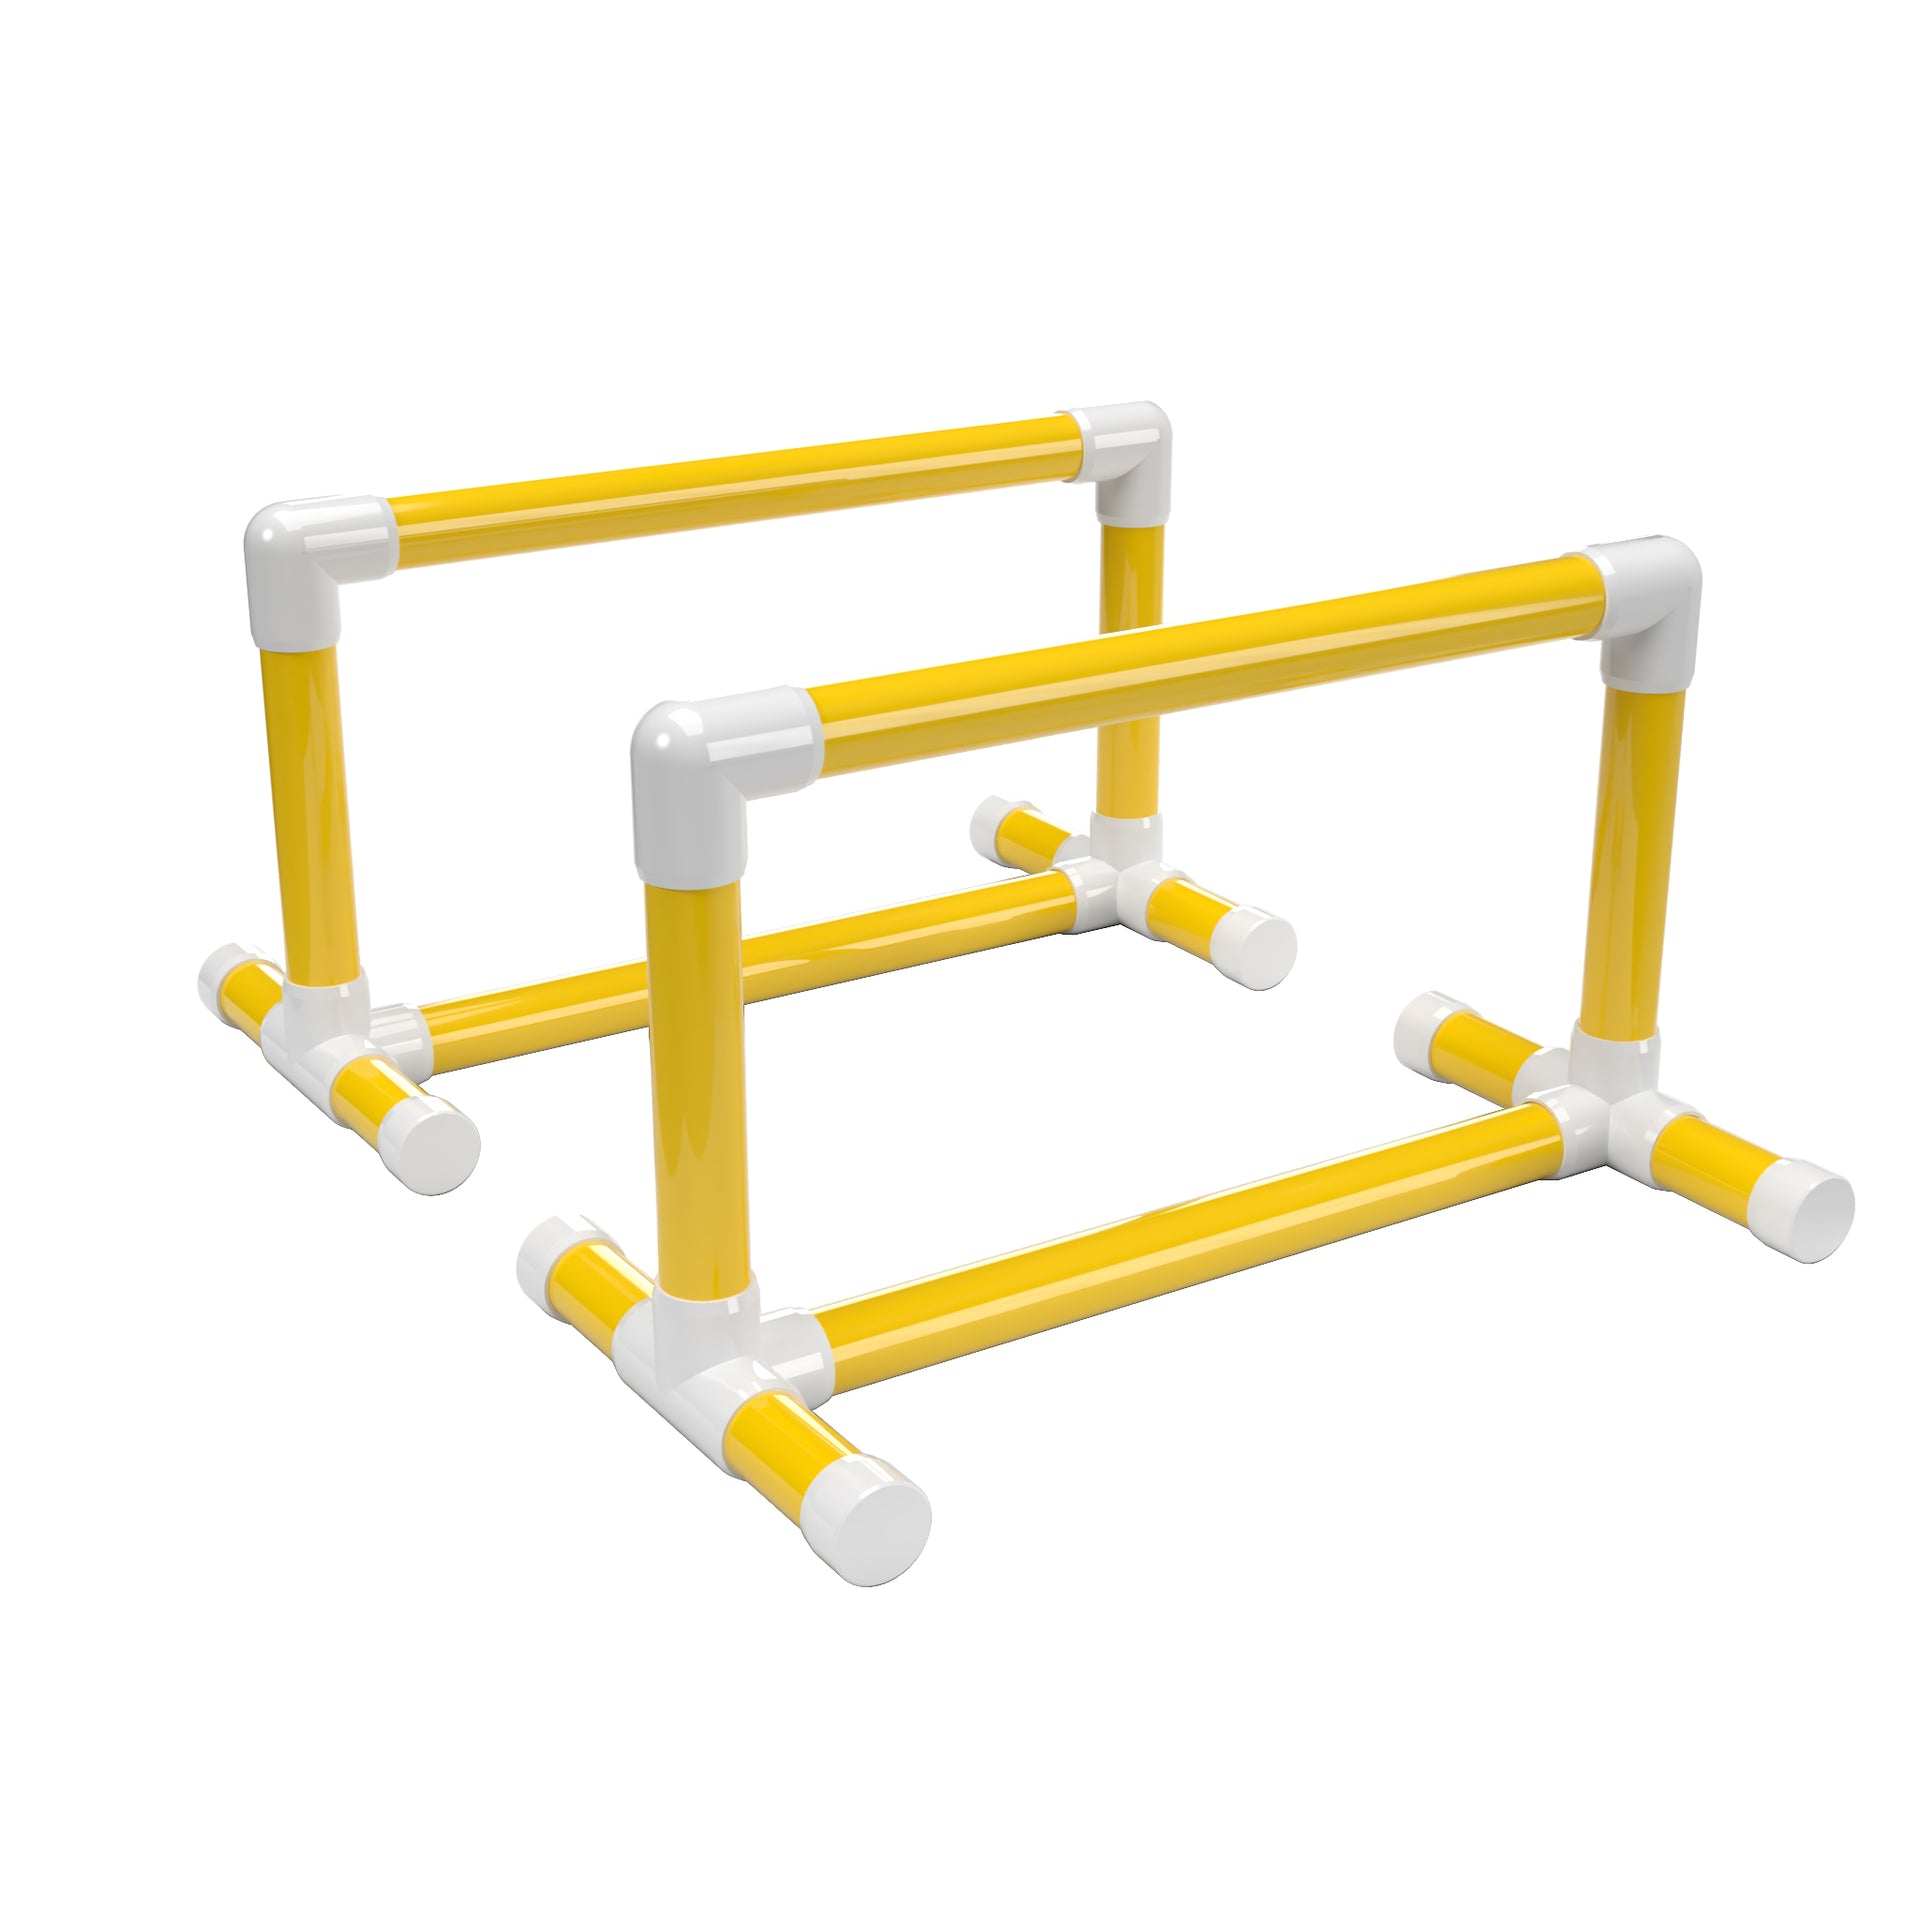
PVC construction offers the fastest path to functional parallettes with minimal tools. Cut four grip sections from 1-inch Schedule 40 PVC pipe at 28 inches each, then cut four short connectors (4-6 inches) that determine your overall width. Assemble by connecting tee fittings to each end of your grip pipes, then link the tees with elbow fittings and your short connectors. For enhanced stability, add vertical support pipes between the grips and floor contact points. Unlike wood builds, PVC requires no drying time—simply apply PVC cement to all joints for a permanent bond that eliminates rattling.
Grip Enhancement Solutions for PVC Parallettes
The biggest challenge with PVC is creating sufficient grip during sweaty workouts. Wrap grips with athletic tape using a diagonal pattern for maximum coverage and durability—hockey tape works particularly well for this application. Apply tape with 25% overlap to prevent unraveling during intense sessions. For longer-lasting solutions, consider Plasti Dip coating applied in multiple thin layers that create a rubberized grip surface. Some athletes prefer specialized gymnastics tape like Verbatim or Hannya tape, which provides consistent texture without the bulk of multiple tape layers. Test different grip solutions during lighter workouts before committing to your preferred option.
Safety Testing and Maintenance Protocols
Never skip safety testing before using your new parallettes for serious training. Start by applying gradual pressure to check for wobbling or joint slippage, then progress to partial bodyweight exercises before attempting full workouts. Wooden parallettes should support at least 300 pounds when properly constructed, while PVC versions using 1-inch Schedule 40 pipe handle 200-250 pounds reliably. Inspect wooden builds monthly for cracks or loose joints, especially after heavy use, and refinish grip surfaces as they wear smooth. For PVC parallettes, check for stress cracks around joints and replace any compromised sections immediately.
Cost Analysis: DIY vs. Commercial Parallettes
Building parallettes yourself saves 60-80% compared to store-bought versions. A quality wooden set costs $25-40 in materials versus $100-150 for commercial equivalents, while PVC builds cost just $10-20 versus $50-80 for basic models. The real value comes from customization—you determine exact dimensions for your body type and training goals rather than adapting to standard commercial sizes. Consider this investment: for less than the price of one gym session, you create equipment that serves you for years of progressive training. Even accounting for tool costs if you need to purchase basics, the break-even point comes after just a few weeks of consistent use.
Maximizing Your Training with Custom-Built Parallettes
Your new parallettes unlock training possibilities impossible with standard floor exercises. Start with basic holds to build wrist strength and comfort, then progress to parallette push-ups with increased range of motion. Within weeks, you’ll develop the stability for L-sits and tuck planches, eventually advancing to full handstand push-ups with proper form. Clean your wooden parallettes with a damp cloth after sweaty sessions and occasionally reapply finish to maintain protection, while PVC versions need only occasional wiping with disinfectant. With proper construction and maintenance, your DIY parallettes will support years of progressive calisthenics training at a fraction of commercial equipment costs.


