
Walking to your yoga class with a mat awkwardly slung over your shoulder shouldn’t leave you exhausted before you even unroll. Knowing how to carry a yoga mat properly transforms your commute from a chore to a seamless transition into your practice. The right transport method protects your investment, prevents strain, and ensures your mat arrives clean and ready for use.
Whether you’re walking to a local studio, cycling across town, or flying to a yoga retreat, your carrying solution should match your specific needs. This guide covers every approach from basic hand-carrying techniques to specialized carriers. Let’s explore how to carry a yoga mat comfortably and efficiently for any situation.
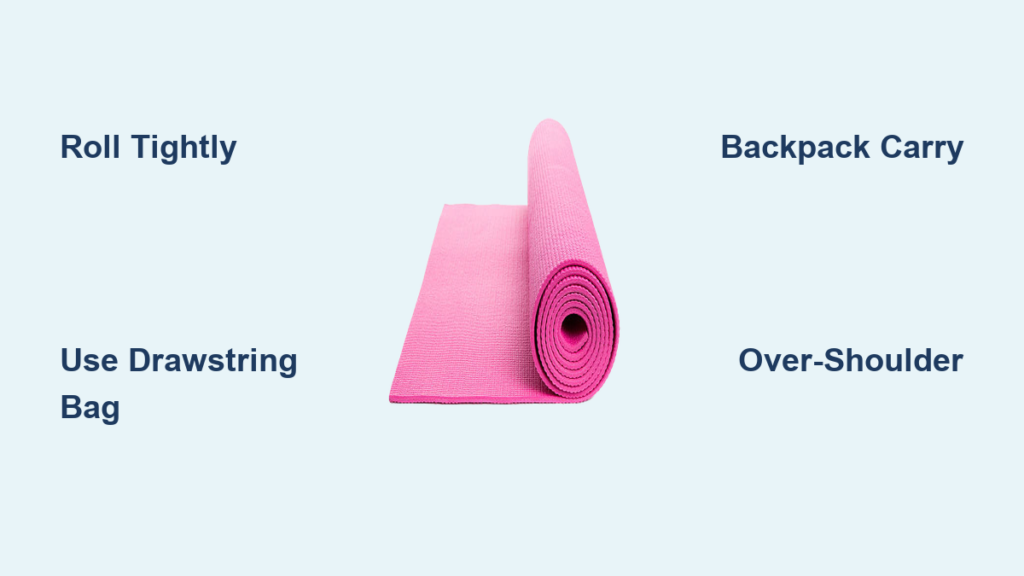
3 No-Cost Ways to Carry Your Yoga Mat by Hand
You don’t need special equipment for short trips to nearby studios. Master these fundamental techniques that require nothing but your mat and proper form.
The Vertical Hand-Carry Technique
Roll your mat tightly from end to end, applying even pressure to create a firm cylinder. Secure it with an elastic band or built-in strap if available. Grip the center of the roll with one hand, allowing the mat to hang vertically alongside your body. This method works best for walks under 15 minutes and standard 68-inch mats. If you’re taller or carrying a longer mat, support the bottom end with your other hand to prevent dragging on pavement.
Over-the-Shoulder Mat Transport
For better weight distribution on longer walks, roll your mat horizontally (side to side) to create a wider cylinder. Drape it over your shoulder so it rests against your back with equal length extending forward and behind. This position keeps your hands completely free for doors, coffee, or public transit poles. Switch shoulders every few minutes during extended commutes to prevent muscle fatigue—this simple adjustment makes a significant difference in comfort.
Fold-and-Carry for Thick Mats
Mats 6mm and thicker can often be folded instead of rolled for compact transport. Fold lengthwise first, then widthwise to create a rectangular shape that fits easily in lockers or car trunks. While convenient, avoid repeated folding with PVC mats as this causes permanent creases. Reserve this method for occasional use or with mats specifically designed for folding, like some eco-friendly alternatives that maintain integrity when folded.
Yoga Mat Bags That Keep Your Hands Free During Commutes

Dedicated carriers solve the problem of what to do with your hands while transporting your mat. The right bag depends on your commute distance and additional gear needs.
Drawstring Bags for Quick Studio Trips
These simple cylindrical carriers work perfectly for practitioners visiting studios 1-2 times weekly. Look for reinforced stitching at the drawcord points—this area bears the most stress during transport. The bag should be slightly larger than your rolled mat for easy insertion without forcing. Most include exterior pockets for keys or a phone, adding functionality without bulk. For under $15, this represents the most affordable dedicated solution that still protects your mat from dirt and damage.
Tote Bags for Carrying Multiple Props
Shoulder tote carriers offer expanded storage for practitioners who transport blocks, straps, or towels regularly. Padded straps prevent shoulder strain during longer commutes, while water-resistant linings protect against dew or rain after outdoor sessions. Some feature separate shoe compartments—essential for studios requiring street shoes to be removed. The cross-body configuration keeps the bag stable while walking, preventing the annoying swing that occurs with traditional shoulder bags.
Backpack Carriers for Hands-Free Commuting
Backpack-style carriers distribute weight evenly across your shoulders and hips, eliminating the strain of single-strap carrying. Opt for models with waist belts that transfer weight from shoulders to hips—this feature makes a dramatic difference during commutes exceeding 20 minutes. Many include laptop compartments, ideal for practitioners combining work and yoga in their daily routine. Test the padding quality with your actual mat loaded; empty bags feel comfortable but often dig into shoulders when weighted down.
Perfect Your Yoga Mat Roll: 3 Techniques for Easy Transport
How you roll your mat significantly impacts both transport ease and mat longevity. Master these techniques to protect your investment.
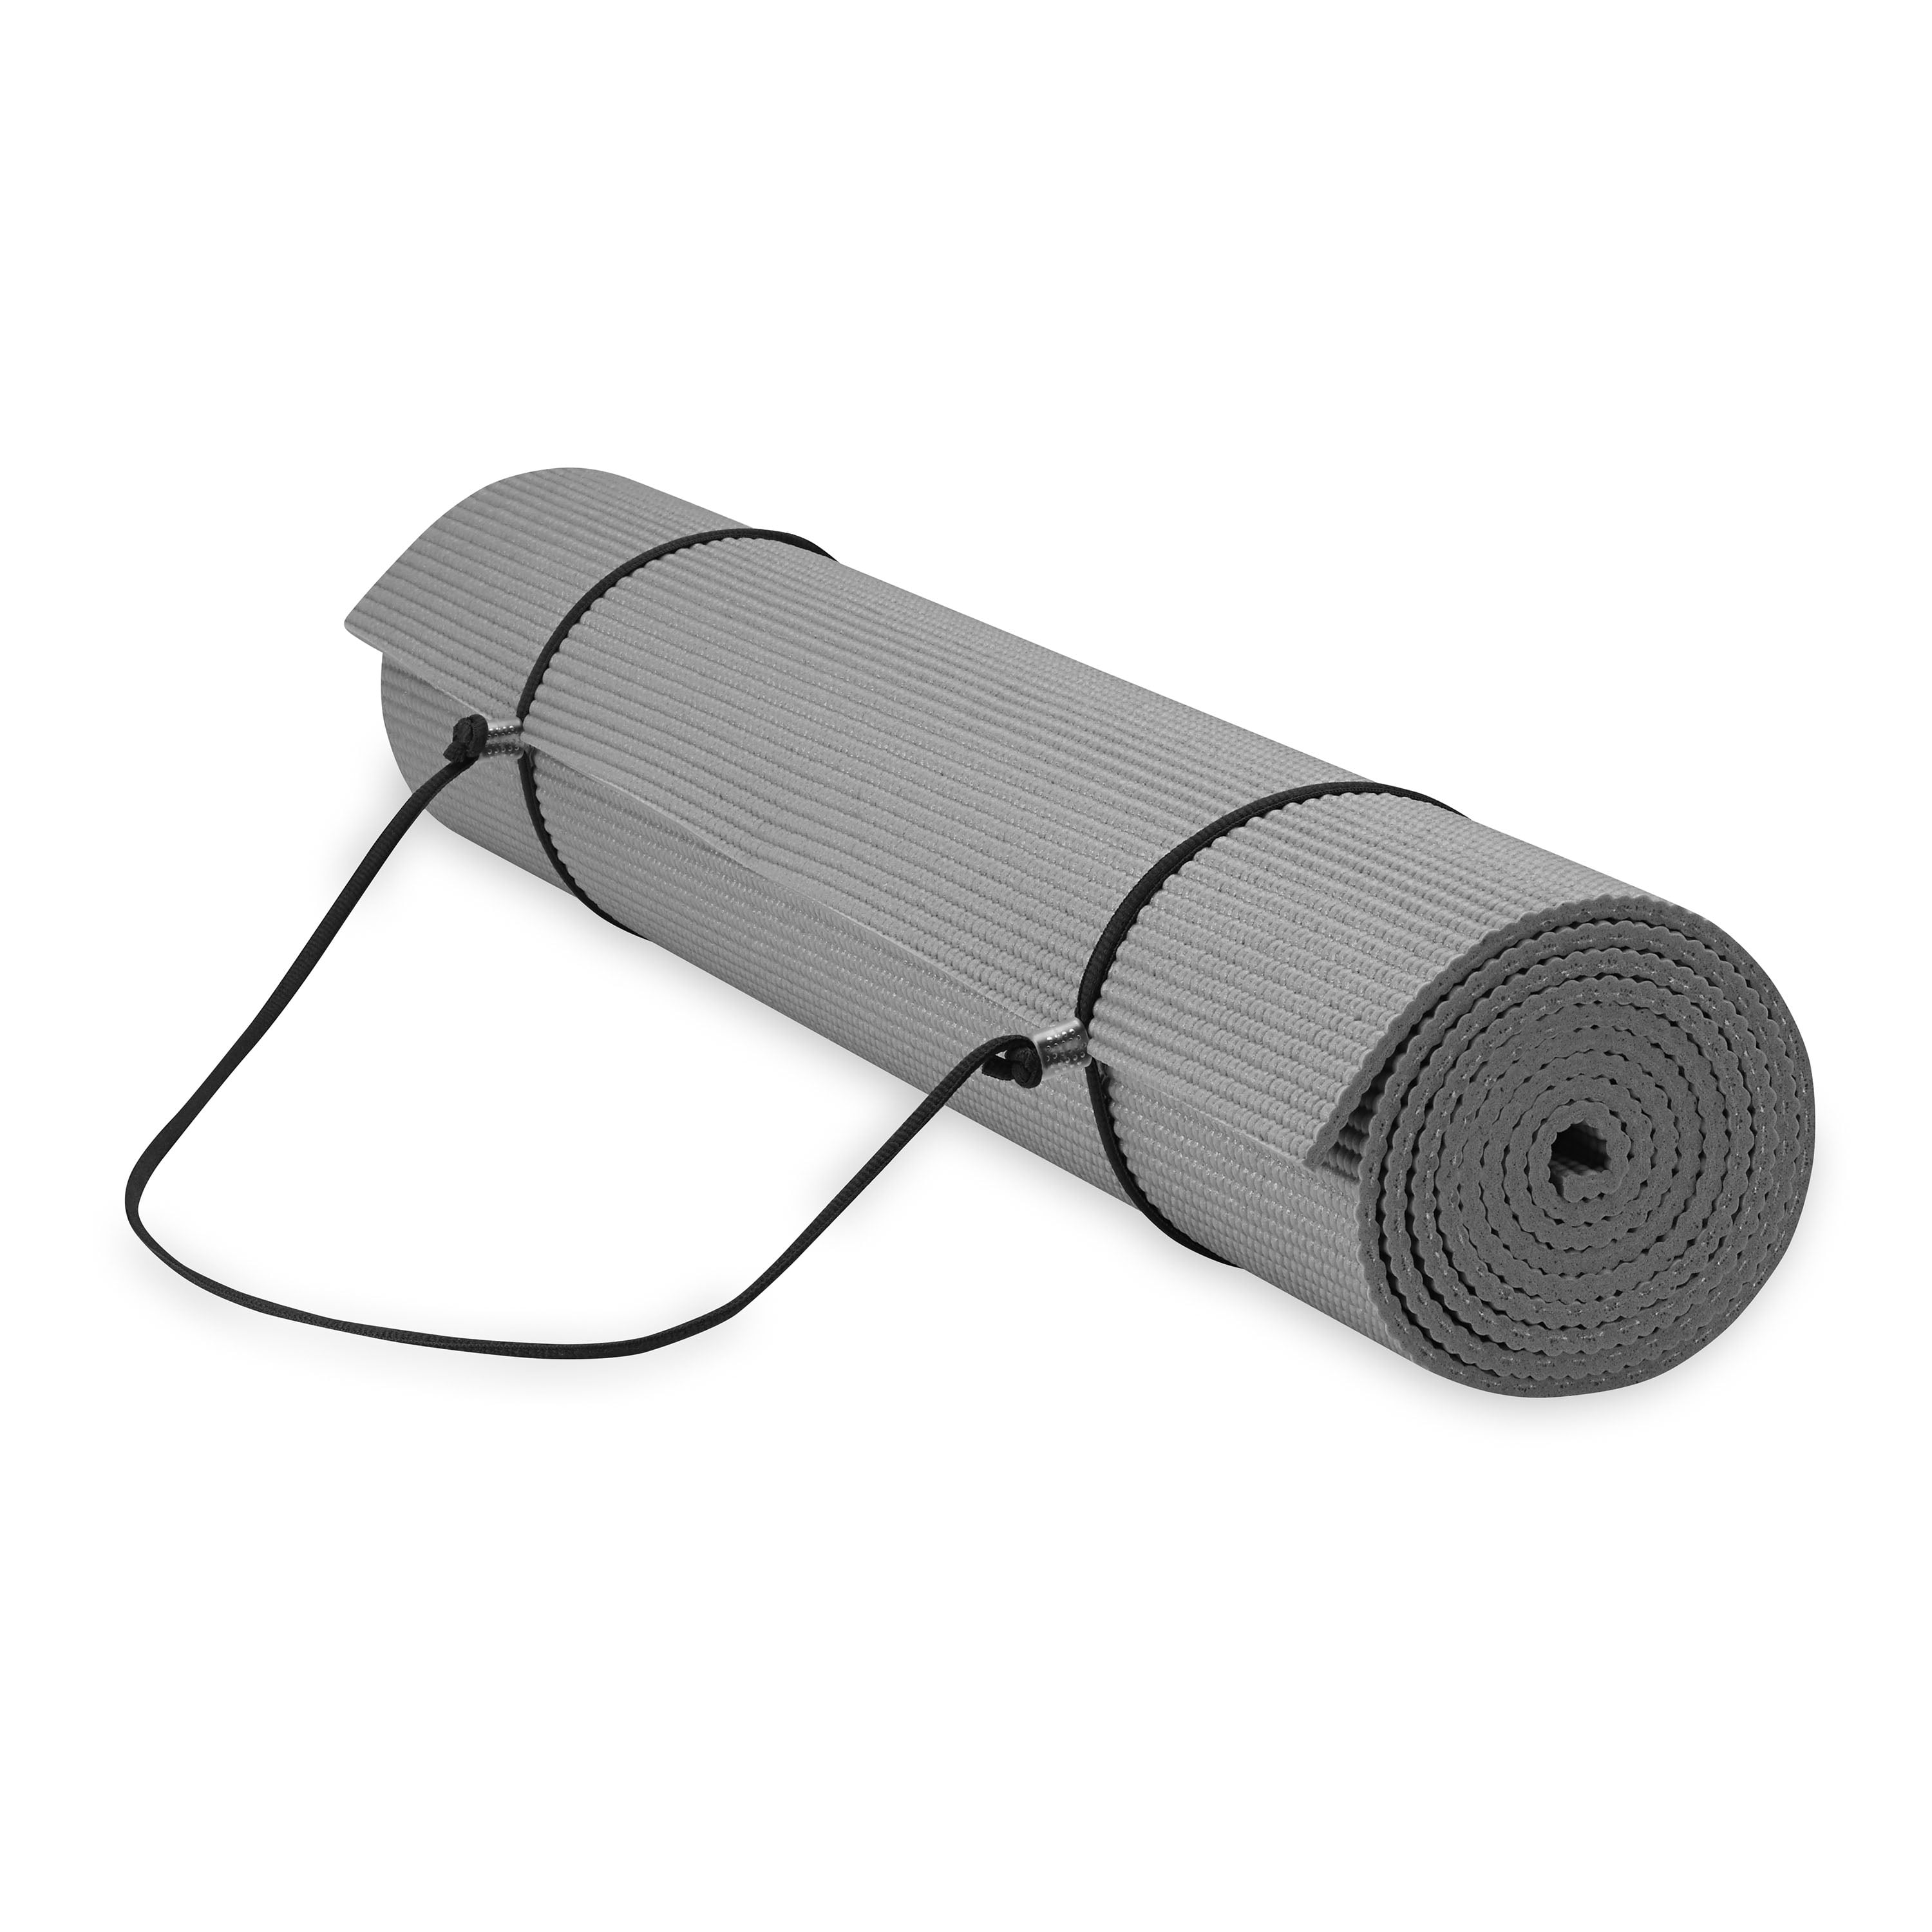
The Tight Roll Method for Standard Mats
Begin with your mat completely flat on a clean surface, smoothing out wrinkles. Roll steadily from one end to the other, applying consistent pressure to create a uniform cylinder. For mats with alignment markers, roll consistently so the top surface faces outward—this makes unrolling easier at your destination. Thread any built-in strap through the center hole before completing the final roll. A properly rolled mat should be firm enough to maintain its shape but not so tight that it creates permanent creases in the material.
Securing Thick Mats Without Damage
Thicker mats (6mm+) require special rolling considerations. Start with a slightly looser initial roll to accommodate the material’s natural resistance, then tighten gradually as you complete the roll. Some practitioners find folding the mat in half lengthwise before rolling creates a more manageable package. For textured surfaces that stick together when rolled, lightly dust with yoga mat spray before rolling to prevent difficult unrolling later. Weighting the ends with books for 5-10 minutes after rolling helps thicker mats maintain their shape during transport.
How to Carry a Yoga Mat on Public Transit Without Bothering Others

Navigating crowded buses and trains with a yoga mat requires specific strategies to maintain courtesy and comfort.
Positioning for Minimal Space Intrusion
Vertical carrying keeps your mat out of foot traffic but may bump standing passengers. Instead, position the mat against your body rather than extending into the aisle. Horizontal over-the-shoulder carrying often works best in crowded conditions as the mat stays close to your frame. During peak hours, consider timing your practice to avoid rush periods or using a backpack carrier that keeps the mat compact against your back.
Protecting Your Mat in Transit Environments
Public transportation exposes mats to dirt, moisture, and accidental damage. Always keep your mat in a bag during transit to prevent transferring grip powder or sweat to seats and handrails. For studio mats, this practice maintains hygiene by preventing cross-contamination. If space allows, placing your mat bag under your seat keeps it secure and out of the way of other passengers. At stops, keep a hand on your carrier to prevent it from shifting unexpectedly during sudden movements.
Prevent Shoulder Pain: Ergonomic Yoga Mat Carrying Techniques
Carrying your mat improperly can cause posture issues and chronic discomfort. These techniques protect your body during transport.
Weight Distribution Strategies
Backpack carriers with waist belts significantly reduce shoulder strain by transferring weight to your hips—this simple feature makes longer commutes comfortable. For hand carrying, switch sides every few minutes to prevent muscle imbalance. Shoulder bags should hang high enough to avoid hitting your thigh but low enough for comfortable arm movement. Never carry asymmetric loads for extended periods; this habit causes spinal misalignment over time.
Grip and Handle Optimization
Padded straps wider than 2 inches distribute weight more effectively than narrow alternatives. Textured or gel-padded grips reduce hand fatigue during hand-carried transport. Test carriers with your actual mat loaded, as empty bags don’t reveal real-world comfort issues. Some practitioners add grip wraps to existing straps for immediate comfort improvement without purchasing new equipment.
Yoga Mat Carriers for Every Budget: $5 to $150 Options Compared
Your perfect carrier exists at every price point—from zero-cost solutions to premium investments.
Budget Solutions Under $20
Basic drawstring bags ($5-15) provide essential protection without frills. For zero-cost options, repurpose existing items: reusable grocery bags with sturdy handles often accommodate rolled mats, while old backpack straps can be attached to simple drawstring bags for improved comfort. Elastic bands purchased in bulk for under $5 secure mats effectively. These solutions work well for occasional practitioners or those testing their commitment before investing more.
Mid-Range Carriers ($20-50)
This price point offers quality tote bags, padded shoulder carriers, and basic backpacks with enhanced features. Water-resistant materials, multiple pockets, and better strap padding become available here. For regular practitioners attending classes 2-3 times weekly, mid-range options often provide the best balance of cost and durability. Look for carriers with removable, washable liners that simplify maintenance.
Premium Investments ($50+)
Premium carriers feature superior materials like leather, designer fabrics, or specialized technical textiles. These often include lifetime warranties and represent long-term investments that outlast cheaper alternatives by several years. For yoga teachers or serious practitioners who view gear as an extension of personal style, premium carriers provide aesthetic appeal alongside maximum functionality. Some include innovative designs like convertible styles that transform from backpack to tote based on daily needs.
Selecting how to carry a yoga mat properly depends on your specific situation: practice frequency, commute distance, additional gear requirements, and budget. The right solution transforms your journey to practice from a burden into a seamless transition that prepares you mentally for your session.
For most practitioners, a mid-range tote or backpack carrier provides the ideal balance of comfort, protection, and value. If you’re just starting your practice, try basic hand-carrying techniques first to determine your specific needs before investing in equipment. Remember that proper mat transport isn’t just about convenience—it protects your investment, maintains hygiene, and ensures your mat arrives ready for practice every time.
Consider these final tips when implementing your new carrying method: test different techniques during short commutes before relying on them for important sessions, periodically inspect your carrier for wear and tear, and always allow outdoor mats to dry completely before storing. By matching your carrying method to your specific needs, you remove one more barrier to maintaining a consistent yoga practice—because how you carry your mat shouldn’t determine whether you make it to class at all.


