
You’ve walked the same neighborhood route for months, but your heart rate barely spikes and those last 10 pounds won’t budge. Adding a weighted vest could transform your daily walk into a strength-building, calorie-torching powerhouse—but pick the wrong one, and you’ll face shoulder pain, ruined posture, or an expensive doorstop. Most walkers make critical errors: choosing too much weight upfront, grabbing a tactical vest designed for squats, or ignoring safety features that prevent injury.
This guide cuts through the noise using proven biomechanics and real user data. You’ll learn your exact safe weight range based on body metrics, spot walking-specific designs that preserve natural arm swing, and avoid dangerous “red flag” vests that compromise balance. We’ll also reveal the progressive break-in schedule that prevents joint strain while maximizing results. Stop guessing—start walking smarter.
Calculate Your Exact Weight Capacity for Walking

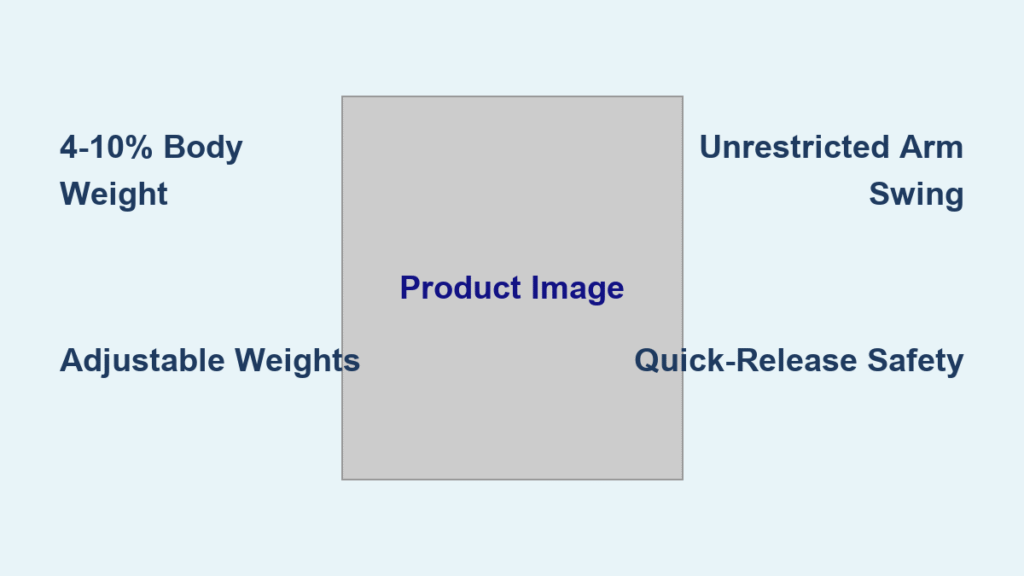
Never guess your vest weight. The 4-10% of body weight rule is non-negotiable for walking safety. A 150-pound walker needs 6-15 pounds—any heavier risks knee damage or posture collapse from uneven terrain. Start at the absolute minimum: a 12-pound vest that feels light indoors becomes brutally heavy after 15 minutes of walking.
Why Adjustable Vests Beat Fixed-Weight Options
Fixed-weight vests force dangerous compromises. If you’re 160 pounds, your safe range is 6.4-16 pounds—but fixed vests rarely match this precisely. Choose adjustable models with 0.5-2 pound removable weights so you can:
– Begin at 4% (6.4 lbs) for your first 2 weeks
– Add 1 pound weekly only if your posture stays perfect
– Remove weights instantly if hills or fatigue increase strain
Progressive Loading Timeline That Prevents Injury
Week 1-2: Wear 4-5% of body weight for just 10 minutes during household tasks like taking out trash. Your core must engage to maintain upright posture—stop if your shoulders round.
Week 3-4: Increase to 6-7% for 15-minute outdoor walks. Focus solely on smooth arm swing; if your stride shortens, reduce weight immediately.
Week 5+: Only approach 8-10% after mastering form for 3+ weeks. Never exceed 10%—walking’s repetitive motion magnifies joint stress.
Select Vest Designs Built Specifically for Walking Motion

Tactical plate carriers with rigid front/back panels sabotage walking. They restrict breathing, eliminate natural arm swing, and shift weight forward—causing hunched posture and lower back strain. For walking, shoulder holster vests are the only safe choice.
Critical Fit Tests Before Buying
A poorly fitting vest creates pressure points that derail your workout. Before purchasing:
– Check length: The bottom edge must sit above your belt line, never covering hips. Longer vests drag during arm swing.
– Test arm movement: Raise arms sideways while wearing the vest—zero resistance should occur.
– Verify adjustability: Straps must tighten securely across your exact chest measurement, even with winter layers.
– Inspect weight pockets: Individual compartments prevent bouncing; single large pockets shift dangerously on uneven paths.
Walking-Specific Features That Make or Break Comfort
Avoid vests missing these essentials:
– Breathable mesh panels across the back (traps less sweat than solid nylon)
– Reflective strips on front/sides (non-negotiable for dawn/dusk walks)
– Metal buckles at all stress points (plastic snaps fail under load)
– No chest compression: Straps should stabilize without squeezing ribs—restrictive vests reduce oxygen intake by 15%.
Verify Non-Negotiable Safety Features
A vest without emergency removal capability turns minor stumbles into injuries. Prioritize these safety elements over price:
Immediate Rejection Criteria for Vests
Stop considering any vest with:
– Single heavy weight pocket (causes erratic bouncing on stairs)
– Rigid construction (feels “locked in” during shoulder rotation)
– Missing reflective materials (dangerous for early-morning routes)
– Plastic buckles on weight pockets (snaps under 10+ pounds of stress)
– No quick-release chest strap (delays emergency removal during falls)
Real Injury Risks from Poor Vest Choices
Walking’s forward momentum amplifies design flaws. Tactical vests concentrate weight on the sternum, causing:
– Shoulder rounding that compresses cervical discs
– Knee valgus (inward collapse) on downhill slopes
– Hip flexor strain from restricted stride length
– Breathlessness from 10% reduced lung capacity
Master the 5-Step Purchase Decision Process
Follow this sequence to avoid costly mistakes:
Step 1: Calculate Your Exact Weight Range
Multiply your weight by 0.04 and 0.10. A 180-pound walker needs 7.2-18 pounds—never round up.
Step 2: Prioritize Adjustable Over Fixed Weight
Fixed vests waste money: you’ll outgrow the weight or start too heavy. Adjustable models cost $10-$20 more but last years.
Step 3: Match Vest Size to Layered Clothing
Measure your chest over a hoodie—vests must fit snugly over winter gear. Most brands list size ranges (e.g., “fits 36-48 inch chests”).
Step 4: Confirm Walking-Specific Design
Search product images for “side arm swing test” videos. If the model’s arms move freely, it’s walking-safe.
Step 5: Validate Price-to-Quality Ratio
- $30-$60: Basic nylon vests (adequate for <10 lbs; avoid for heavier use)
- $60-$120: Reinforced stitching, breathable mesh, metal buckles (ideal for most walkers)
- $120+: Premium materials (worth it only for 15+ lb loads or daily heavy use)
Break In Your Vest With Injury-Proof Progression
Never strap on a new vest and walk 2 miles. Your body needs adaptation:
Week 1: Indoor Movement Conditioning
Wear the vest during chores for 10-15 minutes daily. Focus on:
– Maintaining tall spine while walking stairs
– Keeping shoulders down (no hunching)
– Engaging core during dishwashing or laundry
Stop if you feel knee pressure—this indicates excessive weight.
Week 2: Controlled Outdoor Sessions
Start with 10-minute walks on flat terrain near home. Key checks:
– Your natural arm swing stays fluid
– Breathing remains steady (no gasping)
– Stride length matches unweighted walks
Add 5 minutes every 3 days—never increase weight and duration simultaneously.
Extend Vest Lifespan With Proper Maintenance
Neglecting care turns quality vests into hazards within months:
Weekly Safety Checks
- Remove weights and inspect stitching at strap junctions
- Test all buckles for smooth release under tension
- Wipe sweat zones with damp cloth (prevents mildew in padding)
- Air dry completely before storage—never fold damp vests
Monthly Deep Cleaning Protocol
- Remove all weights
- Hand-wash with cold water + mild detergent
- Hang vertically to dry (prevents shoulder strap warping)
- Lubricate metal buckles with silicone spray
Stop Immediately at These Warning Signs
Your body signals danger before injuries occur. Halt your walk and remove the vest if you experience:
– Sharp knee or hip pain (especially downhill)
– Numbness in fingers (nerve compression from shoulder strain)
– Inability to take full breaths (vest too tight)
– Loss of balance on curbs or uneven surfaces
These indicate compromised form—pushing through risks joint damage. Reduce weight by 25% when restarting.
Maximize Calorie Burn With Walking-Specific Strategies
Once fitted correctly, leverage these advanced techniques:
Hill Interval Protocol
- Uphill: Wear vest at 8-10% weight for 2-3 minutes
- Downhill: Remove vest immediately (knees can’t handle eccentric load)
- Flat recovery: Walk unweighted until breathing normalizes
Posture-Driven Power Walking
- Engage core to maintain 120+ steps per minute cadence
- Drive elbows backward 45 degrees (activates glutes)
- Scan horizon—not feet—to prevent forward lean
Final Vest Selection Checklist Before Buying
Before clicking “purchase,” verify these six criteria:
✅ Weight precision: Adjustable within your exact 4-10% range (e.g., 8-12 lbs for 120-lb walkers)
✅ Walking mobility: Shoulder holster design with unrestricted arm swing
✅ Safety essentials: Quick-release chest strap + reflective strips + metal buckles
✅ Size flexibility: Fits over layered clothing with snug (not tight) straps
✅ Durability proof: Triple-stitched stress points + breathable back panel
✅ Value alignment: Mid-range price ($60-$120) for balanced quality and cost
The right weighted vest turns mundane walks into metabolic powerhouses—burning 20% more calories while building bone density and leg strength. But it only works if you choose wisely. Measure your weight today, calculate your 4-10% range, and apply this guide’s safety checks. Your breakthrough walk starts with the vest that moves with you, not against you.


