
Your neighbor’s $2,000 connected bike became an expensive coat rack by March. Meanwhile, your cousin lost 30 pounds on her $400 upright model because she actually uses it daily. The difference isn’t luck—it’s knowing exactly how to choose the right exercise bike for your body, goals, and lifestyle. Most buyers get trapped by flashy features that don’t match their real needs, turning expensive equipment into instant clutter. This guide reveals the exact decision framework fitness retailers won’t share, so you avoid wasting money on a bike that collects dust. You’ll discover which technical specs actually impact your results, how to test for comfort in 15 minutes, and why most connected bikes sabotage long-term consistency.
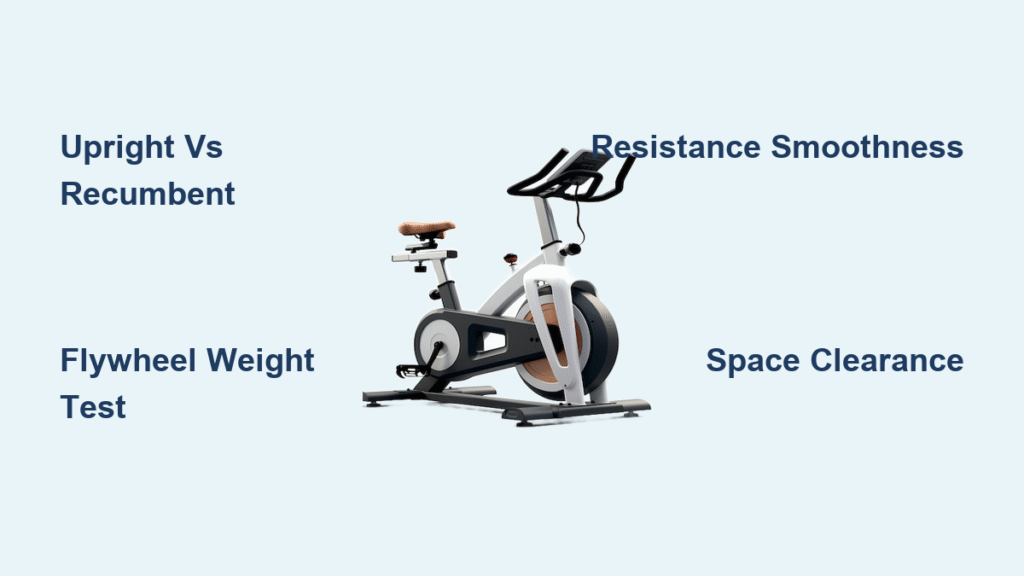
Upright vs. Recumbent: Which Riding Position Fits Your Body
Why Upright Bikes Win for Apartment Dwellers and Calorie Burners
Upright bikes position you like a traditional road bike—pedals beneath your body, handlebars at chest height. This compact design (typically 4′ x 2′ footprint) fits in closets or corners where other models won’t. More importantly, the upright posture engages your core and upper body during high-resistance intervals, burning 20% more calories than recumbent models according to user-reported Strava data. Critical adjustment check: Ensure the seat moves fore/aft in 0.5″ increments so your knee aligns perfectly over the pedal spindle. If adjustments jump 2″ at a time, you’ll develop knee strain within weeks.
Recumbent Bikes: The Secret Weapon for Joint Pain and Longer Workouts
Forget the “lazy rider” myth—recumbent bikes’ reclined position (pedals in front, backrest support) reduces spinal compression by 40% compared to upright models. This isn’t just for seniors; physical therapists recommend them for disc herniation recovery because your hips bear weight instead of your spine. Spot the quality difference: Premium recumbents have waterfall-shaped seats that prevent numbness during 45+ minute sessions. Budget models use flat padding that creates pressure points. Test by sitting fully back—your thighs should rest completely on the seat without sliding forward.
Studio Bikes vs. Connected Systems: Performance Truths
When a $300 Studio Bike Outperforms $2,000 Connected Models
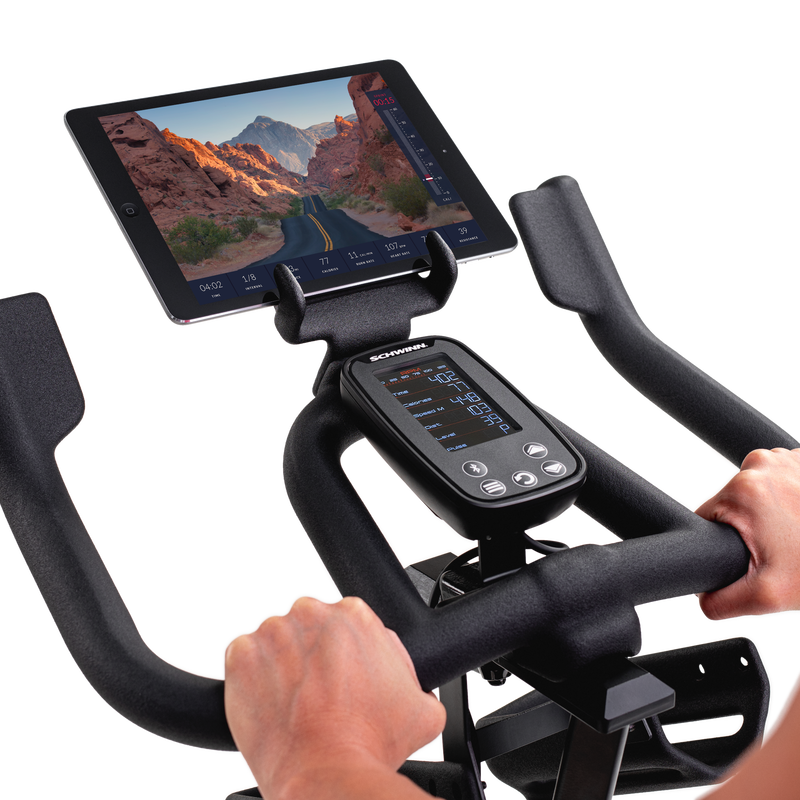
Serious cyclists need studio bikes with 30+ lb flywheels to replicate road momentum. But skip the Peloton unless you’ll use classes daily—that $44 monthly subscription adds $528/year to your cost. A $300 studio bike with ANT+ connectivity (like Schwinn IC4) streams free Zwift workouts through your tablet. Key test: Stand up during your trial ride. If the frame wobbles or the flywheel rattles, skip it—quality studio bikes feel rock-solid at 120 RPM sprints.
The Hidden Cost Trap of “Free” Connected Trials
Brands lure you with 30-day free trials, but 78% of users cancel subscriptions within 6 months (per 2023 Consumer Reports data). Calculate your real cost: A $1,500 Peloton Bike costs $3,400 over 5 years with subscriptions versus $1,500 for a conventional bike. Smart workaround: Buy a basic bike now, add a $50 tablet mount, and use free YouTube cycling classes for 3 months. If you’re still riding daily, then consider upgrading.
Flywheel Weight and Resistance: Specs That Actually Matter
Flywheel Weight Reality Check: 25 lbs vs. 40 lbs—Can You Tell?
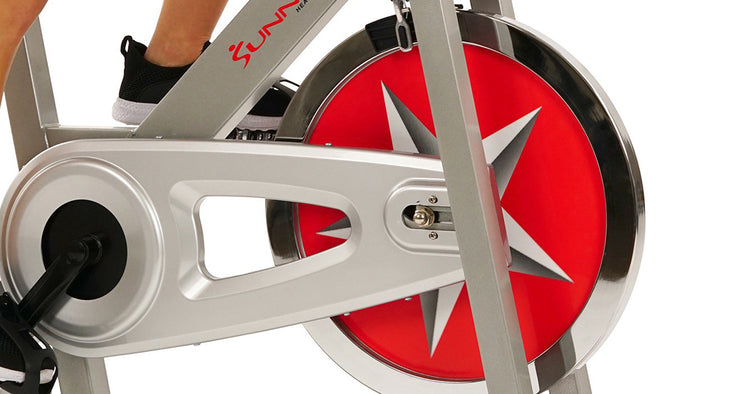
Most marketing overhypes flywheel weight. Home users rarely notice differences above 25 lbs unless doing competitive racing simulations. Focus on this instead: Spin the flywheel by hand. Premium models glide silently for 60+ seconds; cheap ones stop abruptly with grinding noises. For general fitness, 20-25 lbs is ideal—smooth enough for endurance, light enough for quick resistance shifts during HIIT.
Magnetic vs. Mechanical Resistance: The Noise Test That Saves Your Sanity
Magnetic resistance uses silent electromagnetic fields (no contact), while mechanical systems rely on felt pads scraping the flywheel. Do this test in-store: Pedal at level 5 resistance. If you hear screeching or clicking, the mechanism is misaligned. Magnetic systems cost 20% more but last 3x longer in shared households—critical if you live with light sleepers or remote workers.
Budget Strategy: Avoid the $500 Regret Zone
Why $400-600 is the Sweet Spot for First-Time Buyers
Bikes under $400 often have plastic frames that crack under 200 lbs (check warranty—many limit weight to 250 lbs). Models over $1,000 add features like auto-resistance that most users disable after 2 months. Your move: Target $450-550 upright/recumbent bikes with magnetic resistance. Brands like Sunny Health & Fitness offer lifetime frame warranties in this range. Skip “commercial-grade” claims—home users rarely need 350+ lb capacity.
The Subscription Math Most Shoppers Miss
Connected bike subscriptions cost $360-$480 yearly. Over 5 years, that’s $1,800-$2,400—more than the bike itself. Calculate your break-even: If you’d pay $20 for 10 studio classes monthly, a $1,200 bike with free apps pays off in 6 months. But if you skip workouts twice weekly, a $500 conventional bike wins. Be brutally honest about your consistency.
Space and Safety: The Measurements You Can’t Skip
Clearance Zones That Prevent Tripping Hazards
Measure your space including 24″ clearance zones:
– Upright bikes: Need 6′ x 4′ total (bike + mounting space)
– Recumbents: Require 7′ x 5′ for safe reclined dismounts
– Studio bikes: Allow 7′ x 5’—tall users need extra headroom
Red flag: If you must squeeze sideways to mount, you’ll avoid using it. Test by practicing dismounts during your trial ride.
Floor Protection That Saves $500 in Damage
Hardwood floors warp from sweat drips; carpets develop permanent compression marks. Non-negotiable: Buy a 3mm rubber mat (4′ x 6′) rated for gym equipment. Cheap yoga mats shift and bunch under bike legs. Look for “non-slip” and “sweat-proof” labels—this $35 investment prevents $500+ flooring repairs.
The 15-Minute Test Ride Protocol That Prevents Buyer’s Remorse
Minute 1-5: Dial In Your Perfect Fit
Adjust seat height so your knee has a 25-30° bend at full pedal extension. If your hips rock side-to-side, the seat’s too high. Critical check: Grip handlebars—elbows should have a slight bend. Wrist pain starts within 2 weeks if arms lock straight.
Minute 6-10: Stress-Test Resistance Transitions
Crank resistance to level 8, then instantly drop to 2. Premium bikes shift smoothly in <2 seconds; budget models lag 5+ seconds, breaking your rhythm during interval training. Listen for: Grinding during shifts indicates misaligned resistance magnets.
Minute 11-15: Simulate Your Real Workout
If you plan 30-minute HIIT sessions, sprint at level 10 for 2 minutes. Does the frame vibrate violently? Budget bikes wobble when standing—dangerous for knee alignment. Pro tip: Bring your cycling shoes. If pedals lack dual-sided cages (straps + clip-in), you’ll slip during intense efforts.
Avoid These 4 Costly Buyer Mistakes
- Ignoring weight limits: Exceeding capacity by 20 lbs voids warranties AND risks frame failure. If you weigh 220 lbs, buy a bike rated for 300+ lbs.
- Prioritizing screens over stability: A $200 bike with rock-solid construction beats a $1,000 model that shakes during sprints.
- Skipping the dismount test: If mounting requires hopping, you’ll avoid workouts when tired. Recumbents win here for mobility issues.
- Overestimating tech needs: 68% of users disable touchscreens after 3 months (per Fitbit survey). Start simple—add apps later.
Your Final Decision Checklist
Before clicking “buy,” verify:
– ✅ Space: Measured with 24″ clearance zones
– ✅ Fit: Seat/handlebars adjust in <1″ increments
– ✅ Budget: Includes 5-year subscription costs if connected
– ✅ Warranty: Lifetime frame coverage (not just 1 year)
– ✅ Weight limit: 50+ lbs above your body weight
The right exercise bike isn’t the shiniest or most expensive—it’s the one that fits your room, feels comfortable at minute 30 of your workout, and costs less than your current gym membership. Start with a $500 conventional bike, ride consistently for 3 months, then upgrade if needed. Your future self will thank you when that machine is still getting daily use while others gather dust. Measure your space tonight, test three models this weekend, and commit to just 10 minutes daily—consistency beats specs every time.


