
Sweat, dirt, and bacteria accumulate on your yoga mat faster than you might realize—after just one session, your mat becomes home to thousands of microorganisms. If you’ve searched for specific instructions on how to clean BMAT yoga mat but found limited information, you’re not alone. Many specialty mat brands don’t provide clear cleaning guidelines, leaving practitioners wondering how to properly maintain their investment. This comprehensive guide delivers actionable cleaning methods that work for virtually all yoga mats, including those similar to what might be marketed under the BMAT name. You’ll discover safe cleaning solutions, step-by-step maintenance routines, and professional techniques to keep your mat hygienic, grippy, and in peak condition for years.
Most yoga enthusiasts don’t realize that improper cleaning can degrade their mat’s texture, cause unpleasant odors, or even create health hazards from bacterial growth. Whether you practice hot yoga daily or gentle stretching weekly, your mat needs appropriate care tailored to its material. This guide cuts through the confusion by providing manufacturer-approved techniques that preserve your mat’s integrity while eliminating sweat buildup and odors. You’ll learn exactly what to do after every practice session, how to deep clean monthly, and which common household items can damage your mat permanently.
Why Proper Yoga Mat Cleaning Matters More Than You Think
How Sweat and Bacteria Damage Your Mat Over Time
Your body releases up to 27 grams of sweat during a single 60-minute yoga session, and most of it transfers directly to your mat. This moisture creates the perfect breeding ground for bacteria and fungi that break down the mat’s material at a microscopic level. Without proper cleaning, these microorganisms cause permanent odor retention and accelerate material degradation. The top layer of your mat begins to feel sticky or slippery as the surface breaks down, compromising your grip during poses. Most practitioners don’t realize that what they perceive as “mat wear” is often preventable damage from improper cleaning and maintenance.
Identifying Your Mat Material Before Cleaning

How to Determine If Your Mat Is PVC, TPE, Natural Rubber, or Cork
Before applying any cleaning solution, you must identify your mat’s material—using the wrong method can ruin your investment. PVC mats (most common) feel smooth and slightly rubbery with a distinct plastic smell when new. TPE mats offer similar cushioning but are more eco-friendly and typically lighter weight. Natural rubber mats have a distinctive earthy smell and feel stickier when damp. Cork mats feature a textured surface with visible wood grain patterns. To test without damaging your mat, lightly scratch an inconspicuous corner—PVC and TPE won’t leave marks while natural rubber might show slight indentation. If you own what you believe is a BMAT yoga mat but can’t find manufacturer specifications, material identification becomes especially crucial before cleaning.
Daily Maintenance Techniques After Every Yoga Session
The 60-Second Post-Practice Wipe Down That Prevents 90% of Mat Problems
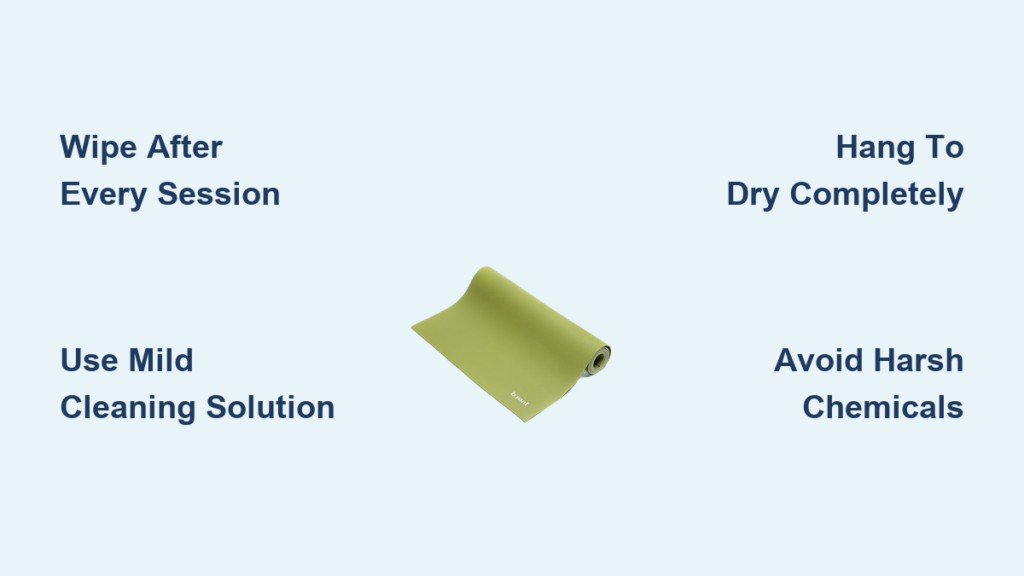
Grab a microfiber cloth and lightly dampen it with distilled water—never tap water which contains minerals that leave residue. Fold the cloth into quarters to create multiple clean surfaces, then wipe your entire mat surface using firm, overlapping strokes. Pay special attention to high-contact areas like where your hands, feet, and forehead rest. For extra protection against bacterial growth, add 1-2 drops of tea tree oil to your water (avoiding direct application which can damage some materials). Never use paper towels as they leave fibers that embed in the mat surface. Hang your mat to air dry completely before rolling—this simple daily habit prevents most odor and stickiness issues before they start.
Proper Drying Methods That Prevent Warping and Mildew Growth
Why Hanging Your Mat Is Better Than Rolling It Wet
Always hang your mat to dry after cleaning—never roll it while damp. Use a dedicated mat hanger or drape it over a shower rod with space between folds. Direct sunlight helps kill bacteria but limit exposure to 30 minutes as UV rays degrade materials over time. For thicker mats, flip them halfway through drying to ensure complete moisture evaporation. If you notice persistent dampness after 2 hours, your cleaning solution was too concentrated—dilute further next time. Mats stored while slightly damp develop mildew within 48 hours, creating odors that become impossible to remove. The drying process completes the cleaning cycle by eliminating the moisture bacteria need to thrive.
Deep Cleaning Your Yoga Mat Monthly for Peak Performance
The 4-Ingredient Homemade Solution That Works on All Mat Types
Combine 1 cup distilled water, 2 tablespoons witch hazel (not alcohol), 1 teaspoon mild dish soap (fragrance-free), and 5 drops of essential oil (optional) in a spray bottle. Witch hazel cleans without drying out natural materials like harsher alcohols would. Spray this solution lightly across your mat surface—never saturate it as excess moisture penetrates layers causing delamination. Use a soft-bristled brush (like an old toothbrush) with gentle circular motions to work the solution into problem areas. Focus on high-sweat zones but avoid excessive scrubbing which wears down the surface texture. This ratio effectively removes buildup without leaving residue that makes mats slippery.
Step-by-Step Deep Cleaning Process Without Damaging Your Mat
- Lay your mat on a clean, flat surface like a bathtub or shower floor
- Spray cleaning solution evenly across the entire surface
- Gently scrub problem areas with soft brush using minimal pressure
- Wipe entire surface with damp microfiber cloth using downward strokes
- Flip mat and repeat process on the other side
- Rinse thoroughly with clean water using a new microfiber cloth
- Hang immediately to dry completely before storing
Timing matters—spend no more than 3 minutes total scrubbing time to prevent solution absorption. If you notice colors bleeding during cleaning, stop immediately as this indicates material breakdown. Never use vinegar on rubber or TPE mats as acidity breaks down these materials over time. The entire deep cleaning process should take 15 minutes maximum when performed correctly.
What to Never Use on Your Yoga Mat (Common Mistakes)

Household Cleaners That Permanently Damage Mat Surfaces
Avoid all alcohol-based cleaners which strip natural oils from rubber and cork mats, causing premature cracking. Never use bleach or hydrogen peroxide—they degrade elastic properties making mats stiff and brittle. Fabric softeners leave slippery residues that compromise grip during practice. Dish soaps with degreasers (like Dawn) remove essential surface textures. Most all-purpose cleaners contain harsh chemicals that break down mat materials faster than sweat alone. Even “natural” cleaners like undiluted lemon juice can damage certain materials through acidity. When in doubt about a cleaning product, test it on a small corner first and wait 24 hours to check for adverse reactions.
Special Care for Problem Areas and Persistent Issues
Eliminating Stubborn Sweat Stains Without Harsh Chemicals
For yellowed areas from concentrated sweat, make a paste of baking soda and water (3:1 ratio). Apply with a soft cloth using circular motions for no more than 30 seconds per spot. Immediately wipe clean with damp microfiber cloth—never let baking soda dry on the mat. For protein-based stains (like blood), use a tiny amount of meat tenderizer mixed with water as enzymes break down organic matter safely. Always follow stain treatment with a full mat cleaning to remove any residue. Multiple treatments may be needed for severe discoloration, but aggressive scrubbing will only damage the surface further.
Long-Term Maintenance Schedule for Maximum Mat Lifespan
Creating Your Personalized Yoga Mat Care Calendar
Establish a routine that matches your practice frequency: daily practitioners need post-session wiping plus weekly deep cleaning, while occasional users require only monthly maintenance. After 6 months of regular use, flip your mat to distribute wear evenly—most mats have identical surfaces but some specialty mats have designated top/bottom sides. Every 3 months, inspect for micro-tears or thinning areas that indicate replacement time. Store your mat rolled loosely with the top surface facing out to prevent permanent creasing. Keep it in a cool, dry place away from direct sunlight which accelerates material breakdown. Proper maintenance can double your mat’s usable lifespan from 1-2 years to 3-5 years.
When to Replace Your Yoga Mat Instead of Cleaning It
Five Warning Signs Your Mat Has Reached End of Life
- Persistent odors that remain after thorough cleaning indicate deep bacterial colonization
- Visible thinning or translucent areas where the surface has worn through
- Permanent stickiness that cleaning can’t resolve (different from temporary grip)
- Cracks or tears that compromise structural integrity
- Loss of cushioning that affects joint comfort during practice
Don’t wait until your mat visibly fails—most practitioners replace too late, exposing themselves to bacteria and compromising their practice. If your mat shows two or more warning signs, it’s time for replacement regardless of cleaning efforts. Continuing to use a degraded mat creates hygiene risks and diminishes your practice experience.
Final Note: Proper yoga mat care extends far beyond simple cleaning—it’s an essential part of your practice that protects your health and maximizes your investment. By implementing these material-specific techniques after every session and during monthly deep cleans, you’ll maintain optimal grip, eliminate odors, and significantly extend your mat’s lifespan. Remember that consistent light maintenance beats infrequent aggressive cleaning that damages materials. For best results, establish a cleaning routine that matches your practice frequency and always verify cleaning methods against your specific mat material. Your future self will thank you when your mat performs like new years after purchase.


