
Your Lululemon yoga mat is more than just a piece of equipment—it’s the foundation of your practice that deserves proper care. Without regular cleaning, sweat, oils, and bacteria build up on your mat’s surface, compromising grip, creating unpleasant odors, and shortening its lifespan. Knowing exactly how to clean Lululemon yoga mat properly preserves its performance and ensures you get years of reliable use from this valuable investment. Whether you’re a daily practitioner or hit the mat occasionally, this guide delivers specific, actionable methods to keep your Lululemon mat clean, hygienic, and performing at its best.
Identify Your Lululemon Mat Before Cleaning
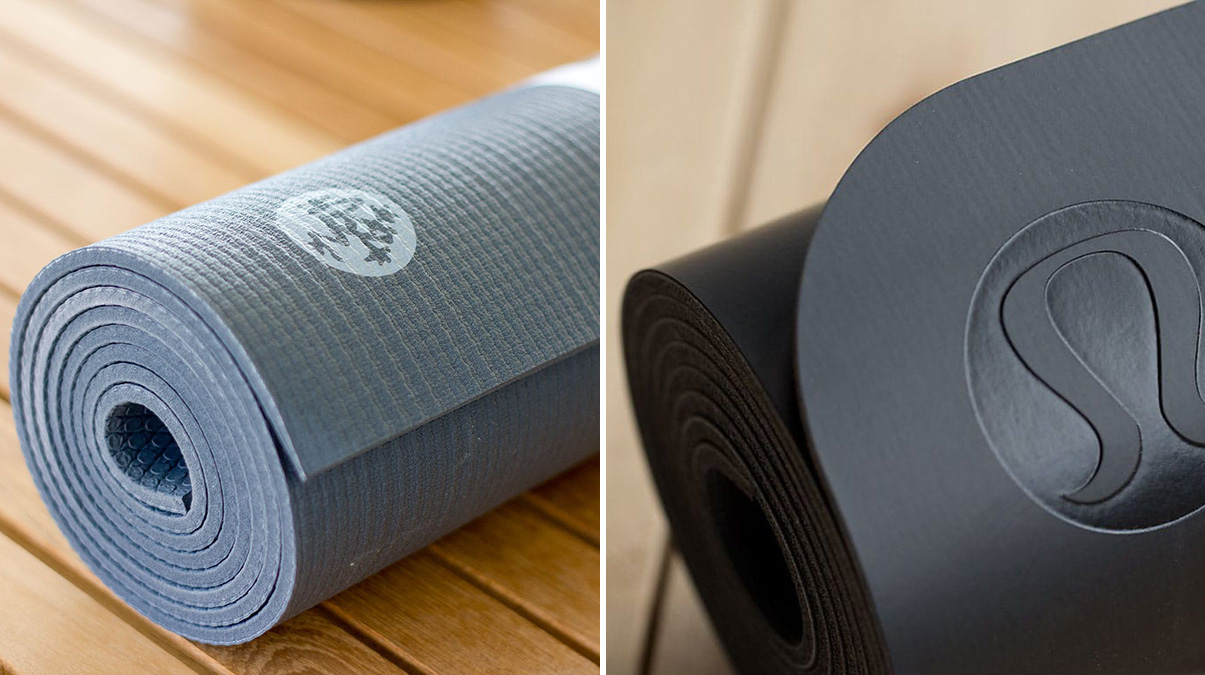
Your cleaning approach depends entirely on which Lululemon mat you own—using the wrong method for your specific mat type causes irreversible damage. The Reversible 5mm and 3mm mats feature a polyurethane top layer bonded to natural rubber, while The Mat 5mm uses a similar dual-layer construction. The Take Form Mat has a different foam composition requiring gentler cleaning.
When you purchased your mat, Lululemon likely included care instructions specific to your model. If you’re unsure, check the mat’s label or Lululemon’s website using your mat’s product name. The majority of Lululemon mats share that PU-and-rubber construction, which provides superior grip but demands specific care to prevent the polyurethane layer from degrading. Some variants include sweat-wicking technology designed for hot yoga, which affects how these mats should be maintained.
Why Mat Identification Matters
Using harsh chemicals on PU/rubber mats breaks down the adhesive bonding the layers together. For Take Form Mats, excessive moisture causes the foam to retain water, creating a breeding ground for bacteria. Before grabbing any cleaner, verify your mat’s exact model—this five-second check prevents permanent damage that no deep clean can fix.
Five-Minute Daily Cleaning Routine That Preserves Grip
Skipping this simple post-practice ritual cuts your mat’s lifespan in half while compromising performance. Grab a microfiber cloth and water—nothing else—to maintain your mat’s grip between deep cleans.
Wipe down your entire mat within 30 minutes of finishing practice while sweat is still fresh. Dampen your cloth slightly (never soaking wet), then use long, straight strokes rather than circular motions to preserve the mat’s textured surface. Focus extra attention on your hand and foot placements where oils accumulate fastest.
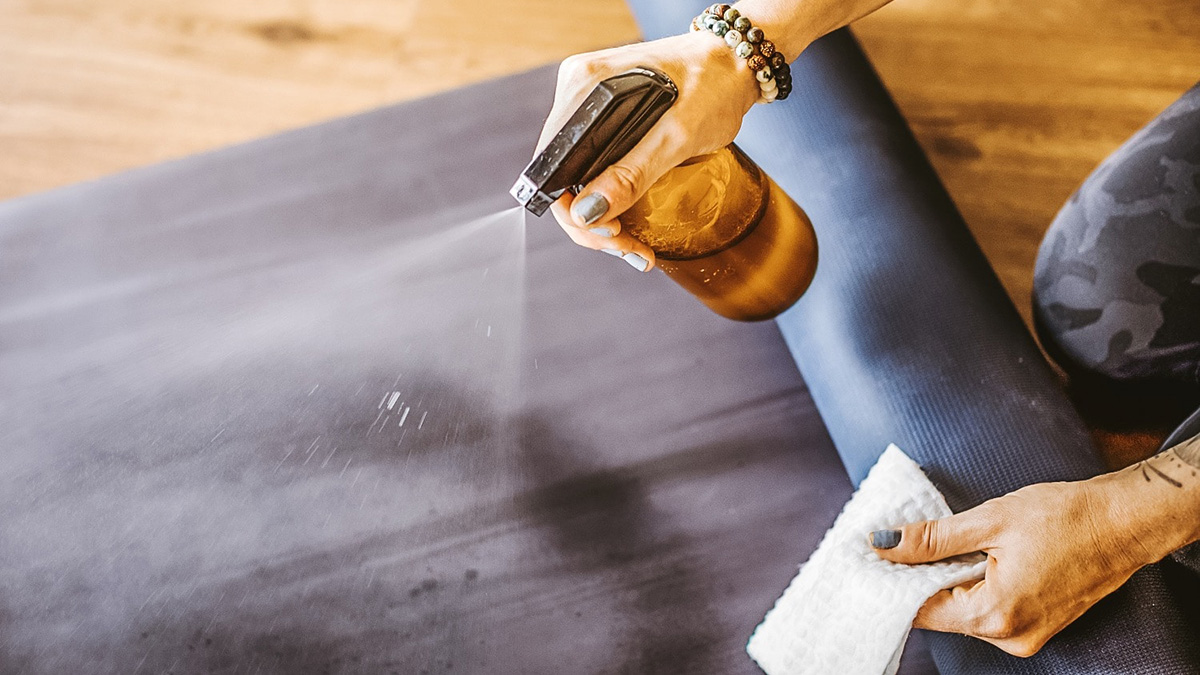
Best DIY Mat Cleaner for Daily Use
Create an effective, natural cleaning spray with ingredients from your kitchen:
- 1 cup distilled water
- 1 tablespoon white vinegar
- 5-10 drops tea tree oil (for antibacterial properties)
Shake well before spraying lightly on problem areas. The vinegar breaks down salt deposits while tea tree oil combats odor-causing bacteria. Avoid citrus-based cleaners—they contain d-limonene that degrades polyurethane over time.
Deep Cleaning Without Damaging Your Mat
Weekly deep cleaning removes embedded residue that daily wiping misses. Never use hot water—it warps the rubber core and causes delamination. Instead, fill your bathtub with lukewarm water and add one tablespoon of mild dish soap.
Submerge your mat completely and let it soak for 10-15 minutes. Gently press down to release trapped air bubbles, then use a soft-bristled brush to scrub problem areas with light circular motions. Rinse thoroughly under running water until the surface feels completely smooth—any soap residue creates a slippery surface and attracts more dirt.
Machine Washing: When It’s Safe and When It’s Not
Only Reversible 3mm Mats and certain cotton-blend options tolerate machine washing. Standard 5mm PU/rubber mats will delaminate in the washing machine due to agitation and heat. If your mat is machine-washable:
- Use a front-loading machine only (no agitator)
- Select cold water and gentle cycle
- Skip the spin cycle or use lowest setting
- Never add fabric softener or bleach
Air dry completely before rolling—never machine dry any Lululemon mat.
Eliminate Stubborn Stains Without Ruining Your Mat
Sweat Yellowing and Body Oil Stains
For fresh sweat stains, make a paste of baking soda and water. Apply directly to discolored areas and let sit 15 minutes before gentle scrubbing. For set-in stains, mix equal parts water and white vinegar, apply to affected areas, wait 10 minutes, then rinse thoroughly. The vinegar’s mild acidity breaks down alkaline sweat compounds that cause yellowing.
Ink and Dye Transfer Fixes
If your black leggings bled onto your mat, act immediately. Dampen a white cloth with 70% isopropyl alcohol and dab gently from the outside inward—never rub, as this spreads the stain. Replace the cloth section frequently until no more color transfers. For older stains, this method may not fully remove the discoloration.
Critical Mistakes That Destroy Lululemon Mats

Chemicals That Cause Permanent Damage
Alcohol-based cleaners (including many hand sanitizers) break down polyurethane, causing stickiness and peeling. Ammonia and bleach discolor your mat and degrade the rubber core. Concentrated essential oils stain the surface—they’re safe only when properly diluted in cleaning solutions. Even “natural” citrus cleaners contain compounds that deteriorate both polyurethane and rubber.
Physical Damage You Might Not Notice
Abrasive tools like Magic Erasers scratch the textured surface that provides grip. Folding instead of rolling creates permanent creases that compromise structural integrity. Rolling while damp traps moisture that promotes mold growth between layers. Storing in direct sunlight fades colors and makes polyurethane brittle.
Proper Storage Techniques That Extend Mat Life
Always dry your mat completely before storage—this single step prevents 90% of common mat problems. Lay it flat for 2-4 hours or hang it over a shower rod, flipping halfway through drying. Never rush this process with heat sources.
Roll your mat loosely with the top layer facing outward to prevent edge curling. Store in a cool, dry place away from temperature extremes—your car trunk or garage will damage the rubber over time. Lululemon’s Mat Carrier provides the ideal storage solution that maintains shape while protecting from environmental damage.
Troubleshoot Common Cleaning Problems
Why Your Mat Still Smells After Cleaning
Persistent odor means bacteria has penetrated deep into the mat’s fibers. Soak your mat for 30 minutes in lukewarm water with one cup of baking soda added. For severe cases, air-dry your mat outdoors in indirect sunlight for several hours—UV light neutralizes odor-causing bacteria that regular cleaning misses.
Slippery Mat After Deep Cleaning
This frustrating problem almost always means soap residue remains. Rinse your mat thoroughly under running water while feeling the surface—any tackiness indicates leftover cleaner. Perform another rinse cycle until the surface feels completely smooth and non-sticky.
Edge Curling Recovery Method
Mild curling responds to counter-rolling: secure your mat rolled in the opposite direction with a yoga strap for 24-48 hours. For severe curling, the damage is likely permanent—this usually indicates prolonged exposure to moisture or improper storage.
When to Replace Your Lululemon Mat
A well-cared-for Lululemon mat lasts 1-3 years for daily practitioners. Watch for these replacement indicators:
- Worn texture where grip has smoothed out completely
- Persistent odor that baking soda soaks can’t eliminate
- Visible delamination where layers separate
- Thinning material especially at high-contact points
Don’t wait until your mat develops holes—replace it when performance noticeably declines to maintain proper support during practice.
Cleaning Schedule for Maximum Mat Longevity
Follow this simple maintenance routine to keep your Lululemon mat in prime condition:
| Cleaning Type | Frequency | Method | Drying Time |
|---|---|---|---|
| Quick wipe-down | After each use | Damp microfiber cloth | 5-10 minutes |
| Light spray clean | 2-3x weekly | DIY or Lululemon Mat Cleaner | 30-60 minutes |
| Deep clean | Every 2-4 weeks | Submersion bath | 2-4 hours |
By following these specific cleaning methods tailored to your Lululemon mat type, you’ll maintain optimal grip, prevent odors, and extend your mat’s usable life significantly. Remember that consistent, proper care after each practice—not just occasional deep cleaning—makes the biggest difference in preserving your investment. Your mat supports your practice every time you unroll it; return the favor with these simple, effective maintenance techniques that keep it performing at its best.


