
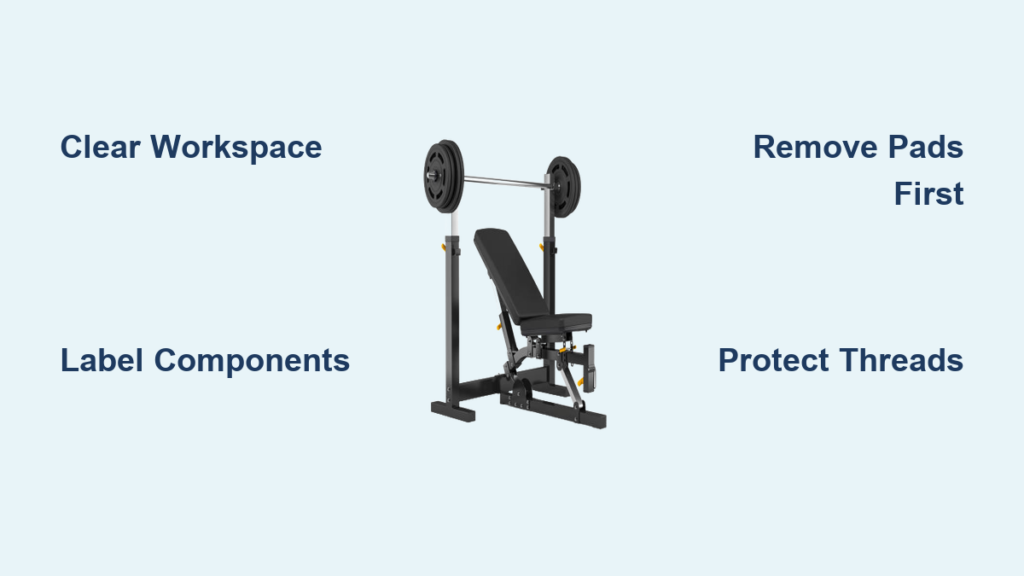
Moving your home gym or needing to store your weight bench? Disassembling your weight bench properly is essential whether you’re relocating, storing, or preparing your equipment for transport. Without clear manufacturer instructions—which vary significantly between models—you risk damaging your equipment or creating safety hazards during reassembly. This guide walks you through the universal preparation steps and general disassembly principles that apply to most weight bench types, while emphasizing the critical importance of having your specific model’s documentation before proceeding.
Understanding your particular weight bench model is crucial before attempting disassembly. Different manufacturers use unique hardware configurations, connection points, and structural designs that require specific approaches. Whether you own a flat bench, incline/decline model, or Olympic bench with uprights, the disassembly process differs considerably. Without access to your equipment’s manual—which should be your first reference point—you’re working blind with potentially heavy, complex machinery that could cause injury if mishandled.
This article focuses on the universal preparation framework and general considerations that apply to virtually all weight bench disassembly projects. You’ll learn how to properly prepare your workspace, organize components, and approach the disassembly process safely—regardless of your specific bench model. While we can’t provide model-specific steps without verified manufacturer documentation, these foundational principles will help prevent common mistakes that lead to damaged equipment or frustrating reassembly challenges.
Essential Preparation Before Disassembly

Create a Safe Workspace and Gather Basic Tools
Before touching any hardware, prepare a clean, well-lit workspace with ample room to lay out components. Clear at least twice the square footage of your assembled bench to prevent tripping hazards and provide space for organized component placement. Concrete garage floors work better than carpeted areas which can hide small parts. Ensure you have solid footing—never work on uneven surfaces when handling heavy equipment that could shift unexpectedly.
You’ll need these basic tools for most weight bench disassembly projects:
– Multiple container sizes for hardware organization (small plastic bins or magnetic trays)
– Adjustable wrenches or socket set covering common sizes (8mm-19mm)
– Hex key set (both standard and metric sizes)
– Rubber mallet for stubborn connections (never use metal hammers directly on equipment)
– Camera or smartphone for documentation purposes
– Protective gloves rated for handling metal edges
Document Your Bench Configuration Before Starting
Take comprehensive photos from multiple angles before removing a single bolt. Capture close-ups of all connection points, hardware arrangements, and component orientations. Pay special attention to:
– How pads attach to the frame
– The sequence of washers or spacers on bolts
– Any alignment marks between components
– Cable routing if your bench has assisted features
Create a simple numbering system using painter’s tape—label matching components (like “Upright Left-1” and “Base Connection-1”) to maintain orientation during reassembly. This documentation becomes invaluable when you’re staring at a pile of metal tubes weeks later trying to remember which piece connects where.
Universal Disassembly Sequence Principles
Remove All Attachments and Accessories First
Begin by clearing the bench of anything not permanently fixed to the frame. This includes:
– Weight plate holders and storage pegs
– Any barbell rests or safety arms
– Adjustable seat or backrest padding
– Leg hold-down accessories
– Rubber floor protectors
Store these items separately from structural components. Pay attention to how accessories mount—some clip on while others use quick-release pins that can be easily misplaced. Keep all quick-release mechanisms together in a labeled container since they’re often model-specific and difficult to replace.
Address Bench Pads Before Frame Components
Always remove padding before disassembling the main frame. Most weight bench pads attach with:
– Large center bolts through the frame
– Multiple smaller bolts along attachment rails
– Spring-loaded quick-release mechanisms
When removing pad hardware, note any rubber washers or spacers that maintain proper tension. These small components frequently get lost but are essential for comfortable, stable padding during reassembly. If your bench has adjustable positioning, photograph exactly where the pads sit in their current configuration—this saves significant time when rebuilding.
Frame Disconnection Strategy
For benches with upright posts or support structures, disconnect vertical components before separating the base frame. The typical sequence should be:
1. Remove any cross-bracing between uprights
2. Disconnect uprights from base components
3. Separate main base sections (if applicable)
4. Remove any folding mechanisms
Pay close attention to alignment pins or registration marks that ensure proper reassembly. Many benches use precisely positioned holes that must align perfectly when reconnecting components. Forgetting to note these details can result in a wobbly, unsafe bench after reassembly.
Critical Hardware Management Techniques
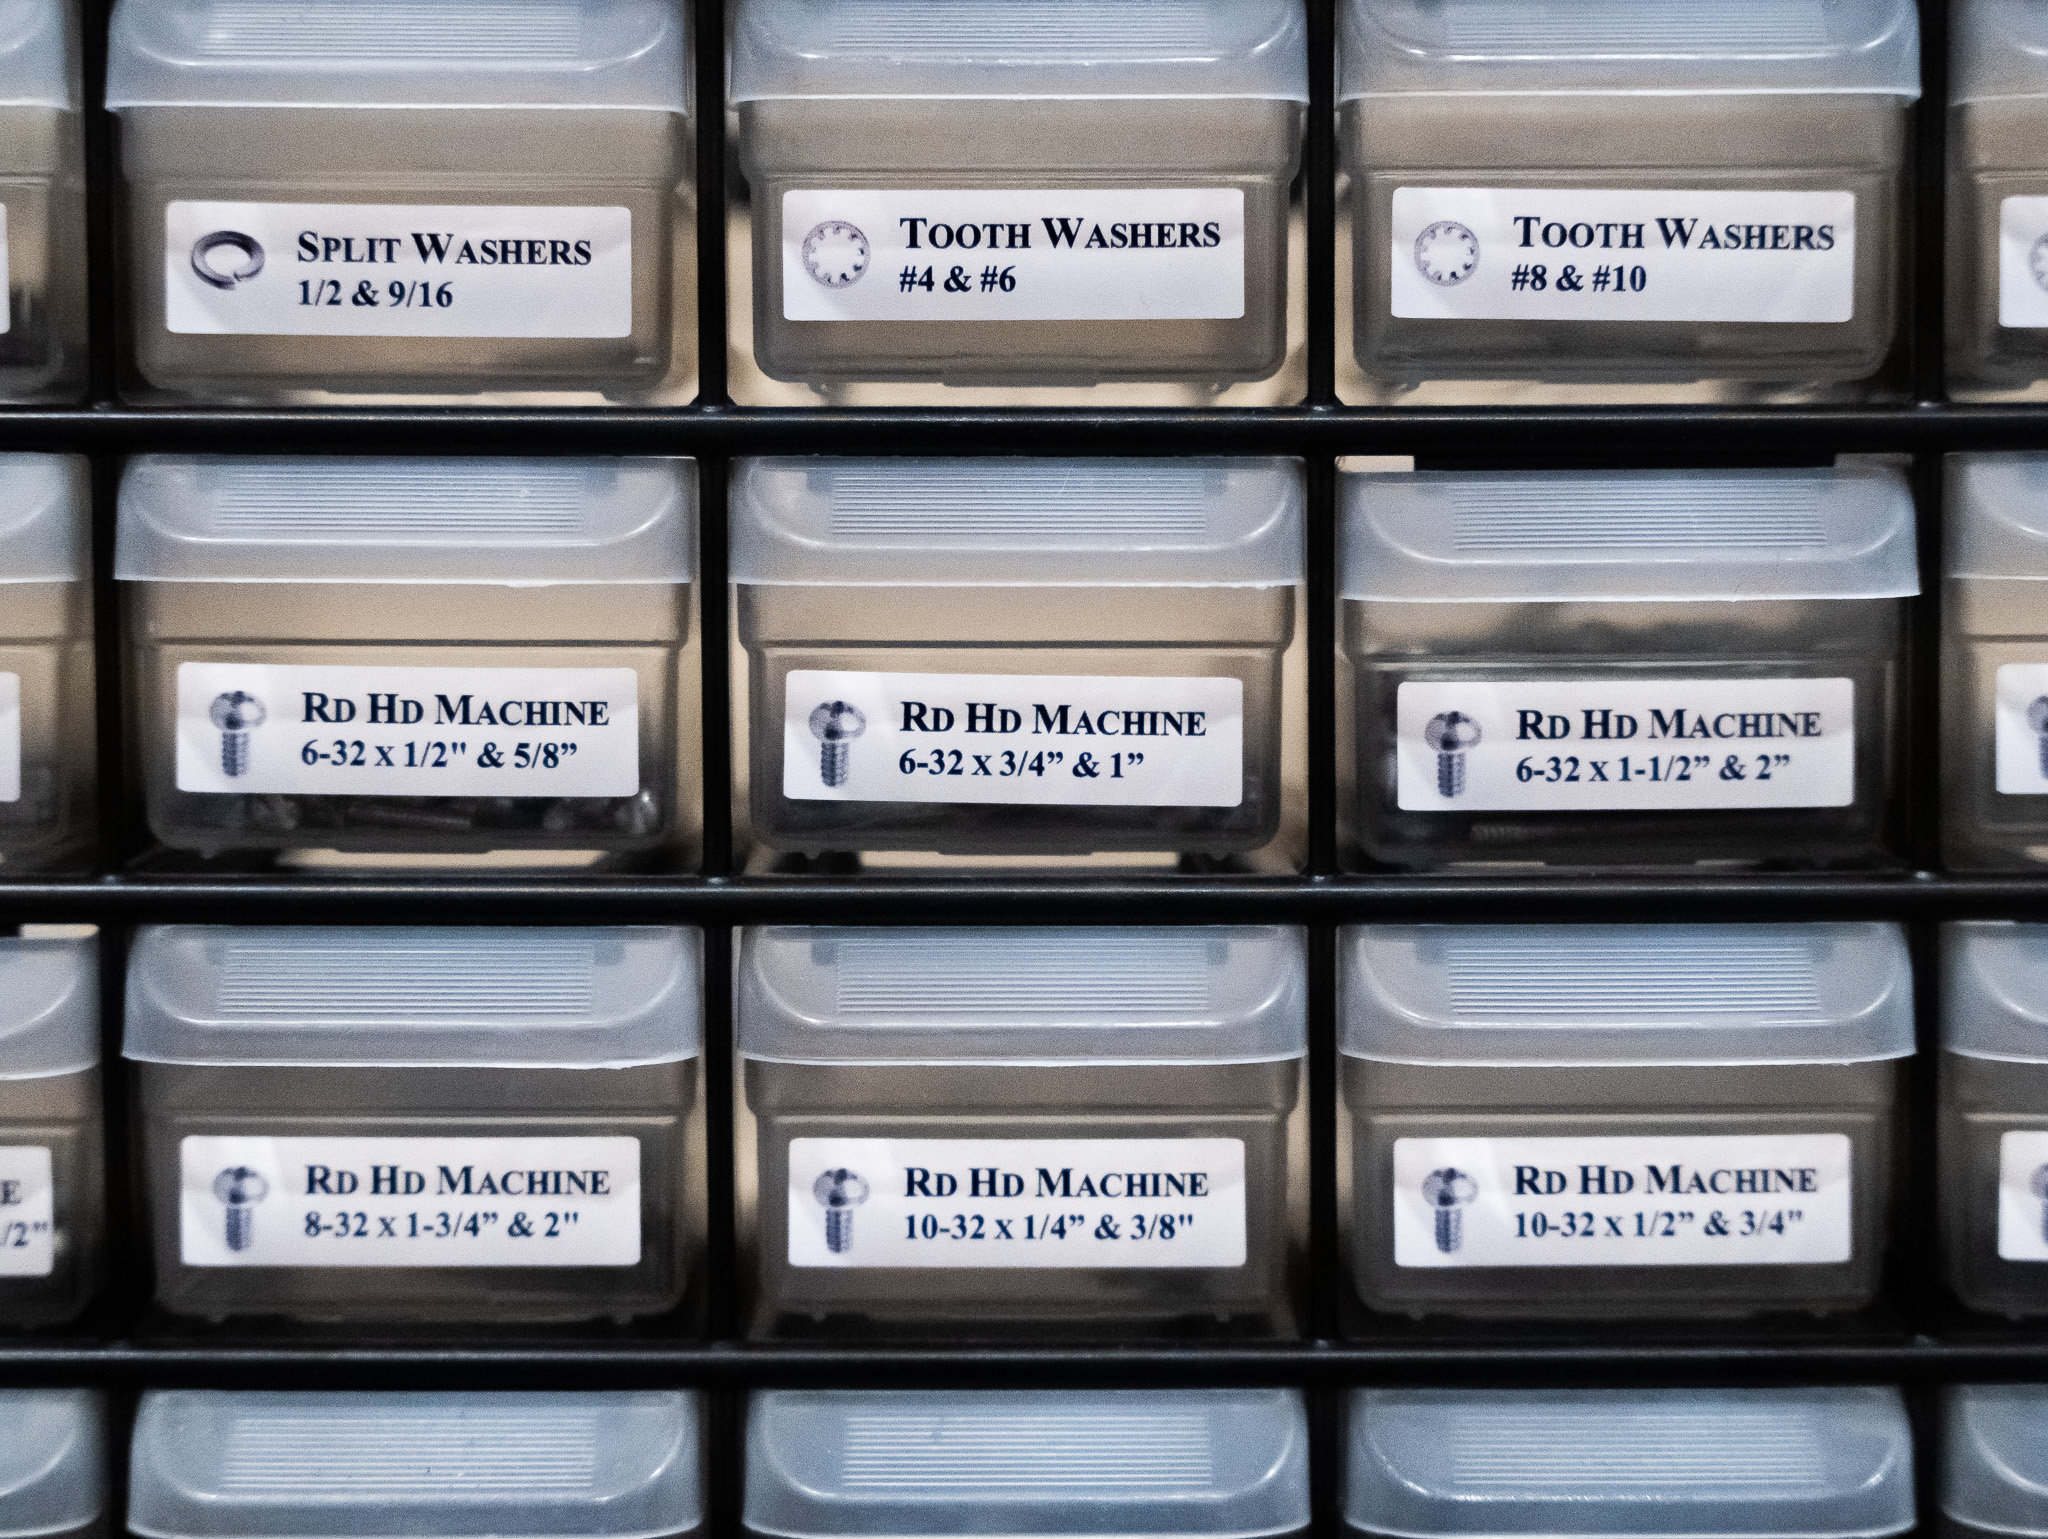
Organize Components by Subsystem, Not Just Size
Don’t make the common mistake of sorting all bolts together regardless of function. Instead, use the “subsystem organization” method:
– Keep all upright connection hardware together
– Separate base frame bolts from pad mounting hardware
– Group identical small components by location rather than appearance
Label each container with both the component name and direction (e.g., “Left Upright Top Connection”). Many bolts look identical but serve different purposes—using the wrong one during reassembly can compromise structural integrity.
Protect Threads and Connection Points
As you remove components, immediately protect vulnerable areas:
– Wrap exposed threads with masking tape
– Place rubber caps on protruding pins
– Apply light machine oil to any metal-on-metal connection points
– Store delicate components in separate padded containers
This prevents nicks and burrs that make reassembly difficult and compromise the bench’s stability. Damaged threads are among the most common disassembly mistakes that turn a simple relocation project into an equipment replacement necessity.
Troubleshooting Common Disassembly Challenges
Dealing with Stuck or Rusted Connections
When hardware resists removal:
– Apply penetrating oil and wait 15-20 minutes before retrying
– Use a breaker bar for initial loosening rather than standard wrenches
– Tap bolts gently with a rubber mallet to break corrosion bonds
– Never force connections—excessive pressure can strip threads
For severely stuck components, apply heat carefully with a hair dryer (not a torch) to expand metal slightly. Always work in a well-ventilated area and keep flammable materials away from any heat source.
Handling Unexpected Component Separation
If sections separate more abruptly than expected:
– Note the exact orientation of all parts before moving them
– Check for hidden springs or tension mechanisms
– Photograph any internal components revealed by separation
– Don’t force components back together until you understand the mechanism
Many weight benches contain spring-loaded mechanisms that can “pop” apart unexpectedly. These components often require specific compression techniques for safe reassembly—never try to force them back into place without understanding their operation.
Post-Disassembly Best Practices
Comprehensive Component Inventory Process
Before packing anything away, conduct a full inventory:
– Match every removed bolt to its original location
– Verify all washers and spacers are accounted for
– Check for any hidden components inside tubes
– Ensure no small parts remain in padding compartments
Create a simple checklist of major components and count each item against your documentation photos. This prevents the frustration of discovering a missing piece during reassembly—especially critical for components like safety pins that are difficult to replace.
Strategic Packing for Transport or Storage
When preparing components for storage:
– Wrap frame tubes in moving blankets (never bubble wrap alone)
– Store small hardware in clearly labeled, compartmentalized containers
– Keep all documentation together in a waterproof bag
– Position heavy components at the bottom of storage containers
For long-term storage, apply a light coat of protective oil to all metal surfaces and store in a climate-controlled environment. Moisture is the enemy of disassembled equipment—rust can develop surprisingly quickly on exposed metal surfaces.
Final Note: While this guide provides universal preparation principles, always consult your specific weight bench manufacturer’s instructions before disassembly. Different models have unique requirements that can’t be covered in a general guide. Proper disassembly prevents costly damage and ensures your equipment remains safe and functional for years to come. When in doubt about any step, contact the manufacturer directly for model-specific guidance rather than risking improper handling of your fitness equipment.


