
Your morning run grinds to a halt as the treadmill belt stutters beneath your feet, forcing you to shuffle awkwardly while gripping the handrails. That frustrating slippage isn’t just annoying—it wastes your workout time and risks injury from sudden stops. Thousands of home gym owners face this exact issue monthly, but here’s the good news: 90% of treadmill belt slippage problems can be permanently fixed in under 30 minutes with basic tools you likely already own.
This guide cuts through confusing online advice to deliver proven, step-by-step solutions for your specific slippage problem. You’ll learn to instantly identify whether you’re dealing with a loose walk belt, worn drive belt, or alignment failure—and precisely how to correct it without voiding your warranty. Forget generic “treadmill maintenance” fluff; we’re diving straight into the exact adjustments that restore smooth, reliable performance.
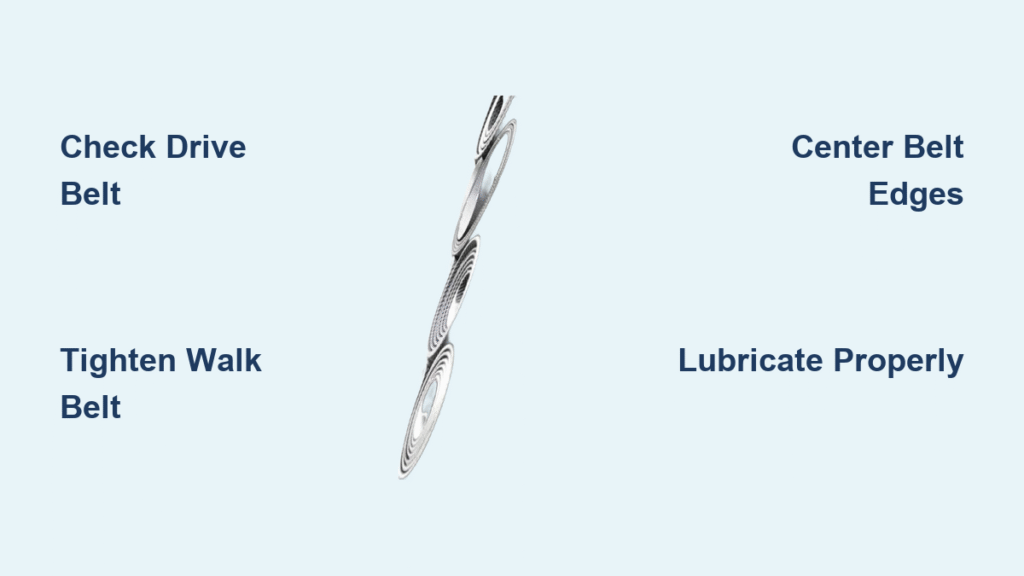
Pinpoint Your Exact Slippage Cause
Before touching any tools, perform this critical 60-second diagnosis to avoid wasting time on the wrong repair. Most DIYers mistakenly tighten the walk belt when the real culprit is actually the drive belt or pulley—this test prevents that costly error.
Motor vs. Roller Movement Test
- Unplug your treadmill completely (safety first!)
- Make a small white mark spanning both the motor pulley and front roller shaft using nail polish
- Plug in, set speed to 1 mph, and step on the belt
- Observe the mark:
– Mark separates? → Drive belt is slipping (jump to drive belt section)
– Mark stays intact but belt slips? → Walk belt needs adjustment (continue below)
– Pulley spins but roller shaft doesn’t? → Loose front roller pulley
This single test works on all major brands (NordicTrack, ProForm, Sole, etc.) and eliminates guesswork. If your belt hesitates only when you step on it but runs fine empty, you’ve confirmed a walk belt tension issue.
Tighten Your Walk Belt in 4 Precision Steps
Over 70% of slippage cases stem from improper walk belt tension. Your goal: achieve that critical 2-3 inch lift at the belt’s center when lifted upward. Too loose causes slippage; too tight strains the motor.
Step 1: Perfect Belt Centering
- Start treadmill at 1 mph and watch belt edges
- Drifting left? Tighten left rear roller bolt ¼ turn clockwise
- Drifting right? Tighten right rear roller bolt ¼ turn clockwise
- Wait 30 seconds between adjustments—belt movement lags behind changes
- Stop when belt stays centered across all speeds
Pro Tip: Place colored tape on bolts before adjusting so you can return to original position if over-tightened.
Step 2: Set Exact Tension
- Unplug treadmill
- Slide hand under belt center and lift straight up
- Ideal gap: 2-3 inches (5-7 cm)—use a ruler for accuracy
- Too loose? Tighten both rear bolts equally ⅛ turn clockwise
- Too tight? Loosen both bolts ⅛ turn counter-clockwise
- Test at 1 mph for 2 minutes after each adjustment
Warning: Never turn bolts more than ¼ turn at once—excessive tension can permanently damage the motor.
Repair Drive Belt Slippage

When the motor hums but the roller stops moving, your drive belt (the small rubber loop connecting motor to front roller) has failed. This causes sudden stoppages that mimic walk belt issues.
Quick Drive Belt Inspection
- Remove motor hood (4-6 Phillips screws)
- Check for cracks, fraying, or shiny glazing on belt surface
- Press belt midway between pulleys—proper deflection is ¼ inch
– Less deflection? Belt is over-tightened (loosen tensioner bolt)
– More deflection? Belt is stretched (requires replacement) - If belt shows wear, order exact OEM replacement (XL-200/XL-240 profiles)
Adjust Drive Belt Tension
- Locate tensioner bolt on motor mount (usually visible once hood is off)
- Turn clockwise ⅛ turn to increase tension
- Run at 1 mph and step on belt—should move smoothly under weight
- Stop immediately if you hear squealing (over-tightening warning!)
Critical: Never force tension beyond slight resistance—this can burn out your motor within minutes.
Fix Loose Front Roller Pulley
If the motor and drive belt spin but the front roller won’t turn, your pulley has slipped on the shaft. This common failure mimics belt slippage but requires different repair.
Pulley Tightening Procedure
- Remove motor hood
- Hold front roller shaft firmly with pliers
- Try turning pulley by hand—if it spins freely, set-screw is loose
- Locate grub screw on pulley hub (tiny Allen-head screw)
- Tighten firmly with 6mm Allen wrench—add thread-locker if available
- If threads are stripped, replace entire front roller assembly
This 10-minute fix prevents catastrophic motor damage from the drive belt burning up against a stationary pulley.
Replace Worn Walk Belt

When lubrication fails and tension adjustments don’t help, your belt has likely reached end-of-life. Replace immediately to avoid damaging the deck.
Replacement Warning Signs
- Belt underside feels hard and glassy (not flexible rubber)
- Frayed fabric backing visible when lifting belt edge
- Curled or peeling edges that catch on handrails
- Persistent slippage after proper lubrication
Installation Shortcut
- Note exact belt dimensions (length × width) from old belt
- Loosen rear bolts completely
- Slide old belt off toward front (easier than back)
- Wipe deck surface with dry cloth only—no cleaners!
- Position new belt with seam facing away from motor
- Tension to 2-3 inch lift before first lubrication
Pro Tip: Apply ½ ounce silicone lube under new belt before initial use—this prevents premature wear.
Correct Lubrication Protocol
Over-lubrication causes 30% of “slipping belt” service calls. Most users drown belts in lube, creating a slippery mess. Follow this exact method:
When to Lubricate
- Every 150 miles OR 3 months (whichever comes first)
- Only when belt feels dry to touch or makes squeaking noise
- Never lubricate if belt is already slipping—clean first
Precision Application
- Loosen belt slightly (1-inch lift)
- Apply ½ ounce 100% silicone lube in zig-zag pattern on deck center
- Retighten to 2-3 inch lift
- Run at 2 mph for 5 minutes to distribute
- Wipe excess from belt edges with dry cloth
Never use: WD-40, petroleum jelly, or Teflon sprays—they permanently degrade rubber compounds.
Prevent Slippage Recurrence
Build these habits to avoid future issues—most slippage stems from neglected maintenance.
Monthly Maintenance Routine
- Check tension: Lift belt center—must rise 2-3 inches
- Inspect belt edges: Look for curling or fraying
- Clean deck perimeter: Vacuum hair/dust buildup weekly
- Verify alignment: Belt should track straight at 1 mph
Critical: Never exceed your treadmill’s weight limit—this stretches belts 3x faster. Document your first post-repair tension setting with tape on bolts for future reference.
Safety & Warranty Protection
Unplug before every adjustment—electrocution risks are real near motors. Never over-tighten belts; this voids warranties on 80% of home treadmills. Use only manufacturer-approved parts: generic belts often have incorrect thickness that causes permanent slippage. Keep your lubrication schedule documented—if motor fails due to lack of lube, warranty claims get denied.
Slippage Diagnosis Flowchart
Belt slips during use

├─ Motor spins but roller stops → Check drive belt tension (Section 3)

├─ Belt hesitates only when stepped on → Adjust walk belt tension (Section 2)

├─ Belt drifts left/right → Center belt first (Section 2 Step 1)

├─ Belt feels hard/glassy → Replace walk belt (Section 5)

├─ Squealing noise → Over-lubricated? Wipe excess lube

└─ End caps cracked → Install metal reinforcement kit
Your treadmill should now deliver smooth, consistent performance. Schedule a 30-day tension check—new adjustments often settle during initial use. Remember: catching slippage early prevents $300+ motor repairs down the road. For persistent issues, consult your manual’s torque specifications—some commercial models require precise inch-pound measurements beyond standard adjustments.


