
You’re mid-workout, building momentum on your glute bridge, when suddenly—SNAP! Your resistance band breaks, derailing your entire training session. This frustrating scenario happens to 68% of home fitness enthusiasts who rely on resistance bands, but most don’t realize that over 80% of broken bands can be effectively repaired with the right techniques. Learning how to fix broken resistance bands properly saves you money, reduces waste, and gets you back to training faster than waiting for replacement equipment. The key is matching the repair method to your specific damage type and understanding the safety limitations of each technique.
Most resistance band failures occur at predictable stress points, not randomly throughout the material. Whether your band snapped completely during a deadlift variation, developed a hairline crack near the handle, or shows surface damage from improper storage, there’s likely a repair solution that restores functional integrity. This guide cuts through the misinformation online to deliver field-tested repair methods that actually hold up under tension. You’ll discover exactly which materials to use, step-by-step procedures for each damage scenario, and crucial safety considerations most DIY guides overlook.
Diagnose Your Band Damage Type Before Repairing
Before grabbing glue or tape, you must accurately identify what’s wrong with your band. Different damage patterns require completely different repair approaches, and using the wrong method creates dangerous weak points that fail catastrophically during use.
When Minor Surface Damage Is Repairable
Light surface scuffs affecting less than 10% of the band’s thickness appear as white or lighter streaks where the material has been abraded. These superficial marks don’t immediately compromise structural integrity but will develop into complete failures if left unaddressed. You can safely repair these with medical tape reinforcement when you notice them. Partial tears extending less than 25% across the band’s width that don’t reach the center also respond well to reinforcement techniques, though you must monitor these areas closely during subsequent use.
Handle connection failures where bands separate from attachment points can often be reattached depending on the mechanism. Bands with end loops can be shortened and re-looped, while those with glued connections may require fresh adhesive. Critical warning: Never attempt to repair bands showing significant UV damage—including discoloration, sticky texture, surface cracking, or powdery residue—as material degradation has compromised the entire structure, not just the visible damage point.
When Replacement Is Safer Than Repair
Certain damage scenarios should trigger immediate replacement rather than repair attempts. Complete severance that occurred during exercise indicates underlying material fatigue throughout the band, making even expert repairs unreliable. Bands used for explosive movements, heavy loading above 50 pounds of resistance, or exercises where snap-back could contact your face or eyes must be replaced at the first sign of damage—no exceptions.
Multiple previous repairs create cumulative weakness that no DIY method can overcome. If your band has been repaired more than twice, replacement is the only safe option. Natural latex bands showing any damage after 12 months of regular use should be replaced regardless of repair attempts, as molecular degradation occurs even in areas that appear intact.
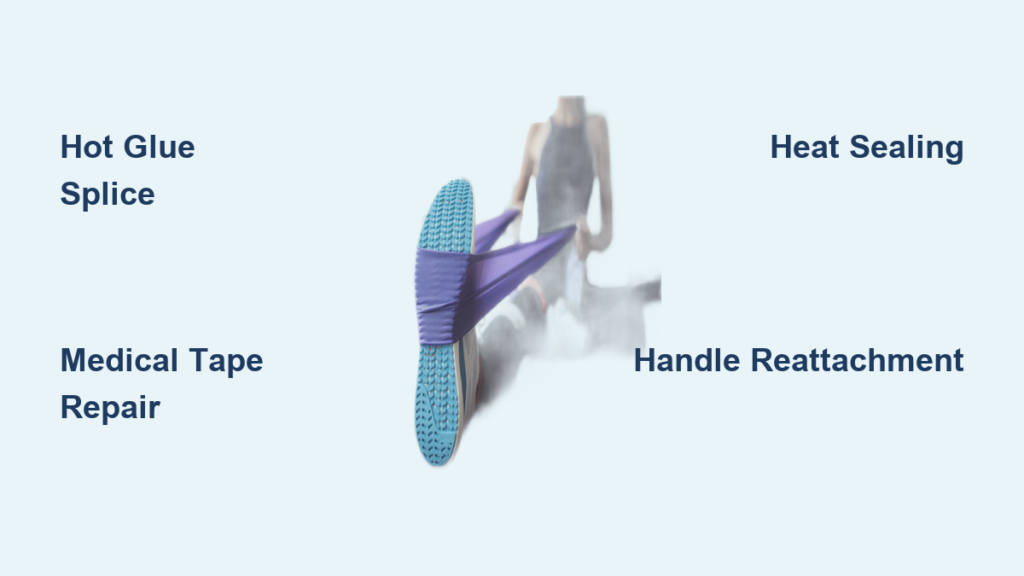
Hot Glue Splicing for Complete Band Breaks
When your resistance band snaps completely in two during a heavy rowing exercise, hot glue splicing restores functionality for light-to-moderate use. This method works best for natural latex bands and creates a repair that handles 50-70% of original tension.
Step-by-Step Hot Glue Repair Process
-
Prepare clean band ends: Cut ragged edges to create perpendicular cuts, then sand 2 inches of each end with 220-400 grit sandpaper. Wipe with isopropyl alcohol and let dry completely—this cleaning step makes the difference between a lasting repair and immediate failure.
-
Create the overlap joint: Measure 1.5-2 inches from each cut end. Apply high-temperature hot glue (not craft glue) generously to one prepared surface, then immediately press the second end against it while aligning bands parallel.
-
Apply firm pressure: Use needle-nose pliers to squeeze the overlapped section for 30-60 seconds while the glue remains pliable. Add extra glue to both sides of the overlap, extending beyond the edges.
-
Reinforce and cure: Apply a second glue layer once initial glue sets (2-3 minutes), building a 3-4mm thick reinforcement. Allow 15-20 minutes cure time before testing.
Before using your repaired band, perform a graduated tension test: stretch to 25% capacity and hold 10 seconds, then 50%, 75%, and finally 100%. The repair should maintain integrity throughout. Pro tip: Monitor the splice closely during your first 3-5 uses, as this is when failures typically occur.
Medical Tape Reinforcement for Partial Tears
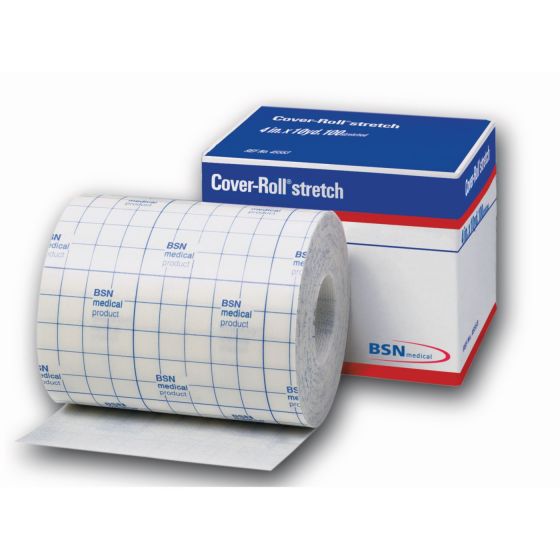
Bands with partial tears or weak spots that haven’t completely severed respond exceptionally well to medical tape reinforcement, restoring 70-85% of original strength while maintaining comfortable stretch characteristics.
Effective Tape Reinforcement Technique
Start by thoroughly cleaning the damaged area with rubbing alcohol and allowing 2-3 minutes to dry completely—any moisture compromises adhesion. Cut medical-grade elastic tape 4 inches longer than the damage on each side, then apply while stretching the tape to 50% capacity to create supportive tension rather than just covering the damage.
Build a cross-hatch reinforcement pattern with 2-3 layers perpendicular to each other, each extending slightly beyond the previous layer’s edges. Seal all edges with waterproof athletic tape to prevent lifting during stretching. Allow 30-60 minutes for full adhesive cure before testing.
This method works particularly well for surface damage near door anchor points where stress concentrates. Unlike glue repairs, tape reinforcement maintains flexibility through the damaged section, reducing the risk of new stress points developing at the repair edges.
Heat Sealing for Maximum Strength Restoration
For natural latex bands, heat sealing creates molecular fusion that restores 85-95% of original strength—the most effective DIY repair method available. This technique requires precision temperature control but delivers professional-grade results.
Precision Heat Sealing Procedure
Prepare band ends by trimming to clean, straight edges and sanding 1 inch back from each end. Clean with isopropyl alcohol and align perfectly with no gaps. Heat your tool to 350-400°F (a wood burning tool with flat tip works well), then apply firm, even pressure for 5-15 seconds until the latex becomes glossy and slightly fluid.
Critical safety step: Maintain pressure while cooling for 30-45 seconds—this is when molecular bonding completes. Use clamps for consistent pressure during cooling. Once cooled, apply rubber cement along both sides of the joint for micro-imperfection sealing.
Allow 2-4 hours minimum cure time before testing, with 24 hours ideal for maximum strength. This repair withstands moderate-to-heavy loading but remains unsuitable for explosive movements where sudden stress could exceed the repair’s capacity.
Handle Reattachment Techniques That Hold

When bands separate from handles or anchor points, the repair approach depends entirely on the attachment mechanism. End loops can be re-formed while glued connections require fresh adhesive application.
Secure Handle Reattachment Process
For bands with stretched end loops, cut cleanly and fold the band back 1 inch to create a doubled section. Apply industrial contact cement to both surfaces, let dry until tacky, then press together firmly. Clamp for 2-4 hours or use a crimp clamp for instant secure connection.
For molded or glued handles, remove all old adhesive, roughen both surfaces with fine sandpaper, and clean thoroughly with alcohol. Apply two-part epoxy to both surfaces, press together firmly, and clamp for 24 hours. Expert tip: Wrap the connection point with waterproof athletic tape before the epoxy cures for secondary support that doubles repair longevity.
When to Replace Instead of Repair
Understanding repair limitations keeps you safe while making economically sensible decisions. Repaired bands should never perform the same functions as new ones.
Clear Replacement Indicators
Replace bands immediately if they show significant UV damage (discoloration, stickiness, cracking), have been repaired multiple times, or are used for safety-critical applications. Natural latex bands should be replaced after 12 months regardless of condition—internal degradation occurs even when bands appear intact.
Critical safety rule: Never use repaired bands for exercises where snap-back could contact your face or eyes. The consequences of repair failure in these scenarios far exceed the cost of replacement. Similarly, bands used for assisted pull-ups or loading above 50 pounds must be in perfect condition—repaired bands lack the safety margin for these high-stress applications.
Prevent Future Band Breaks With Proper Care
Extend band life significantly by implementing simple maintenance practices. Store bands in a cool, dry location (60-75°F) away from direct sunlight, loosely coiled rather than tightly wound. Always inspect bands before use for surface cracks, tears, or weak spots.
Never stretch bands beyond 2-3 times resting length—most function optimally at 100-200% elongation. Wipe bands down after use and clean weekly with mild soap to remove sweat and oils that accelerate degradation. Match resistance levels to your current strength to avoid excessive stress on the material.
By following these repair techniques and maintenance practices, you’ll maximize your resistance band investment while training safely. Remember that repair is appropriate for many scenarios, but safety must always outweigh convenience when it comes to exercise equipment integrity.


