
Your yoga mat shows signs of wear after months of dedicated practice—peeling edges, sticky patches, or maybe even a small tear from an accidental slip. Instead of immediately replacing it, you can often restore your mat to near-original condition with simple repair techniques. Most common yoga mat issues respond well to DIY fixes that require basic household materials and minimal time investment. By learning how to fix a yoga mat properly, you’ll save money, reduce waste, and maintain the familiar surface you’ve built muscle memory with during your practice.
This guide covers proven repair methods for every major yoga mat problem, from minor surface wear to significant damage. You’ll discover specific techniques for delamination, tears, sticky residue, odors, and compressed cushioning, with material-specific considerations for PVC, rubber, TPE, and cork mats. With these solutions, you can extend your mat’s lifespan significantly while avoiding unnecessary replacement costs.
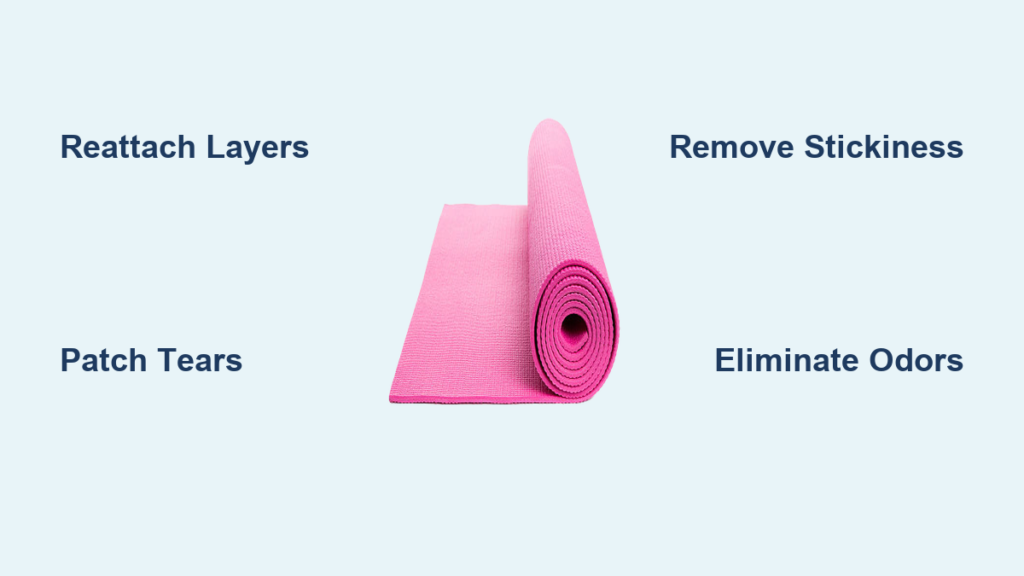
Identify Your Yoga Mat’s Specific Damage Type
Before attempting repairs, accurately diagnosing your mat’s problem ensures you choose the most effective solution. Surface wear appears as smooth, glossy sections where texture has worn down in high-contact areas like hands and feet positions. This primarily affects grip but doesn’t compromise structural integrity. Delamination occurs when mat layers separate, creating visible bubbles, curling edges, or spongy sections that feel loose underfoot. Tears and holes range from tiny punctures to significant rips that can spread during use.
Environmental damage from moisture, sunlight, or temperature extremes causes mold growth, material degradation, and cushioning deterioration. Odors indicate bacterial growth embedded in the mat’s material, while stickiness typically stems from accumulated sweat, oils, or skincare product residue. Each problem requires a specific approach—addressing stickiness won’t help delamination, and odor removal won’t fix tears. Accurate diagnosis prevents wasted effort and ensures your repair targets the actual problem.
Fix Peeling and Delaminated Mats in 3 Effective Ways

Reattach Separated Layers with Proper Adhesive
For minor delamination affecting small areas, reattaching layers with appropriate adhesive stops damage from spreading. Clean both surfaces thoroughly with mild detergent and let them dry completely. Apply a thin layer of contact cement or rubber cement to both surfaces using a small brush. Wait 2-5 minutes until the adhesive becomes tacky, then press surfaces together starting from the center and working outward to expel air. Place weights along the seam and allow 24 hours curing time before use.
Pro Tip: Test adhesives on an inconspicuous area first—some mats react poorly to certain chemicals. For PVC mats, contact cement works best; rubber mats require specialized rubber adhesive.
Patch Larger Delaminated Sections for Lasting Repair
When damage exceeds a few inches, create a reinforced patch that extends at least one inch beyond the damaged area in all directions. Cut patch material matching your mat’s thickness and texture, rounding corners to prevent lifting. Apply contact cement to both patch and cleaned mat surface, wait for tackiness, then press firmly. Smooth from center outward to remove air bubbles, and apply additional adhesive around patch edges. For extra durability, add a second patch to the mat’s underside.
Warning: Avoid petroleum-based products on PVC mats—they cause degradation and discoloration. Use only adhesives specifically formulated for your mat material.
Repair Tears and Holes Without Professional Help
Fix Small Tears Under Two Inches with Sewing Method
For clean cuts where material remains intact, sewing provides strong, lasting repair. Use heavy-duty thread and a leather/canvas needle. Thread approximately three times the tear’s length, then sew edges together with small, tight stitches. Pull each stitch snug but avoid puckering the material, then tie off securely on the underside. Apply rubber cement over the stitched area to seal and prevent fraying.
Visual Cue: If you can pinch the tear closed without stretching the material, sewing will likely work. If material gaps when pinched, you’ll need a patch.
Bridge Patch Technique for Large Tears Over Several Inches
For significant damage, cut patch material at least one inch larger than the tear in every direction. Position the patch over damage, trace around it, then cut along these lines to create a matching opening. Apply contact cement to both surfaces and press firmly. Reinforce with an additional patch on the mat’s underside to distribute stress. Allow 48-72 hours curing time before use—rushing this step causes reseparation.
Time Estimate: Small tear repairs take 15-20 minutes plus curing time; larger bridge patches require 30-45 minutes plus extended curing.
Eliminate Sticky Residue with Household Solutions

Baking Soda Paste Removes Moderate Stickiness
Mix baking soda with water to create a spreadable paste, then apply to sticky areas with a soft cloth. Work in circular motions, adding more paste as needed. For stubborn residue, let paste sit 5-10 minutes before scrubbing. Rinse thoroughly with clean water—leftover baking soda creates texture issues. Dry completely before rolling or storing.
White Vinegar Solution Tackles Oil-Based Residue
Combine equal parts white vinegar and warm water, apply to sticky areas, and let sit 15-20 minutes. Gently scrub with a soft brush, then rinse thoroughly. The vinegar smell dissipates within hours in a well-ventilated area. This method works particularly well for oil-based residue that soap alone cannot break down.
Common Mistake: Using too much water during cleaning—excess moisture promotes mold growth and accelerates delamination. Always dry mats completely before storage.
Remove Persistent Yoga Mat Odors in 24 Hours
Sunlight and Air Exposure for Natural Deodorizing
Hang your mat outdoors in a well-ventilated area, avoiding direct sunlight which fades materials. Leave unrolled for 24-48 hours, flipping occasionally. Sunlight’s antimicrobial properties kill odor-causing organisms while airflow evaporates trapped moisture. This method works best for mild to moderate odors and doubles as a disinfecting treatment.
Baking Soda Treatment for Deep Odor Absorption
Sprinkle generous baking soda over the entire mat surface and work it into texture with a soft brush. Leave for 8+ hours or overnight, then vacuum thoroughly, paying attention to texture grooves. Baking soda draws out odors trapped deep in the material without introducing chemicals.
Pro Tip: For stubborn odors, combine both methods—baking soda treatment followed by sunlight exposure provides maximum odor elimination.
Restore Cushioning in Worn Areas Without Foam Repair

Add a Yoga Mat Topper for Immediate Comfort
Rather than attempting impossible foam restoration, add cushioning with a topper. Available in cork, rubber, or foam, toppers attach via straps or simply lie in place. Choose one matching your mat’s dimensions or secure it properly to prevent shifting. This approach adds fresh cushioning while providing a new surface if your original mat shows wear.
Strategic Padding for Pose-Specific Discomfort
Fold a towel or blanket and place it under affected areas during practice. This targeted solution extends your mat’s useful life while maintaining comfort where needed most. Many practitioners keep dedicated padding for poses consistently causing discomfort on worn mats.
Time-Saving Shortcut: Store your padding rolled inside your mat—unfolds quickly when you reach problematic poses.
Prevent Future Damage with Smart Maintenance
Establish a Three-Tier Cleaning Routine
Wipe down your mat after each use with gentle cleaner, ensuring complete drying before storage. Weekly, perform thorough cleaning focusing on high-contact areas. Monthly, deep clean with intensive treatment—especially important for hot yoga practitioners. Consistent cleaning prevents most common problems before they develop.
Store Mats Properly to Avoid Flat Spots and Curling
Always roll with the top surface facing outward to prevent edge curling. Use a carry strap without tight compression. Store rolled mats standing upright or hanging—never lying flat where they develop permanent impressions. Avoid damp areas, direct sunlight, and extreme temperatures that accelerate material degradation.
Common Mistake: Storing mats while still damp—this promotes mold growth and accelerates delamination. Always dry completely before rolling.
When Repair Makes Sense vs. When to Replace
Repair Your Mat When:
- Damage is limited to specific areas not significantly affecting practice
- The mat is relatively new or was a significant investment
- You have sentimental attachment or it perfectly matches your practice space
- Repair costs are substantially less than half the price of a new mat
Replace Your Mat When:
- Damage is widespread (large tears, multiple delaminated areas)
- Cushioning is compressed throughout the entire mat
- Odors persist despite multiple deep cleaning attempts
- The mat creates slip or trip hazards that could cause injury
- Repair costs approach 50% of a new mat’s price
Learning how to fix a yoga mat empowers you to maintain your practice equipment effectively while making sustainable choices. With these techniques, you can address most common issues yourself, extending your mat’s useful life by months or even years. Implement regular maintenance and address developing problems promptly—your wallet and the environment will thank you as you continue your practice on a mat that supports you as reliably as ever.


