
When your resistance bands slip off mid-rep or your anchor point fails during a heavy pull, you lose more than just a workout—you risk injury and frustration. Knowing exactly how to hang resistance bands properly transforms your home gym from makeshift to professional, delivering safe, effective training that rivals expensive equipment. This guide cuts through the confusion with precise installation methods that work for every space, skill level, and fitness goal—no guesswork required.
Thousands of home gym users struggle with wobbly door anchors and improperly mounted wall systems that compromise their training. The right installation method depends on your specific space constraints, workout intensity, and how permanently you want the setup integrated into your home. We’ll walk through the most effective techniques, common mistakes to avoid, and pro tips that professionals use to maximize their resistance band training.
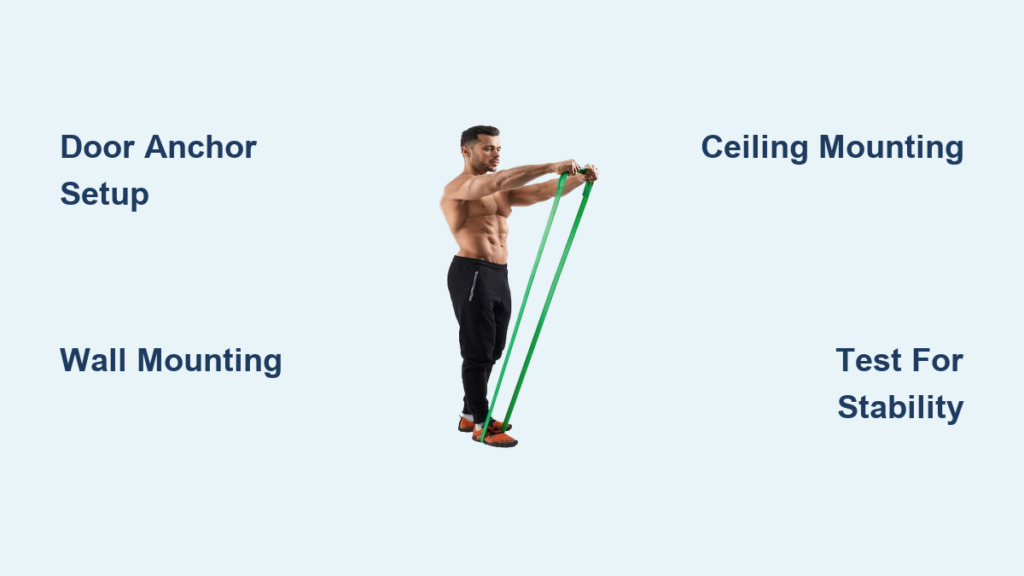
Choose Your Resistance Band Anchor Point Wisely
Selecting the right anchor point determines whether your resistance band system delivers safe, stable workouts or becomes a constant source of frustration. Your anchor must withstand forces exceeding 200 pounds during intense exercises without shifting or damaging your property. Understanding the three primary options—doorways, walls, and ceiling—helps you make the right choice for your specific situation.
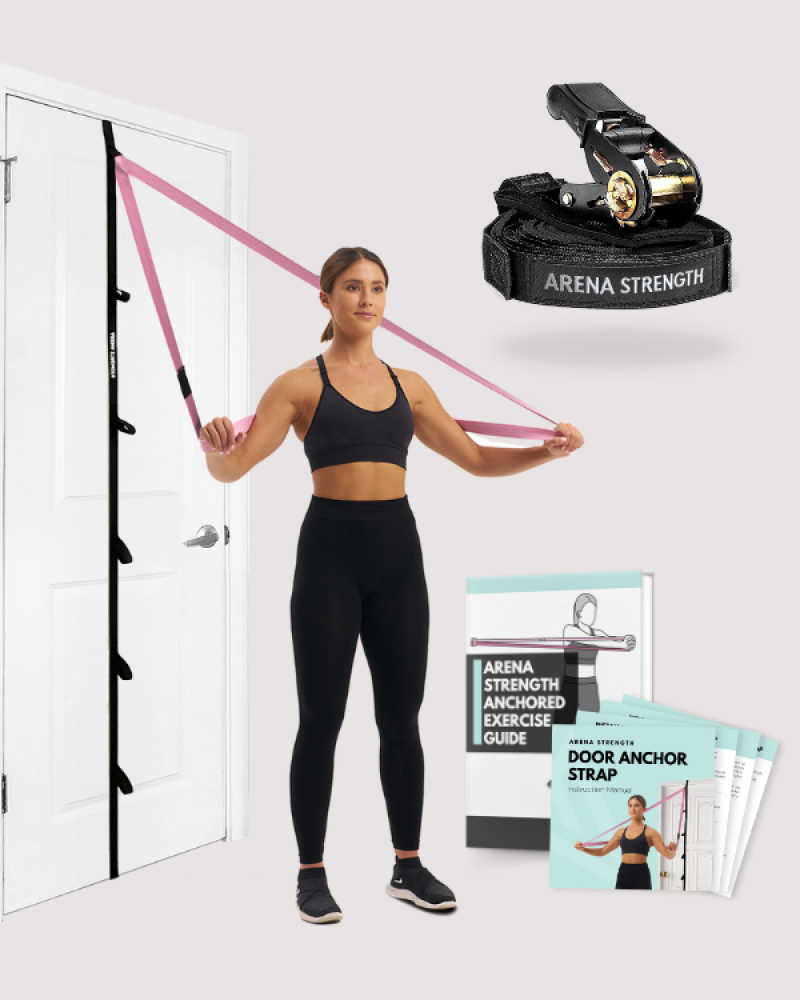
Doorway anchor systems work best for renters or temporary setups since they require no permanent modifications. These systems feature a padded bar that sits across the top of your door, with reinforced steel hooks positioned at various heights. When properly installed, the closed door locks the anchor in place, distributing tension across the entire door width. This setup supports exercises like seated rows, chest presses, and bicep curls without damaging your door frame.
Wall-mounted anchors provide superior stability for serious training sessions. By attaching directly to wall studs with heavy-duty hardware rated for dynamic loads, these systems eliminate the wobble common with door anchors. Wall mounts excel for explosive movements like band-assisted pull-ups or heavy deadlift variations where even slight anchor movement compromises form and safety. Installation requires basic tools and stud-finding skills, but the payoff is a permanent solution that handles maximum tension without shifting.
Ceiling-mounted options create the most versatile setup for cable-machine-style exercises. By anchoring bands overhead, you can perform lat pulldowns, face pulls, and inverted rows that mimic commercial gym equipment. These installations require locating ceiling joists and using hardware specifically rated for overhead loads since forces act differently than with wall or door mounts. If you have high ceilings and want the most comprehensive home gym possible, this method delivers professional results.
Door Anchor Installation Method That Won’t Damage Your Door

Many users install door anchors incorrectly, leading to damaged doors or dangerous failures during workouts. Follow these specific steps to create a secure doorway setup that handles intense training sessions without compromising your door’s integrity.
Start by verifying you have a solid-core door rather than hollow-core. Hollow doors lack the structural integrity to withstand resistance band forces and will eventually crack or break under tension. If you’re unsure, knock on your door—if it sounds hollow, choose a wall or ceiling mount instead. Inspect the door frame for loose hinges or existing damage that could compromise safety before proceeding.
Position the anchor pad with the padded side facing your workout space and the smooth side against the door’s top edge. The bar must extend across the full width of the door, sitting flush without gaps. Quality anchors feature non-slip padding that grips the door surface—press down firmly to ensure maximum contact before closing the door.
Close the door slowly while holding the anchor in place, checking that it closes completely and the anchor remains centered. The bar should rest entirely on the door frame’s top surface with equal overhang on both sides. Test the installation by gently pulling on each attachment point—any movement indicates improper seating that needs correction before adding resistance bands.
Secure your bands using the recommended carabiners, starting with lighter resistance until you confirm the setup handles tension reliably. Use lower attachment points for seated exercises and higher points for standing movements. Never exceed the manufacturer’s recommended weight limit for your specific door anchor system.
Wall Mount Installation Steps for Permanent Stability
Wall-mounted systems require more initial effort but deliver unmatched stability for serious training. This method works best if you have basic DIY skills and want a permanent solution that outperforms temporary options.
Locate wall studs using a reliable stud finder, marking their positions with painter’s tape. Studs provide the necessary structural support—attaching to drywall alone invites catastrophic failure. Most residential walls have studs spaced 16 or 24 inches apart, and your mounting hardware should span multiple studs for maximum stability.
Select hardware appropriate for your wall type and workout intensity. Lag screws with washers provide superior holding power in wood studs, with a minimum pull-out rating exceeding 300 pounds. Pre-drill pilot holes through your marked stud locations, then drive the lag screws until snug but not over-tightened, which can strip wood threads.
Attach your mounting plate or hook system, ensuring all connections rotate freely and click securely into place. Test the installation by applying gradual, increasing force while watching for loosening or shifting. Listen for creaking sounds that indicate stud flexing, and check hardware tightness after each use during the first few weeks as the system settles.
Door Frame vs. Door Anchor: Critical Safety Difference

Confusing these two installation methods leads to equipment failure and potential injury. Door frame anchors clamp onto the vertical sides of your door frame, transferring all force to the frame’s mounting points. This concentrated stress can damage frames during intense training and should only be used for light stretching or rehabilitation work.
True door anchors sit on top of the door, using the door’s closing mechanism to distribute forces across the entire width. This design works with the door’s natural strength rather than stressing weak frame connections. Quality door anchors feature reinforced steel bars and non-slip padding that create a system capable of handling demanding workouts safely.
If your door configuration prevents using a top-mounted anchor, choose wall or ceiling mounting instead of compromising safety with a door frame anchor. These alternatives provide superior performance regardless of door type and eliminate the risk of frame damage during training.
Essential Safety Precautions for Every Setup
Resistance band training carries unique risks that proper precautions dramatically reduce. Before each workout, inspect your bands for micro-tears, fraying, or UV damage that could cause catastrophic failure mid-repetition. Replace any band showing signs of wear immediately—prevention costs far less than injury treatment.
Verify anchor point security before every session, especially with door anchors that can shift during use. Gently test all attachment points with light tension to confirm they remain properly seated. Listen for creaking or sliding sounds that indicate movement requiring correction.
Maintain proper exercise form throughout every movement, stopping before reaching complete exhaustion when fatigue increases injury risk. Position yourself away from walls, windows, and furniture that could cause injury if a band slips or fails. Training in a dedicated space with appropriate clearance protects both you and your property.
Maximize Exercise Variety with Strategic Anchor Heights
The same resistance bands deliver dramatically different workouts based on anchor height. High anchor points above shoulder level shift emphasis toward back, biceps, and rear deltoid exercises like rows and face pulls. Mid-height anchors around chest level accommodate the widest range of movements including curls, presses, and lateral raises.
Low anchor points near floor level enable leg-focused exercises like hamstring curls, hip extensions, and glute bridges that build posterior chain strength. This versatile positioning also facilitates stretching exercises that improve flexibility and recovery. Experiment with different anchor heights to target specific muscle groups more effectively.
Common Installation Mistakes That Cause Equipment Failure
Using inappropriate hardware for your wall type or door configuration creates dangerous situations that seem fine until they fail under load. Always verify hardware specifications match your actual requirements—when uncertain, choose stronger hardware than you think necessary.
Failing to locate wall studs properly results in mounting hardware that pulls out of drywall. Stud finders cost less than medical bills, and taking five minutes to locate solid mounting points prevents catastrophic failures. If stud mounting isn’t possible, use dedicated hollow-wall anchors rated for the specific load.
Neglecting to test installations gradually before maximum training loads causes surprises when equipment fails unexpectedly. Start with light bands and controlled movements, progressively increasing intensity while observing performance. This approach reveals issues while stakes remain low, allowing safe corrections.
Maintain Your System for Long-Term Safety and Performance
Clean your bands regularly using mild soap and water to remove sweat and skin oils that degrade rubber materials. Wipe bands down after each use and perform deep cleaning monthly, allowing them to dry completely before storage.
Store bands away from direct sunlight, extreme temperatures, and sharp objects. A dedicated storage bag keeps bands organized and protected. Avoid leaving bands stretched during storage, as this stresses the material and shortens usable life.
Periodically inspect all hardware connections, tightening loose screws and replacing worn carabiners. Metal fatigue affects hardware just as material degradation affects bands—replacing worn components costs far less than treating injuries from hardware failure.
Troubleshooting Common Anchor Point Problems
Door anchors that slide during use typically indicate improper seating or insufficient friction. Verify your door closes fully and the anchor bar sits flush across the entire top surface. Clean surfaces of dust that might reduce grip, or consider an anchor with enhanced padding.
Wall-mounted hardware that loosens over time requires immediate attention. Tighten all connections and check they engage fully. If loosening continues, relocate to a new stud position with fresh hardware to ensure safety.
Bands that slip from anchor points indicate worn attachment hardware. Inspect carabiner gates for wear and ensure they match your anchor point sizes. Replace worn carabiners to eliminate slipping that compromises exercise effectiveness and safety.
Final Thoughts on Perfect Resistance Band Installation
Mastering how to hang resistance bands properly unlocks versatile, effective home fitness that rivals expensive gym equipment. Prioritize safety by selecting appropriate anchor points, installing with suitable hardware, and maintaining your system through regular inspection. Start with basic exercises once your installation is complete, building confidence before progressing to advanced movements. Your resistance band system rewards consistent, intelligent use with years of effective training that adapts as your fitness journey evolves—when installed correctly, it becomes your most versatile piece of home gym equipment.


