Your treadmill withstands incredible daily stress—every mile you run creates friction, heat, and microscopic wear that compounds silently. Without proper how to maintain a treadmill habits, that $1,500 investment can become a $1,500 paperweight in just two years. But here’s the game-changer: with the right maintenance routine, high-quality treadmills deliver 10-20 years of reliable service. This guide cuts through complex manuals to give you actionable steps you can complete in minutes. You’ll master lubrication timing, spot critical issues before they cause expensive repairs, and transform daily habits into decades of smooth operation.
Stop Sweat Damage Before It Starts
Power Down and Wipe Down Protocol
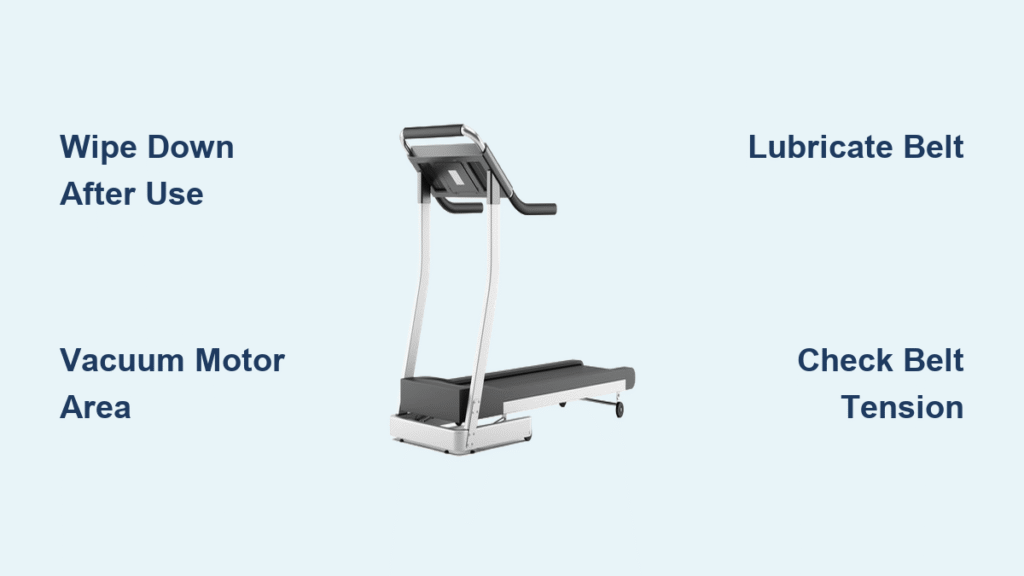
Always switch your treadmill OFF immediately after finishing your workout. This critical step prevents accidental activation, cuts electricity waste, and gives the motor essential cooling time. Within 5 minutes of stopping, grab a damp lint-free cloth and wipe every sweat-exposed surface: console buttons, handrails, frame edges, and belt sides. Sweat contains corrosive minerals that eat into electronics and create sticky buildup attracting dust.
Pro tip: Keep manufacturer-approved sanitizing wipes in a drawer next to your treadmill. That 30-second wipe-down prevents corrosion and maintains touch-screen responsiveness—no special skills required.
What Not to Use
Never use ammonia, bleach, solvents, or abrasive pads on your treadmill. These destroy plastic components and accelerate belt deterioration. Stick to mild dish soap solutions diluted in water or cleaners specifically approved by your treadmill’s manufacturer. A single use of household glass cleaner can permanently cloud your display screen.
Weekly Cleaning Prevents Motor Failure
Vacuum Under Motor Hood
Every 1-4 weeks (depending on usage frequency), power OFF and unplug your treadmill. Remove the motor hood screws—typically 4-6 Phillips head screws along the sides. Use a vacuum hose or soft brush attachment to remove dust from the motor housing, drive belt, and circuit boards. This 10-minute task addresses the #1 cause of motor failure: dust buildup acting like sandpaper on internal components.
Clean Floor and Surrounding Area
Vacuum or sweep under and around your treadmill weekly. Dust bunnies transform into belt-clogging debris that increases friction and strains the motor. If your treadmill is too heavy to move regularly, use a vacuum hose extension to reach underneath. Critical note: Dust accumulation near the rear roller causes 68% of premature belt replacements according to service technicians.
Master the Lubrication Schedule

When to Lubricate Your Belt
| Your Usage | Lubricate Every | Mileage Trigger |
|---|---|---|
| Daily (4+ days/week) | 3 months | 125-150 miles |
| Moderate (≤3 days/week) | 6 months | 150 miles |
| Light (≤2 days/week) | 6-12 months | 200 miles |
Ignoring these intervals causes belt-deck friction to increase by 300%, dramatically shortening component life. Check your owner’s manual—some self-lubricating models like NordicTrack’s X series require no manual application.
Approved Lubricants Only
Use 100% silicone spray, liquid, or wax labeled specifically for treadmills. For incline pivot points, apply white lithium grease. Never use petroleum-based oils, household WD-40, or generic grease—these degrade rubber belts and void warranties. One drop of motor oil can ruin your entire running surface within weeks.
Step-by-Step Lubrication Process
- Power OFF and unplug your treadmill
- Loosen rear roller bolts ¼-turn counter-clockwise using an Allen wrench
- Lift the belt and slide your hand between belt and deck
- Apply 1 oz (30 mL) total: ½ oz in a zigzag line from center to right edge, ½ oz center to left edge
- Retighten bolts evenly; run 1-3 minutes at 3 mph to distribute
- Wipe excess silicone from belt edges with a dry cloth
Expert note: An oral syringe provides precise application without messy overspray—apply slowly while walking the belt manually.
Belt Tension and Alignment Fixes
Quick Tension Test
With the treadmill OFF, lift the belt at the midpoint. Proper tension shows a 2-3 inch gap. Less than 2 inches means excessive strain on the motor; more than 3 inches causes belt slippage. Test after every lubrication session.
Belt Drifting Left or Right?
Run the treadmill at 1 mph. If the belt drifts left, turn the left rear bolt ¼-turn clockwise (or right bolt counter-clockwise) to pull the belt right. Make micro-adjustments until the belt stays centered through a full revolution. Never force adjustments—excessive tightening cracks roller shafts.
Stopping Belt Slippage
At 1-2 mph, stomp forward firmly. Any belt slip indicates dangerous under-tension. Turn rear roller bolts clockwise in equal ¼-turn increments until slippage stops. Test after each adjustment—over-tightening causes immediate motor strain.
Quarterly Hardware Inspection
Tighten Everything
Every 3 months (or 125-200 miles), inspect and tighten all frame bolts, nuts, and screws. Focus on handrail connections, side rails, and console mounts. Loose hardware creates rattling noises that mask critical motor sounds. Check plastic covers for stress cracks and power cords for fraying—replace immediately if damaged.
Incline Maintenance
For incline-capable models, apply white lithium grease to pivot points and actuator joints quarterly. This prevents the grinding noises that indicate worn bearings. Wipe excess grease to avoid attracting dust into moving parts.
Motor and Electronics Protection

Prevent Overheating
Power OFF for at least 10 minutes every 2 hours of continuous use. This rest cycle prevents thermal buildup—the silent killer of treadmill motors. Heavy users should split workouts into multiple sessions with cooling breaks.
Surge Protection Protocol
Always connect your treadmill to a surge-protected outlet or UPS battery backup. Unplug during electrical storms. Power surges instantly destroy expensive control boards—replacing these costs 40% of the treadmill’s value.
Burning Smell Response
Stop immediately if you detect burning odors. Unplug and inspect for debris under the belt, dust in the motor compartment, or melted wire insulation. If the smell persists after cleaning, contact a technician—do not restart the machine.
Environmental Setup for Longevity
Level Surface Check
Use a 3-foot carpenter’s level across the belt surface to verify your treadmill sits perfectly level. Uneven floors cause belt tracking issues and accelerate deck wear. Shim the legs with washers if needed—never operate on carpet without a mat.
Mat Benefits
Place a rubber treadmill mat ($15-30) beneath your unit. This absorbs 80% of vibration, reduces noise transmission, protects flooring, and blocks 70% of dust intake. Critical for apartment dwellers—most HOAs require mats to prevent neighbor complaints.
Humidity and Ventilation
Keep room humidity below 60% using a dehumidifier—high humidity causes circuit board corrosion. Allow 2 feet clearance on each side and 6 feet behind for airflow. Never push your treadmill against a wall—that suffocates the cooling system.
Component Replacement Guide

| Warning Sign | Component | Action Required |
|---|---|---|
| Fraying edges, exposed under-layer | Running belt | Replace belt immediately |
| Deep grooves, rough surface | Deck | Flip or replace deck |
| Glazing, cracks, excessive slack | Drive belt | Replace within 2 weeks |
| Sparks visible, erratic speed | Motor brushes | Professional service required |
Annual Deep Service Checklist
Once yearly (more often for heavy use):
1. Remove motor hood and compressed-air clean all electronics
2. Inspect drive belt tension and alignment
3. Calibrate speed using a stopwatch (should match display within 0.2 mph)
4. Test safety key and emergency stop function
5. Apply fresh silicone even if lubrication interval not reached
6. Update software/firmware if Wi-Fi enabled
Quick Troubleshooting Reference
| Symptom | Likely Cause | Fix in 5 Minutes |
|---|---|---|
| Slipping belt | Under-tension or dry belt | Tighten rear bolts; lubricate |
| Erratic speed | Worn belt or sensor issue | Inspect belt; run at low speed |
| Console blank | Loose power cord | Check cord; reset breaker |
| Rattling noise | Loose bolts | Tighten all hardware |
Your Maintenance Calendar
Print and post this schedule:
– Daily: Wipe sweat from all surfaces
– Weekly: Vacuum around treadmill base
– Monthly: Vacuum motor compartment
– 3 Months: Lubricate belt, inspect hardware
– 6 Months: Check belt tension and alignment
– Annual: Deep clean and calibration
Document each maintenance session in your phone notes. Many manufacturers like Peloton and NordicTrack require these records to honor warranties—generic lubricants or skipped services void coverage instantly. Consistent how to maintain a treadmill habits transform your machine from a headache into your most reliable fitness partner. Start today with that 30-second wipe-down—your future self will thank you when your treadmill outlasts three smartphones and two laptops.


