
Your walking pad sits silently under your desk, promising productivity and health—but most owners treat this $300-$600 investment as maintenance-free equipment. This mistake proves catastrophic: neglected units typically fail within 12-18 months, while properly maintained walking pads operate reliably for 5-7 years. The difference isn’t in the initial purchase quality—it’s in the maintenance habits you develop from day one. Learning how to maintain walking pad equipment properly transforms your relationship from reactive panic to proactive control.
Walking pads generate destructive friction and heat with every step you take. Motor windings overheat, drive belts slip, and deck surfaces wear down when you ignore the simple maintenance routines that keep components operating within specification. This guide delivers the complete maintenance framework—from the 30-second startup ritual that protects your motor to the full-system overhaul that restores aging equipment. You’ll implement strategies proven to extend walking pad life while preventing the mysterious noises and erratic behavior that signal impending failure.
The core principle governing all walking pad maintenance involves managing friction and heat. Every moving component—the motor, drive belt, walking belt, rollers, and bearings—generates both through operation. Without proper lubrication, alignment, and cleaning, this friction compounds over time, converting minor operational quirks into catastrophic failures. By understanding this relationship, you can target your maintenance efforts where they matter most.
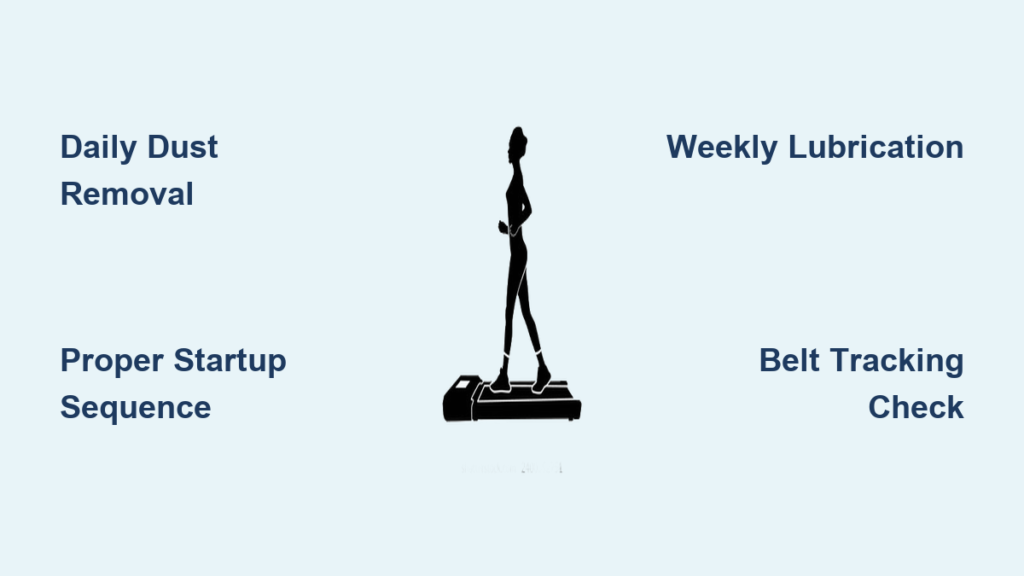
Eliminate Dust Buildup Before It Damages Your Walking Pad Motor

Dust accumulation ranks as the single most destructive environmental factor affecting walking pad longevity. Pet hair, human dander, and household particulates infiltrate motor chambers through ventilation openings, embedding themselves in lubrication films and insulating motors from proper heat dissipation. This invisible contamination accelerates wear across every moving component simultaneously, creating premature failure points throughout your system.
Daily debris removal requires less than 30 seconds but prevents 70% of motor failures. Use an electric dust blower like the WolfBox MF50 to direct high-velocity air through all motor carriage vents. Pay special attention to areas around wire connections and circuit boards where dust accumulates most heavily. For households with pets or in dusty environments, perform this cleaning daily rather than weekly—long-haired pets dramatically increase hair buildup in critical areas.
The de-dusting process extends beyond the motor compartment. Walking belt surfaces accumulate debris from shoe soles that works its way beneath the belt onto the deck surface. Before each use, remove visible debris with a microfiber cloth to prevent particles from migrating into roller bearings. This simple habit stops minor contamination from becoming major mechanical problems.
Master the Proper Walking Pad Startup Sequence
Improper startup sequences cause more walking pad failures than any other user error, especially in budget models with cost-reduced motor controllers. When you stand stationary on a stopped belt and press start, the motor must overcome both your body weight and belt friction from a dead standstill. This creates locked rotor amperage—a massive electrical surge that stresses motor windings and the electronic speed controller until sudden failure occurs.
Follow this 3-step startup sequence every time you use your walking pad:
1. Step onto the side rails adjacent to the walking belt
2. Press start and allow the belt to achieve full speed (5-10 seconds)
3. Step onto the moving belt only after observing consistent motion
For the first use of each day, extend this warm-up by running the empty belt at maximum speed for 1-2 minutes. This thermal cycling expands the drive belt’s ribbing, improving grip on the motor pulley. Without this warm-up, users frequently experience jerky belt motion and squeaking sounds during initial walking—clear indicators of excessive friction stressing your system.
Optimize Usage Patterns to Prevent Overheating
Continuous operation beyond 45 minutes generates sustained heat buildup that degrades lubrication between the walking belt and deck while accelerating motor winding insulation breakdown. Implement a cycle of 30-45 minutes of walking followed by a 1-5 minute break to allow thermal dissipation and lubrication recovery. During breaks, the walking pad cools to ambient temperature, reversing minor friction-induced damage as materials contract.
The break interval doesn’t require completely stopping your walking pad—standing nearby while the belt continues moving at low speed maintains some lubrication circulation while allowing user rest. However, completely powering down between sessions eliminates all electrical load and represents the most restful approach for both user and machine. Heavy users (multiple hours daily) should reduce continuous operation to 30 minutes with 5-minute breaks to prevent thermal stress.
Weekly Lubrication That Actually Extends Belt Life

Walking pad lubrication follows a time-based or usage-based schedule (whichever occurs first). Apply silicone-based lubricant every 40 hours of operation or every 3 months, though homes with multiple users or pets may require more frequent application. The lubrication process involves applying product beneath the walking belt between the belt and deck pad—never on the top surface.
Pre-lubrication deck inspection prevents the abrasive paste trap. Loosen walking belt tension and lift the edge to examine the deck surface. If visible grey paste covers more than small scattered patches, clean the deck thoroughly with clean rags before applying fresh lubricant. Applying new lubricant over contaminated material creates an even more abrasive mixture that accelerates deck wear exponentially.
Apply lubricant using a zig-zag pattern across the deck surface for uniform coverage. Most manufacturers recommend 1-2 ounces per application. After application, run the walking pad empty for 2 minutes at 1 mph to distribute lubricant evenly. Walking immediately after application pushes lubricant to the belt edges, leaving the center under-lubricated.
Fix Belt Tracking Issues Before They Destroy Your Walking Surface
Walking belts naturally drift toward one side due to subtle asymmetries in tension, walking patterns, and floor irregularities. Unchecked drift causes uneven wear on belt edges and roller bearings, eventually leading to belt fraying and bearing failure. Weekly monitoring prevents these cascading problems before they require expensive repairs.
When the belt drifts consistently left, tighten the left adjustment bolt—not the right. The counterintuitive mechanism works because tightening the tight side creates a slope that pulls the belt back toward center. The adjustment procedure requires running the belt at 1-2 mph and making quarter-turn adjustments to the appropriate rear roller bolt. After each adjustment, wait 15 seconds for the belt to respond before assessing whether additional adjustment is needed.
Never return bolts to original positions after correction. The new tension balance represents the correct setup, and future adjustments address future drift as it develops. Belt tracking issues typically require attention once every 1-2 weeks under normal use conditions.
Recognize These 3 Warning Signs of Imminent Failure

Preventive maintenance eventually reaches its limits. When you hear loud unusual noises, smell burning odors, or experience inconsistent belt motion under load, a comprehensive overhaul—not spot repair—is necessary. Addressing only one component while leaving others in degraded condition guarantees continued problems.
Decoding strange noises from your walking pad:
– Squeaking: Friction between dried-lubricated surfaces (walking belt on deck or slipping drive belt)
– Screeching: Metal-on-metal contact (drive belt ribs slipping on pulley grooves)
– Grinding: Bearing failure (rolling elements scoring against race surfaces)
– Clicking: Loose hardware or debris caught in roller areas
Burning smells require immediate shutdown. Burning rubber indicates a slipping drive belt generating heat, while burning machinery smells suggest motor overheating or failing electrical connections. Continuing to use a walking pad with burning smells risks catastrophic failure and potential fire hazards.
Execute a Full-System Overhaul for Lasting Results
When failure indicators appear, spot repairs typically prove futile and more expensive long-term. The full-sweep approach involves disassembling the entire walking pad, inspecting all components, replacing all wear items, and reassembling with precision. This method prevents cascading failures that would require repeated service.
Drive belt replacement requires matching rib count to pulley grooves. Manufacturers often install belts with fewer ribs than the pulley can accommodate (e.g., 5-rib belt on 8-groove pulley). Upgrading to a belt matching the pulley groove count significantly improves grip and extends belt life. Order replacement belts immediately upon purchasing your walking pad to ensure availability before failure occurs.
Replace rolling-pin bearings with stainless steel versions rather than the original carbon steel bearings. Stainless steel resists rust from humidity and sweat exposure far more effectively, justifying the modest cost difference through extended service life. Testing bearing condition involves rotating roller axle ends between thumb and fingers—healthy bearings rotate smoothly with minimal resistance.
Create Your Personalized Walking Pad Maintenance Schedule
Integrating daily habits, weekly tasks, and periodic service into a coherent system maximizes component life while minimizing time investment. Your 60-second daily routine should include:
– Performing the proper startup sequence
– Briefly inspecting belt position
– Removing visible debris before use
Your weekly maintenance (10-15 minutes) should cover:
– Motor chamber cleaning with compressed air
– Belt tracking inspection and adjustment
– Deck lubrication condition check
Annual full-service operations (2-3 hours) should include:
– Drive belt replacement
– Bearing inspection and replacement
– Comprehensive cleaning of all components
The maintenance muscle-memory that develops from following this schedule becomes second nature—the daily startup routine requires no conscious thought after the first week. Users who implement this maintenance culture report walking pad reliability matching commercial equipment costing several times more. Learning how to maintain walking pad equipment properly transforms your relationship with this machine from reactive repair to proactive care, ensuring years of reliable operation from your investment.


