
You’ve decided to rearrange your home gym or relocate your NordicTrack treadmill, but that 200+ pound machine sitting in your living room suddenly looks like an impossible obstacle. Many fitness enthusiasts face this exact dilemma, wondering how to move a NordicTrack treadmill safely without damaging their equipment or risking serious injury. The good news is that NordicTrack’s clever folding design makes most relocations surprisingly manageable—even for solo movers.
Every NordicTrack model incorporates thoughtful engineering specifically for mobility, but knowing the proper techniques separates a smooth transition from a costly disaster. Whether you’re shifting your treadmill across the room or preparing for a cross-country move, this guide reveals proven methods that protect both your investment and your body. By the end, you’ll understand exactly how to move a NordicTrack treadmill through any space while avoiding the most common—and dangerous—mistakes homeowners make.
Safety First: Weight Limits and Precautions

Before touching your treadmill, confirm you can safely lift 45 lbs—this isn’t a suggestion but a non-negotiable requirement. NordicTrack treadmills weigh significantly more, but this baseline ensures you can handle components during transport without injury. Attempting the move with back problems or insufficient strength risks permanent damage to both you and your equipment.
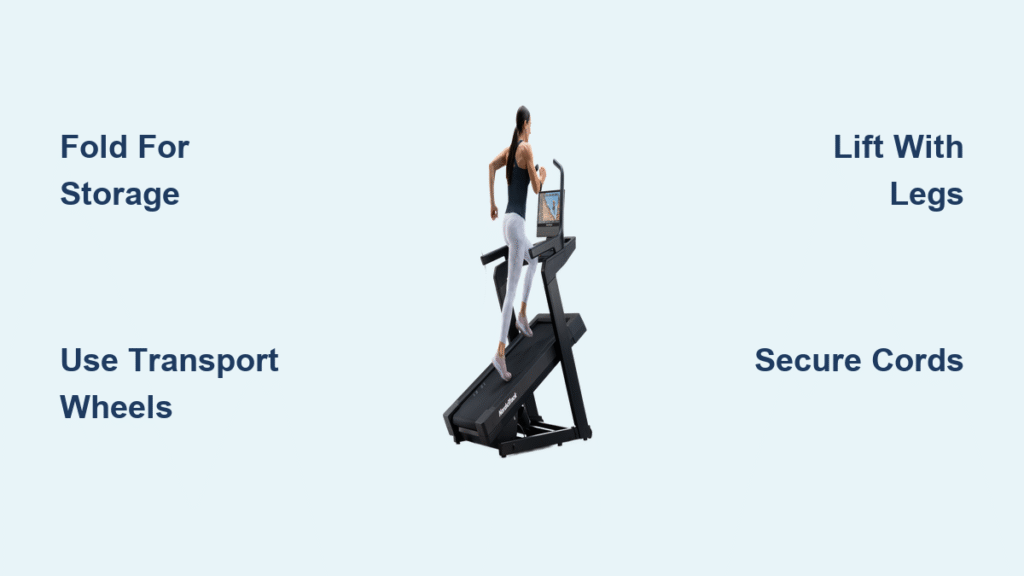
Lift correctly or don’t lift at all: Bend your knees deeply while keeping your back straight, then engage your leg muscles to do the work. Never grab the plastic foot rails for lifting—they’ll crack under pressure since they’re not structural components. Instead, grip the metal frame beneath the running belt or designated lift points shown in your manual.
Unplug before you move: Disconnect power first, then secure the cord by wrapping it around the frame and fastening with zip ties. A loose cord creates dangerous tripping hazards and can rip out internal wiring when the treadmill shifts unexpectedly.
Pre-Move Setup: Folding to Storage Position
Transforming your treadmill into its compact storage configuration takes just 60 seconds but makes all the difference in maneuverability. Start by lowering the incline completely using the control panel—this relieves tension on critical components. Next, remove the safety key and unplug from the wall to eliminate electrical risks.
Now grip the metal frame outside the belt track and lift upward until you hear the latch knob click securely into place. Test the lock by gently pulling down—you should feel firm resistance. If the deck drops, adjust the latch mechanism before proceeding. This folded position reduces the treadmill’s footprint by up to 60%, making most moves possible without disassembly.
Clear Your Path: Space Preparation Checklist
Measure before you move—standard doorways are 32″ wide, but older homes may have narrower passages. Walk your intended route while carrying a tape measure to identify problem areas. Remove area rugs that could cause slipping and clear furniture at least 24″ from your path.
Critical path test: Can you comfortably walk backward while pulling 100+ pounds? If not, recruit help for stair navigation. Secure pets and children away from the moving area—distractions cause accidents with heavy equipment. For multi-room moves, open all doors in advance to prevent last-minute fumbling.
Rolling Method: No Tools Required
Your NordicTrack’s built-in transport wheels make most moves tool-free when used correctly. Face the console and place one foot firmly on a base wheel while grasping the handrails. Pull back steadily until the machine tilts fully onto its rear wheels—this shifts the center of gravity for smooth rolling.
Master the tilt technique: Maintain a 15-20 degree backward angle while moving. Push or pull using leg strength, not upper body force. On carpet, you’ll need more momentum; on hardwood, apply gentle pressure to avoid runaway movement. Never roll on transitions between flooring types—the small wheels can catch and tip the entire machine.
Stair Navigation: Solo and Assisted Methods
Moving Upstairs Alone
Fold and lock your treadmill, then tilt it onto wheels at the stair base. Facing the machine, back up the stairs one step at a time while pulling the treadmill upward. Keep your body close to the unit for maximum control, maintaining that critical backward tilt to prevent forward rolling.
Pace yourself: Most people safely handle 8-10 steps before needing a rest. Place the treadmill securely on a landing, step around it, and repeat. Rushing causes loss of control—this isn’t a race but a precision operation where safety trumps speed every time.
Moving Downstairs Safely
This requires two people—never attempt alone. Position one person at the top controlling the descent by gently lowering the treadmill, while another stands below to guide and brake. The top mover handles 70% of the weight by maintaining backward tilt while the bottom mover prevents forward momentum.
Doorway Maneuvers: What Actually Fits
Folded NordicTrack treadmills typically measure 36″ tall x 32″ wide x 54″ long—clearing standard doorways with room to spare. Tilt onto wheels and push straight through without angling. Critical tip: Keep the machine perfectly vertical—tilting sideways reduces clearance and risks jamming.
For older homes with 28″ doorways, consider partial disassembly (detailed below) rather than forcing the unit. Damaging walls or equipment costs far more than taking extra preparation time.
Disassembly Guide: When and How

Skip Full Disassembly Unless Absolutely Necessary
Complete teardown adds hours and risks misplacing critical components. Only disassemble when facing spiral staircases, sub-28″ doorways, or long-distance vehicle transport. Most moves succeed with just the folding method—reserve disassembly for extreme cases.
Quick Partial Disassembly: NordicTrack 900 Series
For tight doorways, separate the upper assembly in 15 minutes:
1. Lift base covers at the bottom of uprights
2. Remove 3 screws per side (6 total) with Phillips screwdriver
3. Have a helper support the console assembly
4. Gently lift the upper section away from the base
5. Move pieces separately through the tight space
Reassembly tip: Keep wiring connected if possible—many models have sufficient slack for separation without disconnecting.
Transport Protection: Wrapping Like a Pro
Component-by-Component Protection
Wrap the console in 3-4 layers of bubble wrap with the screen facing inward. Secure handrails with moving blankets and tape to prevent scratches. The deck needs full blanket coverage to protect the running surface. Critical: Never stack components directly—always use padding between pieces.
Vehicle Loading Strategy
Load heaviest components (base/motor) first against the vehicle wall. Anchor immediately with ratchet straps to solid anchor points—not just the treadmill frame. Place the console last with screen protected inward. Before driving, push on all components—they shouldn’t shift more than an inch in any direction.
Reassembly: Getting Back to Running
Critical Pre-Assembly Checks
Verify all parts are present and undamaged before starting. Check wiring labels remain clear and connections match. Test the safety key mechanism and emergency stop button before your first post-move workout—transport vibrations can misalign these critical safety features.
Reassembly order matters: Start with base/frame connection, then deck installation (checking belt tension), followed by handrails and console. Test incline functions before final tightening—this prevents frustrating rework after assembly.
Maintenance Opportunities During Moves
Take advantage of this rare access to perform essential maintenance:
– Clean debris from under the belt using a vacuum
– Apply silicone lubricant to the deck if your model requires it
– Check belt alignment—adjust if it rides too far left or right
– Inspect for fraying belts or worn rollers needing replacement
Common Moving Mistakes to Avoid
Skipping the fold creates unnecessary strain—never move an unfolded treadmill. Rushing stairs causes most injuries—take breaks when fatigued. Ignoring measurements leads to doorframe damage—always check first. Lifting by plastic parts guarantees broken components—only grip metal frame points. Loose cords cause electrical damage—secure everything before moving.
Quick Reference: Move Type Decisions
Same room repositioning: Rolling method takes 5 minutes with no tools
Different room on same floor: Allow 10-15 minutes using the tilt-and-roll technique
Single flight of stairs: Budget 20-30 minutes with careful pacing
Multiple flights or tight spaces: Consider professional movers with equipment experience
Long-distance vehicle transport: Add 45 minutes for partial disassembly and protection
Moving your NordicTrack treadmill becomes straightforward when you respect its weight and leverage its folding design properly. By following these specific techniques, you’ll avoid the most common—and costly—mistakes that damage equipment or cause injury. Remember that proper preparation prevents poor performance: measure carefully, move deliberately, and never sacrifice safety for speed. Your treadmill will reward you with years of reliable service when relocated correctly, keeping your home gym exactly where you want it without the drama.


