
Your walking routine feels stale, and you’re ready to level up—but choosing the wrong weighted vest could derail your progress before it begins. Many walkers make the critical mistake of grabbing the heaviest vest on the shelf, only to develop shoulder pain or abandon their fitness journey entirely. The right weighted vest transforms your daily walks into powerful strength-building sessions without compromising your natural gait.
This guide cuts through the marketing hype to show you exactly how to select a vest that matches your body, fits like a second skin, and delivers measurable results. You’ll learn the precise weight calculation formula fitness professionals use, spot construction flaws that lead to early vest failure, and avoid the safety hazards that send walkers to physical therapy. By the end, you’ll confidently choose a vest that enhances—not hinders—your walking journey.
Calculate Your Exact Weighted Vest Weight Requirement

The 4-10% Body Weight Formula Explained
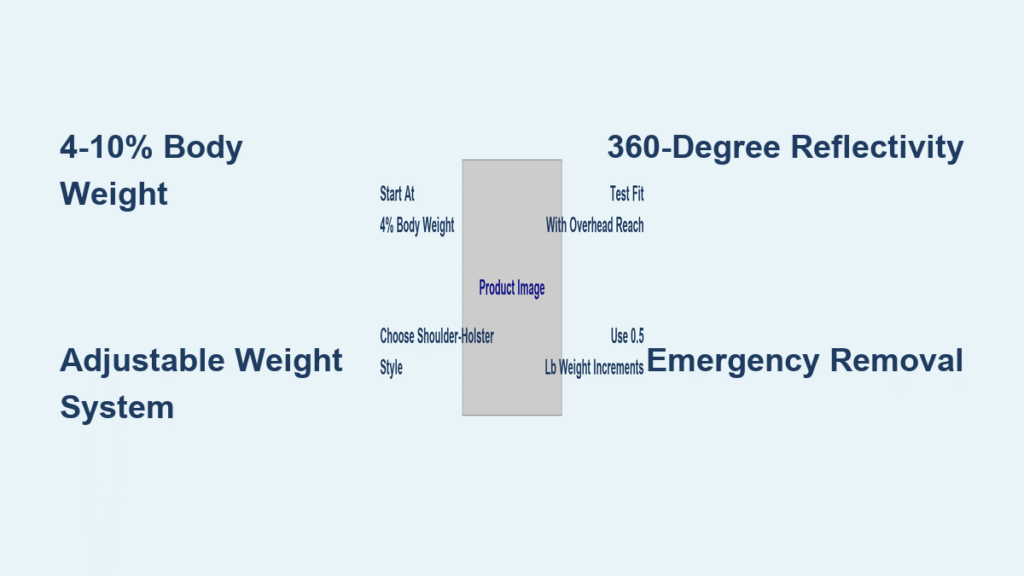
Your ideal vest weight isn’t random—it’s a precise percentage of your body weight. Research confirms that vests weighing 4-10% of your total body weight provide optimal resistance while maintaining safe biomechanics during walking. A 180-pound walker needs a vest between 7.2-18 pounds, while petite users might start with 12 pounds even if they weigh less.
Critical calculation tip: Always begin at the 4% mark regardless of your fitness level. Jumping to 10% immediately creates excessive joint stress that leads to injury. Your body needs time to adapt to the new load distribution before increasing weight.
Adjustable Weight Systems Beat Fixed Designs
Skip fixed-weight vests unless you’re absolutely certain about your long-term needs. Adjustable systems with removable sandbags or metal plates let you start light and progress gradually—a non-negotiable feature for walking applications. The ability to add or remove 1-2 pounds at a time prevents the frustration of hitting a weight plateau or developing shoulder strain.
Fixed-weight vests like the 12-pound Reebok model lock you into one resistance level. Only consider these if you’ve already determined your exact target weight through trial with an adjustable vest and have no plans to progress further.
Progressive Weight Increase Timeline
Your body adapts slowly to new loads, and rushing this process invites injury. Follow this science-backed progression:
- Weeks 1-2: Wear vest empty around your home to adjust to the fit
- Weeks 3-4: Add 50% of your target weight during 15-minute walks
- Month 2: Increase to 75% of target weight for 20-25 minute walks
- Month 3+: Reach your target weight (6-8% of body weight) for regular use
Warning: If you experience any sharp joint pain, return to a lighter weight immediately. Your walking form should remain natural—never sacrifice posture for additional weight.
Achieve Flawless Vest Fit for Natural Walking Gait
Shoulder and Torso Fit Assessment Technique
Your vest must hug your shoulders like a custom-tailored jacket—secure but never restrictive. Perform these fit checks before purchasing:
- Jump test: Put on the vest and jump in place. Quality vests shift less than one inch vertically
- Arm mobility check: Raise arms overhead and sideways. No fabric bunching should occur
- Forward bend test: Lean forward at the waist. The vest stays centered without sliding down
- Breathing assessment: Take deep breaths. Your ribcage should expand naturally without restriction
Pro tip: Try on vests with the clothing layers you’ll wear during walks. A vest that fits perfectly over a t-shirt might become restrictive over a winter jacket.
Women-Specific Fit Solutions
Standard unisex vests often create fit issues for women, including:
- Lower closure points that dig into the chest area
- Straight torso designs that don’t accommodate hip-to-waist ratios
- Inadequate shoulder padding causing strap discomfort
Look for vests with high-closure systems positioned above the breast line, tapered side panels, and soft binding along all edges. Adjustable side straps let you fine-tune the fit as your body composition changes during your fitness journey.
Quick-Adjust Mechanisms Worth the Investment
Velcro straps wear out quickly under repeated use, especially when exposed to sweat. Instead, prioritize vests with:
- Buckled strap systems that maintain tension throughout your walk
- Ratchet adjustment mechanisms for micro-adjustments on the go
- Reinforced strap anchors that won’t tear under load
These features pay dividends during longer walks when clothing layers shift or your body naturally settles into the vest.
Identify Premium Construction From Cheap Imitations
Nylon-Polyester Hybrid Material Superiority
Nylon provides critical durability for walking applications, resisting abrasion from daily use 30-40% better than polyester alone. However, polyester excels at moisture management, wicking sweat away from your body during longer walks.
The ideal vest combines nylon base fabric with polyester mesh panels in high-sweat areas like the back and underarms. This hybrid construction delivers maximum durability where you need it while keeping you cool during extended walking sessions.
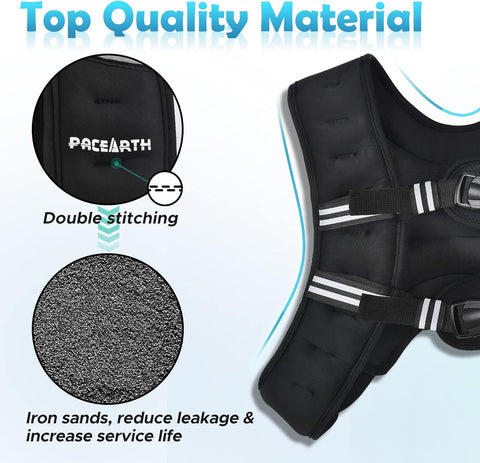
Stitching Quality Inspection Protocol
Flip any vest inside out before purchasing. Quality construction reveals:
- Double-stitched seams along all weight-bearing areas
- Bar-tacked reinforcement at strap attachment points
- Hidden interior stitching that won’t irritate your skin
- Consistent thread tension without loose ends or skipped stitches
Red flag: Single-stitched seams along weight pockets indicate poor durability. These will unravel within weeks of regular walking use.
Weight Retention System Failure Points
Test potential vests by vigorously shaking them. Quality weight retention systems feature:
- Dual-closure weight pouches (Velcro plus zipper)
- Individual weight sleeves that prevent shifting
- Elastic retention straps securing each weight compartment
- Weight distribution channels maintaining balanced load
Avoid vests where weights clank together or slide to one side during movement—these will throw off your walking gait and cause posture problems.
Prioritize Walking-Specific Safety Features

360-Degree Visibility Requirements
Morning and evening walkers need reflective elements on all sides of the vest. Check for:
- Reflective piping along all vest edges
- Large reflective panels on front and back surfaces
- Bright accent colors visible in low-light conditions
- Attachment points for supplemental LED lights
Critical safety note: Vests without proper reflectivity become invisible to drivers during dawn or dusk walks—a common cause of walking-related accidents.
Emergency Removal Systems
Your vest must come off in under 5 seconds during emergencies. Test these mechanisms:
- Side-release buckles operable with one hand
- Front-zip designs with large pull tabs
- Breakaway shoulder straps that tear under sudden force
- Quick-release waist belts providing instant pressure relief
Never compromise on emergency removal—a vest that’s difficult to remove could become dangerous during medical emergencies.
Implement Walking-Specific Usage Protocol
First 30 Days Adaptation Schedule
Begin with exercise snacking—short sessions that build familiarity:
- Days 1-3: Wear empty vest around house for 20 minutes
- Days 4-7: Add 50% target weight during 10-minute walks
- Weeks 2-3: Increase to 20-minute walks at 75% weight
- Week 4: Assess comfort and adjust fit or weight as needed
Crucial progression rule: Never add more than 2 pounds per week. Your bones, joints, and connective tissues need time to adapt to the increased load.
Terrain Progression Strategy
Start on flat surfaces before advancing to challenging terrain:
- Pavement walking (Weeks 1-2)
- Gentle inclines (Weeks 3-4)
- Trail walking (Month 2+)
- Stair climbing (Only after 3 months of consistent use)
Warning: Avoid uneven terrain until you’ve built sufficient strength. Walking on trails too soon with a weighted vest dramatically increases ankle injury risk.
Verify Real Walking Benefits Before Buying
Bone Density Protection Mechanism
For women over 50, weighted walking provides osteoporosis prevention without gym equipment. The mechanical loading stimulates bone growth in hips and spine—areas most vulnerable to fractures. Research shows 50% of women over 50 will experience osteoporosis-related fractures.
Effective protocol: 30-minute walks, 3 days per week at 6-8% body weight for minimum 6 months delivers measurable bone density improvements.
Calorie Burn Amplification Reality
Expect 15-30% increased calorie expenditure compared to regular walking. A 160-pound person burning 200 calories during a 30-minute walk will burn 230-260 calories with proper vest usage.
Pro tip: The metabolic boost continues post-walk—your body burns extra calories for up to 48 hours after weighted walking sessions.
Make Smart Final Selection Decisions
Budget vs Long-Term Value Analysis
$50-100 range: Basic adjustable vests suitable for casual walkers (2-3 days per week). Verify stitching quality—many budget options fail within 6 months.
$100-200 range: Premium materials and construction for serious walkers (4+ days per week). Look for reinforced stress points and quality weight retention.
$200+ range: Specialized features like hydration compatibility—usually unnecessary for walking applications.
Warranty Verification Checklist
Quality manufacturers provide:
- Minimum 2-year warranty covering materials and construction
- 30-day fit guarantee for online purchases
- Clear weight retention warranty terms
- Responsive customer service for sizing questions
Red flag: Brands with vague warranty language or no fit guarantee often produce poor-quality vests.
Final Weighted Vest Selection Checklist
Before purchasing, confirm these critical elements:
- [ ] Weight range matches 4-10% of your body weight
- [ ] Adjustable system allows 1-2 pound increments
- [ ] Snug fit verified through movement tests
- [ ] Quality construction confirmed through stitching inspection
- [ ] 360-degree reflectivity for safety
- [ ] Emergency removal system tested
- [ ] Warranty covers at least 2 years
Your perfect weighted vest transforms ordinary walks into powerful strength-building sessions that build bone density, torch calories, and improve posture—all while enjoying your daily stroll. Use these guidelines to select a vest that supports your walking journey for years to come, not one that gathers dust after three painful walks.


