
Nothing ruins a workout faster than the sudden snap of a resistance band hitting your face or body. This common yet preventable mishap not only interrupts your training flow but poses serious injury risks to your eyes, skin, and muscles. Understanding how to prevent resistance bands from snapping is crucial for anyone incorporating these versatile tools into their fitness routine. Whether you’re rehabbing an injury, building strength at home, or adding variety to gym sessions, properly maintained bands should last months without incident. This guide reveals the exact inspection protocols, storage methods, and usage techniques that keep your resistance bands intact workout after workout.
Perform Thorough Pre-Workout Band Inspections

Skipping band inspections is the fastest path to snapped-band injuries. Before every single use, dedicate 30 seconds to examining your bands under good lighting while running your fingers along their entire length. This simple ritual catches micro-tears and weak spots before they become dangerous failures during exercise.
Check for Visible Surface Damage
Look closely for nicks, cuts, or abrasions along the band’s surface—these often start small but rapidly expand under tension. Pay special attention to sections that regularly contact anchor points, door frames, or the floor during exercises, as these high-friction zones show wear first. Any area appearing translucent or noticeably thinner than surrounding material indicates critical weakening that requires immediate retirement.
Identify Tactile Warning Signs
Pinch the band between your fingers and slowly slide your grip along its entire length. You should feel consistent thickness and elasticity throughout. Be alert for:
– Hard or crunchy spots that indicate material degradation
– Unusually soft sections that suggest internal damage
– Surface roughness where smooth texture should exist
If any section feels different from the rest, retire the band immediately. The $10 replacement cost pales in comparison to potential medical bills from snapped-band injuries.
Store Bands in Climate-Controlled Conditions
Improper storage silently destroys band integrity over time. Latex and rubber compounds degrade rapidly when exposed to environmental stressors, making storage location and method critical factors in preventing unexpected snapping.
Avoid Temperature Extremes and UV Exposure
Never leave bands in vehicles, garages, or sheds where temperatures fluctuate wildly between freezing nights and scorching days. Extreme heat accelerates rubber degradation while cold temperatures make materials brittle. UV radiation from sunlight breaks down elastic polymers—store bands in dark drawers, closets, or opaque gym bags away from windows. Even fluorescent lighting emits enough UV to damage bands over time.
Maintain Proper Storage Position
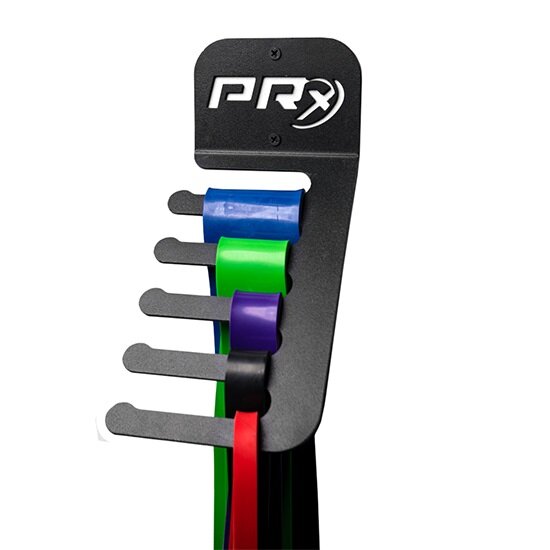
Never store bands under tension—this continuous stress fatigues elastic compounds. Instead:
– Loosely coil latex bands without tight bends
– Store fabric bands flat or loosely folded
– Hang on dedicated band racks or hooks
– Keep away from ozone-producing equipment like motors
For frequently used bands, consider applying a light dusting of talcum powder to prevent sticking, but wipe off excess before use to maintain grip.
Anchor Bands Using Proper Attachment Methods
Many snapping incidents occur not from band failure but improper anchoring that creates dangerous stress concentrations. Using correct attachment techniques distributes force evenly across the band’s structure.
Use Door Anchors Instead of Direct Loops
Never simply loop bands over door edges or doorknobs—these create extreme pressure points that guarantee snapping. Instead, use purpose-made door anchor straps that:
– Spread force across the entire door edge
– Protect both band and doorframe from damage
– Maintain consistent tension during pulls
Ensure the door closes securely on the anchor strap and test connections with light tension before loading fully.
Secure Floor Anchors Against Movement
When anchoring bands under furniture or using ground stakes:
– Choose immovable objects (minimum 50 lbs)
– Double-check stability before applying tension
– Avoid sharp edges that could cut bands
– Position anchor points to prevent twisting
Any movement during exercise creates dangerous load spikes that exceed the band’s capacity.
Respect Maximum Elongation Limits During Use
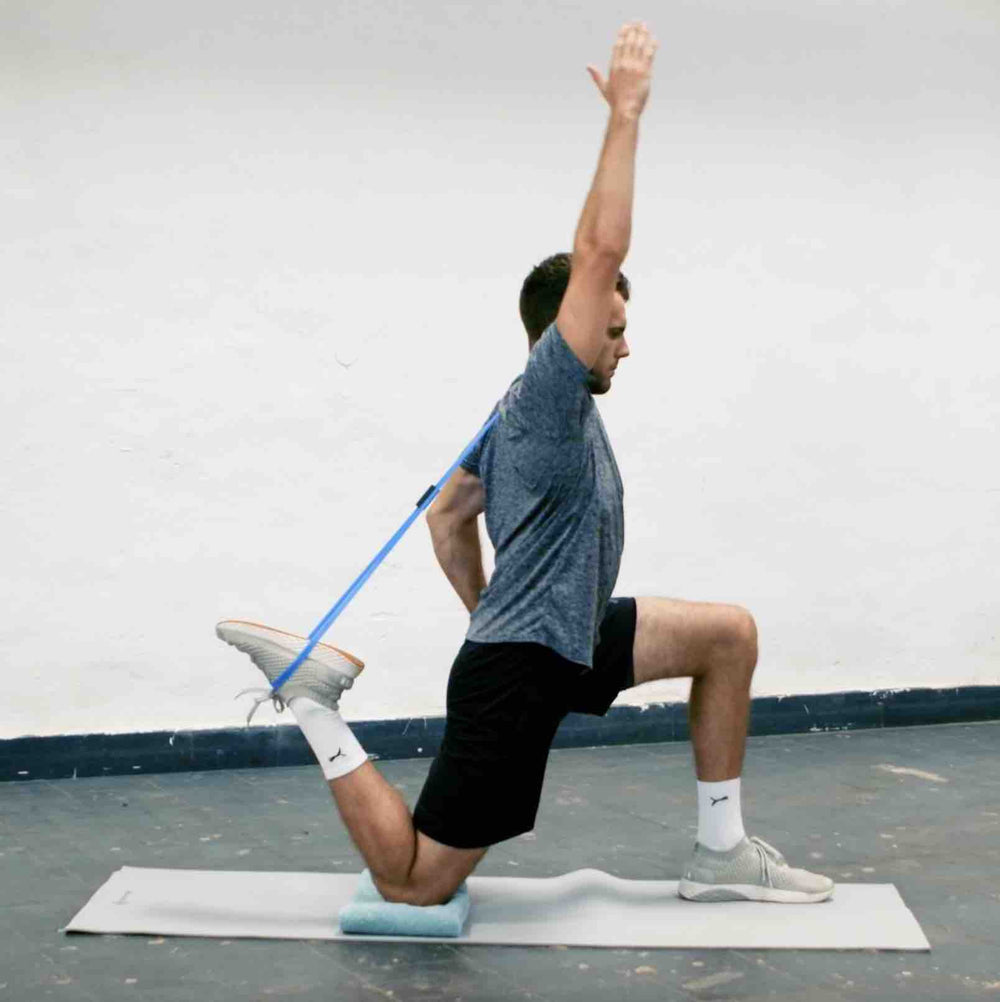
Overstretching represents the most common preventable cause of band snapping. Each resistance level has specific elongation limits that, when exceeded, exponentially increase failure risk.
Follow Manufacturer Stretch Guidelines
Most quality bands specify maximum elongation percentages—typically 200-300% of resting length. As a universal rule:
– Light resistance: Max 2x resting length
– Medium resistance: Max 2.5x resting length
– Heavy resistance: Max 3x resting length
Stretching beyond these limits creates dangerous stress concentrations that lead to snapping. If you regularly need to overstretch to achieve sufficient resistance, upgrade to a heavier band rather than risking failure.
Select Appropriate Resistance Levels
Using bands too light for your strength forces dangerous overstretching. When choosing bands:
– Test resistance at mid-range of motion (not full extension)
– Ensure you can complete 8-12 reps with proper form
– Avoid bands that feel “loose” at your normal working length
Progress by adding resistance levels rather than maxing out lighter bands.
Clean and Protect Bands from Contaminants

Sweat, oils, and environmental contaminants silently degrade band materials, creating hidden weak points that lead to unexpected snapping during high-tension exercises.
Implement Post-Workout Cleaning Routine
Wipe bands with a damp cloth after each use to remove:
– Sweat salts that accelerate rubber degradation
– Skin oils that break down elastic compounds
– Dirt particles that create abrasion points
For deeper cleaning, use mild soap solution sparingly—never harsh chemicals or alcohol-based cleaners that damage surface integrity. Always air-dry completely before storing to prevent mold growth.
Prevent Chemical Damage During Storage
Keep bands away from:
– Ozone-producing equipment (motors, generators)
– Solvents and cleaning chemicals
– Sunscreen and lotions that transfer during use
– Chlorinated environments near pools
These substances interact with rubber compounds, causing surface cracking that compromises structural integrity.
Recognize and Act on Early Warning Signs
All bands eventually reach end-of-life, but recognizing deterioration stages prevents snapped-band injuries. Don’t wait for near-misses—replace bands at the first warning signs.
Visible Degradation Indicators
Retire bands immediately when you notice:
– Deep cuts or punctures (not just surface scratches)
– Yellowing or significant fading from original color
– Hard spots that no longer stretch elastically
– Sections that appear translucent or paper-thin
Latex bands typically last 3-6 months with regular use—don’t push beyond this timeframe without thorough inspection.
Performance Warning Signals
Replace bands when you experience:
– “Loose” feeling at normal working lengths
– Uneven resistance through range of motion
– Sudden loss of tension during exercises
– Any snapping incident (even if band remains intact)
These performance changes indicate internal damage that makes complete failure imminent.
Choose High-Quality Bands Designed for Durability
Investing in quality bands from reputable manufacturers dramatically reduces snapping incidents. Premium construction uses superior materials and manufacturing processes that withstand repeated stress.
Select Appropriate Band Construction
For most users, natural latex bands in the 41-50mm width range offer optimal durability. Avoid ultra-thin bands (under 30mm) that snap easily. Fabric-wrapped bands provide enhanced tear resistance but require checking stitching integrity. Examine potential purchases for:
– Consistent color and texture throughout
– Uniform thickness with no thin spots
– Smooth surface without air bubbles
– Clear resistance level markings
Reputable brands provide elongation ratings and weight limits—generic products often lack these critical specifications.
Final Prevention Checklist: Inspect bands before each use for cuts and thinning; store in cool, dark places away from tension; use proper door anchors instead of direct loops; never stretch beyond 3x resting length; clean after each workout; replace at first signs of yellowing or performance changes; invest in quality bands with clear specifications.
By implementing these precise prevention strategies, you’ll transform resistance band snapping from a constant worry into a rare occurrence. The minor time investment in proper inspection, storage, and usage pays massive dividends in uninterrupted workouts and injury prevention. Remember that no band lasts forever—when in doubt about a band’s integrity, replace it. Your safety and training consistency depend on this simple discipline. With these practices, your resistance bands will deliver reliable performance for months of effective strength training.


