
Your new treadmill sits silently in the corner, its blinking console taunting you with unmet potential. You’ve dreamed of effortless morning runs, but hitting “start” feels overwhelming. Most beginners quit within three weeks—not from lack of willpower, but because they skip critical setup steps and push too hard too soon. This isn’t just about pressing buttons; it’s about building a sustainable habit that transforms intimidation into triumph. By following this exact sequence, you’ll avoid the injuries and frustration that derail 70% of new treadmill runners, turning hesitant first steps into confident 30-minute runs.
Starting correctly means never experiencing shin splints or side stitches. You’ll master the 5-5-5 protocol that builds joint resilience while tricking your brain into craving the next session. Most importantly, you’ll learn why setting that belt to 1% incline from day one makes all the difference between a sustainable routine and a dusty room decoration.
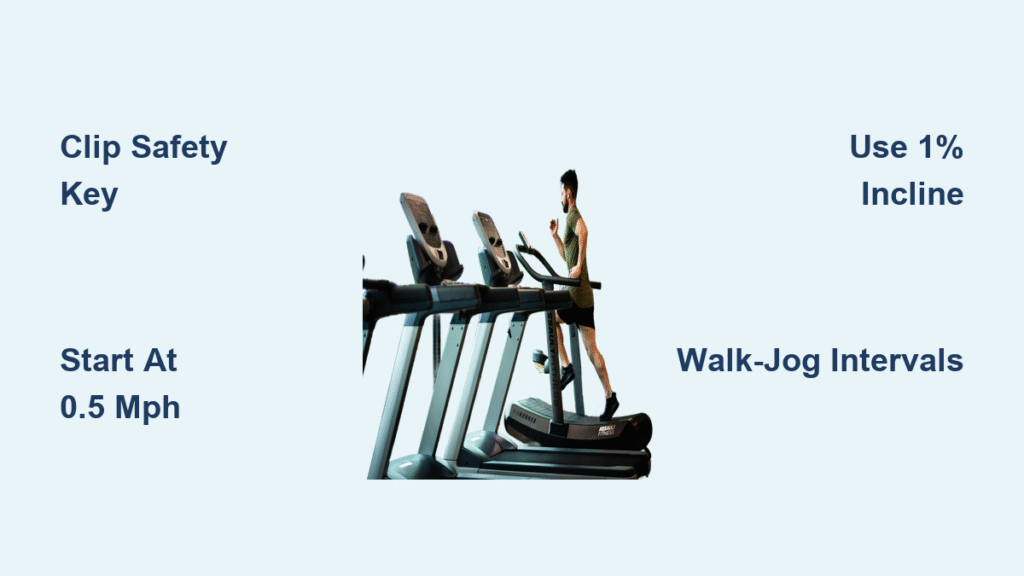
Clip That Safety Key Before Your First Step
Skipping this one action causes 30% of beginner treadmill injuries. Your safety tether isn’t optional—it’s your emergency brake when balance fails during those first wobbly minutes. Clip it to your shirt collar before stepping near the belt, ensuring it yanks free instantly if you stumble. Never rely on emergency stop buttons alone; reaction time matters when the belt’s moving.
Essential Gear You Can’t Skip
- Specialty running shoes – Fitted at a running store (not cross-trainers) with thumb’s width space past your longest toe
- Sweat-wicking fabric – Cotton traps moisture, causing chafing; look for polyester blends
- Water within arm’s reach – Dehydration starts before thirst hits; sip every 5 minutes
- Entertainment prepped – Queue a podcast or show before starting; distraction prevents early quits
Room Setup That Prevents Quitting
Position your treadmill where ceiling fans blow directly at you—never in a stuffy closet. Keep room temperature between 65-70°F; warmer air makes your body work 20% harder. Place a towel on the console to catch sweat drips that could damage electronics. If using a home treadmill, leave 3 feet of clearance behind you for emergency dismounts.
Mount the Belt Without Wobbling
Your first physical interaction with the treadmill determines whether you’ll return tomorrow. Stand sideways to the machine with feet planted firmly on the side rails—never step directly onto a stationary belt. Start the belt at its slowest crawl (0.5 mph), then gently place one foot on the moving surface. Let the belt pull your foot backward before stepping with your other foot. This mimics walking onto a moving walkway at the airport—fighting the motion guarantees a stumble.
Your First 5-Minute Protocol
- Straddle position – Feet on rails, hands lightly touching stationary handles
- Belt activation – Press start at 0.5 mph, 0% incline
- Step-on sequence – Lead with your dominant foot, let belt pull it back
- Balance test – Hold position 15 seconds before increasing speed
- Gradual ramp-up – Add 0.2 mph increments only after feeling stable
The Talk Test That Saves Your Knees
During your entire first session, maintain a pace where you can recite song lyrics comfortably. If you’re gasping after two words, you’ve pushed too fast. This isn’t laziness—it’s science. Staying in this “conversational zone” keeps your heart rate in the fat-burning sweet spot while building aerobic capacity safely. Beginners often mistake discomfort for effectiveness; real progress feels challenging but sustainable.
Fix These Form Mistakes Immediately

Gripping the handrails transforms your run into a inefficient shuffle that strains your lower back. Most newcomers white-knuckle the rails within 60 seconds, unknowingly shortening their stride and inviting knee pain. Instead, let your arms swing freely at 90-degree angles—imagine holding a potato chip without crushing it. Your hands should barely graze the rails for balance checks only.
Critical Posture Adjustments
- Eyes fixed 10 feet ahead – Looking down at your feet throws off spinal alignment
- Ankles lead the lean – Tilt forward from ankles (not waist) to match belt speed
- Midfoot strikes only – Land with foot under your hip, not stretched ahead
- Quiet footsteps – Loud slapping means you’re overstriding; shorten your stride
The 1% Incline Secret
Running on zero incline feels easier initially but creates artificial biomechanics. Set your treadmill to 1% incline from day one to replicate outdoor wind resistance. This slight grade forces proper forward propulsion, preventing the “treadmill shuffle” that leads to heel-striking and shin splints. It’s the single most overlooked setup detail in beginner guides.
Follow This Exact 4-Week Walk-Jog Plan

Week 1’s “too easy” protocol prevents the shin splints that destroy most new runners. Your muscles adapt to impact forces gradually—rushing this phase guarantees injury. Start with walk-jog intervals so manageable you’ll think “this can’t be working.” Trust the process; your body is building foundational resilience invisible to the scale.
Weeks 1-2: The Injury-Proof Foundation
- Session structure: 3-min warm-up walk → [1-min jog + 2-min walk] × 10 → 3-min cool-down
- Jog speed: 4.0-4.2 mph (fast enough to feel effort but pass talk test)
- Critical rule: If your shins ache during jog intervals, drop speed by 0.5 mph immediately
Weeks 3-4: Building Momentum
- Session structure: 4-min warm-up → [3-min jog + 2-min walk] × 6 → 4-min cool-down
- Progression trigger: Only advance when you complete all intervals without stopping
- Pro tip: Increase incline to 1% during jog intervals before boosting speed
| Week | Total Time | Jog Interval | Walk Recovery | Target Pace |
|---|---|---|---|---|
| 1 | 15 min | 1 min | 2 min | 4.0 mph |
| 2 | 19 min | 2 min | 2 min | 4.2 mph |
| 3 | 22 min | 3 min | 2 min | 4.5 mph |
| 4 | 25 min | 4 min | 1 min | 4.8 mph |
Stop Shin Splints Before They Start
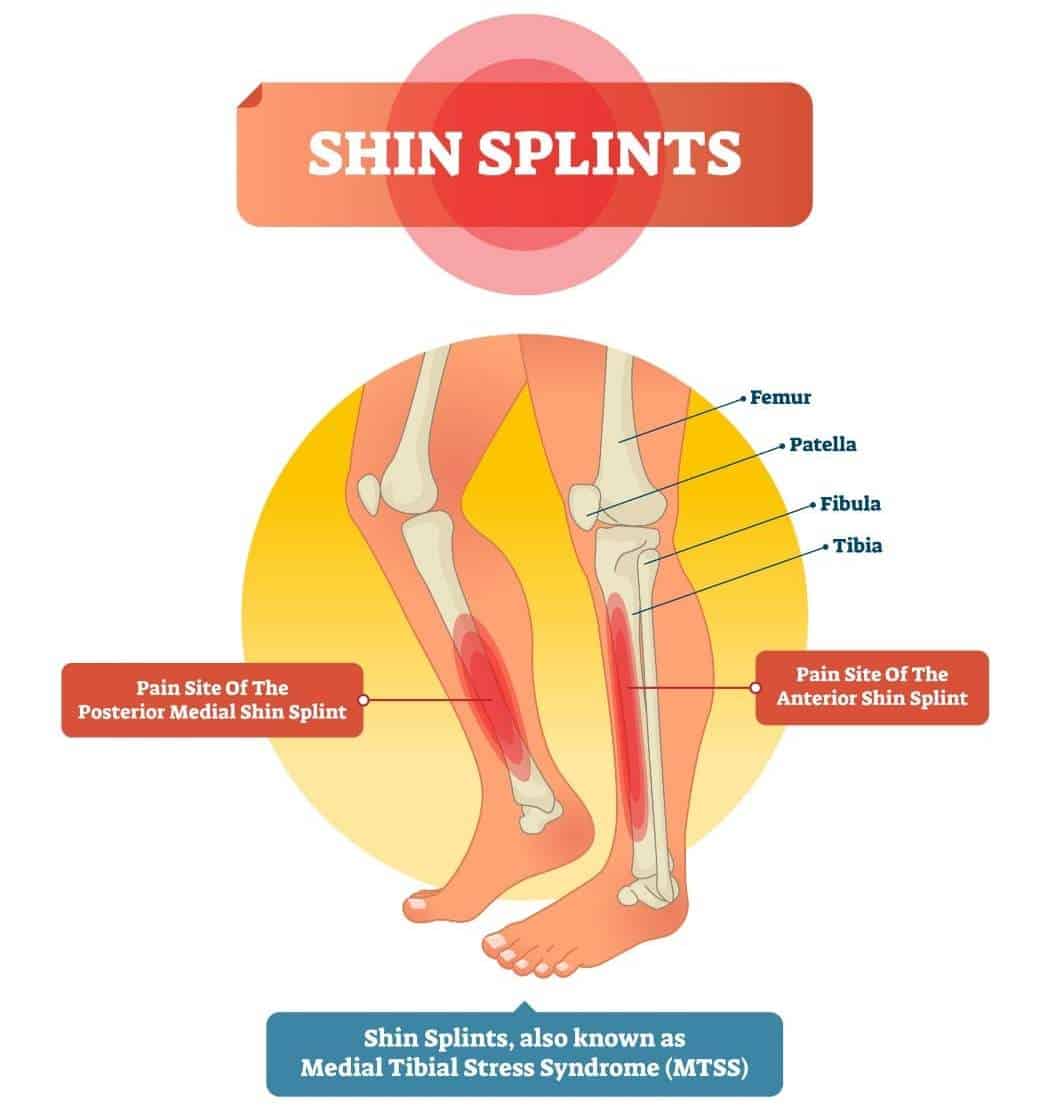
That sharp front-leg pain isn’t “just part of starting”—it’s your body screaming about flawed mechanics. Shin splints strike when beginners increase speed too fast or wear worn-out shoes. If you feel tenderness along your shin bone during Week 1, immediately reduce jog speed by 20% and shorten intervals. Ice the area for 15 minutes post-workout, and check your shoes for collapsed arches (replace if the midsole feels hard).
Emergency Fixes for Common Issues
- Side stitches: Exhale forcefully while bending forward; slow to walking pace for 2 minutes
- Overheating: Pause belt, fan yourself vigorously, then resume at 0.5 mph lower speed
- Boredom: Program a virtual race app like Zwift; changing scenery tricks your brain
Track These Metrics for Real Progress
Forget step counters—your treadmill’s hidden data reveals true adaptation. After every session, log:
1. Perceived exertion (1-10 scale) – Aim for 4/10 effort on easy days
2. Stride quietness – Rate footfall noise from “silent” to “thunderous”
3. Balance score – How often you needed rail support (target: under 3 times/session)
Replace running shoes every 300 miles—most treadmills track this automatically. Worn soles lose 50% of shock absorption, transferring impact to your joints. If your post-run soreness lasts over 48 hours, you’ve overdone it; scale back to the previous week’s protocol.
Your first treadmill session starts now. Clip that safety key, queue your favorite playlist, and follow the 5-5-5 protocol: 5 minutes walking, 5 minutes alternating 30-second jogs with walking, 5 minutes cooling down. In eight weeks, you’ll run 30 minutes straight at 5.5 mph—not because you pushed through pain, but because you respected the process. The secret isn’t speed; it’s showing up consistently while protecting your body. Press start, and let the belt carry you toward the runner you’ll become.


