
Rolling up your yoga mat only to watch it unravel before you reach your car is frustratingly familiar to every yogi. Knowing exactly how to tie a yoga mat strap properly transforms this daily annoyance into a seamless part of your practice routine. Whether you’re carrying your mat through city streets or storing it between sessions, the right strapping technique keeps your mat compact, clean, and ready for your next flow. This guide covers every practical method—from simple rope ties to specialized strap systems—so you can secure your mat confidently regardless of thickness, strap type, or location.
Most yogis waste unnecessary time wrestling with loose mats because they’ve never learned proper strapping fundamentals. After years of dropped mats in parking lots and tangled straps on crowded trains, I discovered that mastering just one reliable tying method saves 3-5 minutes per session. You’ll learn techniques that work whether you’re using factory-installed straps, aftermarket accessories, or even household items when you’ve forgotten your dedicated strap. By the end of this guide, securing your mat will become an automatic part of your practice rather than a post-class chore.
Select the Right Strap for Your Yoga Mat
Your mat’s thickness and your carrying habits determine which strap system works best. Understanding these three categories prevents frustration before you even begin tying.
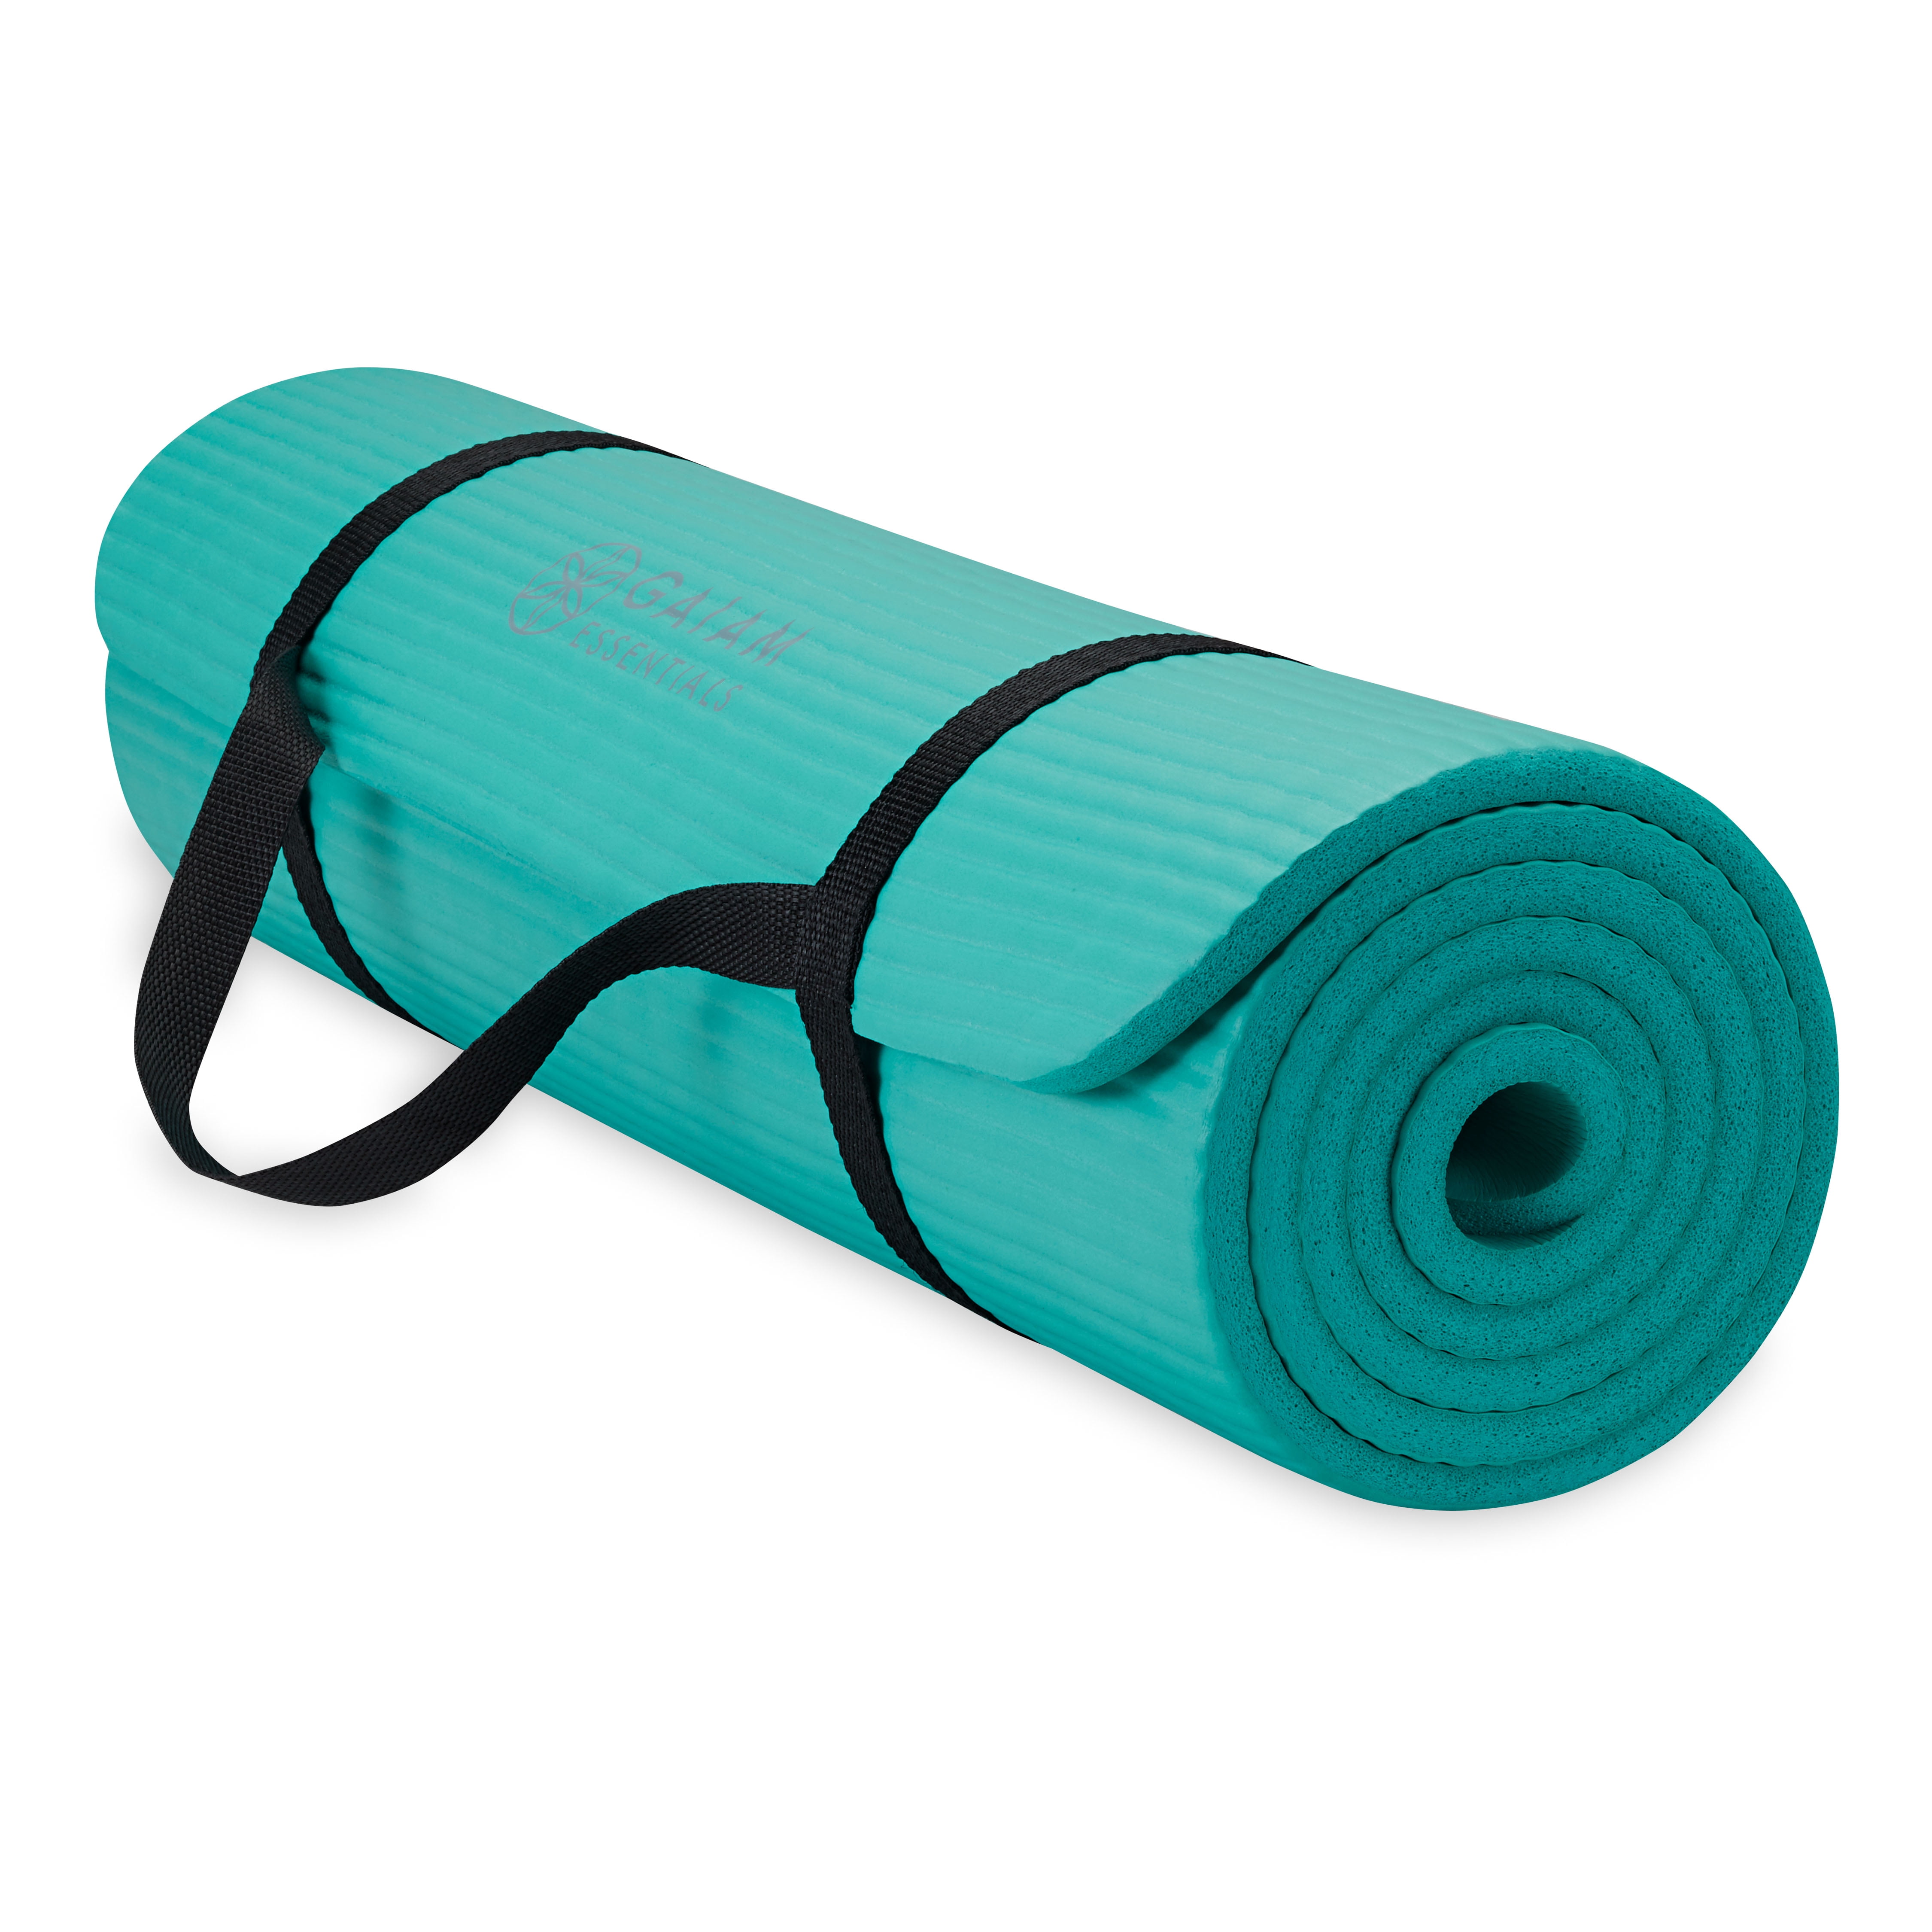
Built-in straps attach directly to premium yoga mats, usually with reinforced loops at one or both ends. These eliminate the risk of forgetting your strap but add slight bulk when stored. The most effective built-in straps feature elastic loops that stretch over your rolled mat and lock in place with minimal effort—simply roll your mat tightly, stretch the loop over the center, and release. While convenient, built-in straps work poorly with thicker mats over 6mm and can’t be replaced if damaged.
Separate carry straps offer maximum flexibility for any mat. Cinch straps with sliding buckles handle thick rolls effortlessly, while padded shoulder straps make long walks comfortable. When shopping, prioritize straps with 36-42 inches of length to accommodate extra-thick travel mats. Check that buckle mechanisms click securely—flimsy plastic buckles often fail after just a few uses. Many yogis keep two separate straps: a compact cinch strap for studio visits and a padded shoulder strap for longer commutes.
DIY alternatives solve emergencies when you’ve forgotten your strap. A folded yoga towel works surprisingly well as an impromptu strap—its textured surface grips mat material better than smooth fabrics. Resistance bands provide natural tension that holds tight without slipping, while cotton rope from your garage creates a secure hold with basic knotting skills. These alternatives aren’t ideal for daily use but prevent mat disasters when you’re caught unprepared.
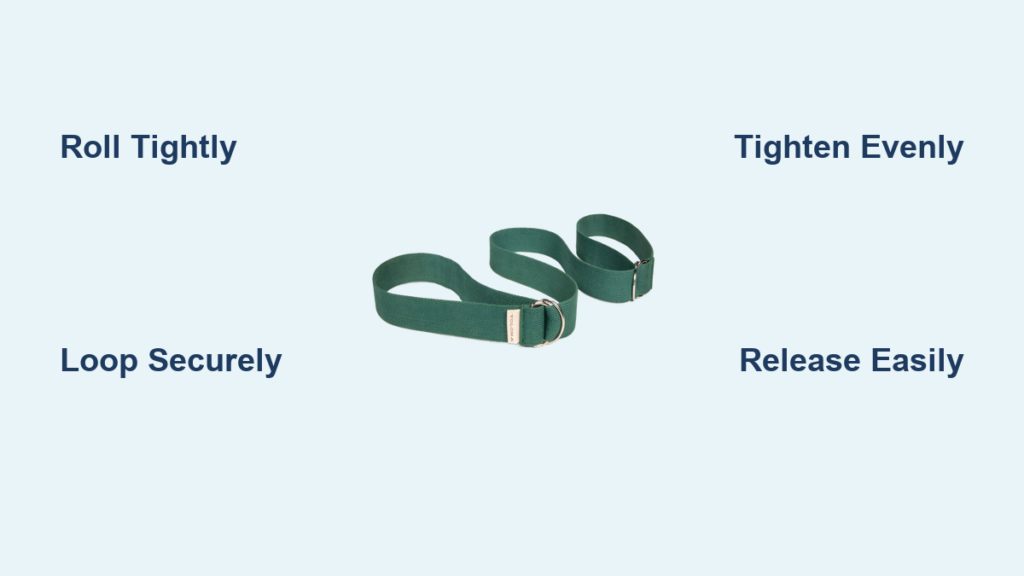
Master the Simple Loop Method in 30 Seconds
Yoga mats with reinforced edges or grommets allow you to use the mat itself as your strap—a lifesaver when you’ve forgotten accessories.
Roll your mat tightly from the bottom edge toward you, using your palms to compress air pockets as you go. When you reach the top, position your knee against the roll to maintain tension. Grab approximately 15 inches of excess mat material and wrap it twice around the center of your rolled mat. Create a loop by folding the tail over itself, then thread the end through this loop and pull firmly. The final step—tucking the tail back through the newly formed loop—creates a secure slipknot that won’t loosen during transport.
This technique works best with mats that have 1-2 inches of extra material beyond the standard 72-inch length. For thinner mats under 4mm, roll slightly looser initially, then tighten as you apply the loop. Practice this method five times at home and you’ll consistently secure your mat in under half a minute—faster than most dedicated strap systems.
Secure Thick Mats with the Cinch Strap Technique
Standard straps often fail with extra-thick mats because they can’t maintain consistent tension across bulky rolls.
Roll your mat as tightly as possible, using your body weight to compress air pockets from the center outward. Position the cinch strap around the thickest part of your roll, ensuring the buckle sits on top rather than underneath where it might dig into the mat. Thread the strap through the buckle mechanism and pull in three short tugs—this distributes tension evenly instead of creating one overstressed point. Lock the buckle by pressing the release tab while pulling the strap outward until you hear a distinct click.
Pro tip: For mats over 6mm thick, place a second cinch strap one-third of the way from each end. This triple-strap system prevents the characteristic “bulging” that causes single-strapped thick mats to unravel. If you’re using your strap daily, choose one with a rubberized interior lining—this grips mat surfaces better than smooth nylon and prevents slippage during transport.
Perfect the Buckle Strap Method for Long-Distance Carrying
Padded buckle straps make extended commutes comfortable but require precise adjustment to prevent shoulder strain.
Begin by rolling your mat with consistent pressure from heel to crown—uneven rolls create weak points where straps slip. Position the buckle strap horizontally across your mat’s center with the buckle facing outward. Thread one end through the buckle mechanism and pull until the strap lies flat against the mat surface. Adjust the length so you can fit two fingers between the strap and your shoulder when carrying. Most padded straps feature dual adjustment points; tighten both equally to maintain strap alignment.
Critical mistake to avoid: Over-tightening the strap compresses your mat excessively, causing permanent creases that interfere with your practice. Your strap should hold the mat securely without squeezing out all the air—the roll should still have slight give when pressed. If the strap digs into your shoulder within five minutes of carrying, you’ve tightened it too much.
Tie a Simple Rope Strap with the Double-Loop Knot
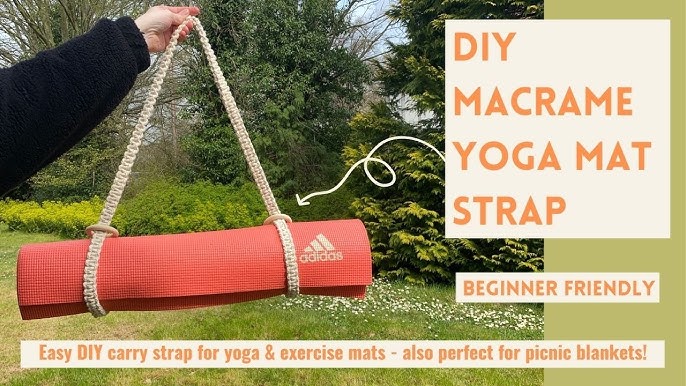
Basic rope straps require specific technique to prevent slippage during transport.
After rolling your mat, hold the rope against the center with your non-dominant hand. Wrap the rope completely around the mat twice, maintaining even tension with each revolution. Cross the working end over the standing part to form a loop, then thread it through the bottom of this loop as if tying a shoelace. Pull firmly to tighten, then repeat the exact same process for a second locking loop. The final step—threading the tail through the top of the newly formed knot—creates a secure hold that releases cleanly with one pull.
This double-loop technique works with any rope-like material from skipping ropes to cotton cord. For slippery synthetic straps, add a half-hitch by wrapping the tail once more around the standing part before the final tuck. Always leave at least 3 inches of tail—you’ll need this length to release the knot easily later.
Implement Emergency Release Techniques
Struggling with a stubborn knot after class wastes precious recovery time and creates unnecessary frustration.
For slipknot-style ties, always release by pulling the tail in the opposite direction from your tightening motion. If you pulled the tail toward your body when securing the mat, pull it away from your body to release. This counter-motion engages the knot’s natural release mechanism. For cinch straps, practice the two-finger release: place your index finger on the buckle release tab while using your middle finger to pull the strap outward—this coordinated motion unlocks even the tightest straps.
Pro tip: Apply a tiny dab of beeswax to rope strap knots before tightening. This reduces friction during release without compromising security during transport. Test this technique at home first—too much wax will cause your strap to loosen prematurely.
Extend Your Strap’s Lifespan with Proper Maintenance
Most strap failures happen because users neglect simple care routines that take less than two minutes per week.
Inspect your strap before each use, paying special attention to stress points where the material bends around buckles. Fabric straps develop frayed edges at these points—when you see threads separating, reinforce them with clear nail polish to prevent further unraveling. Clean sweat-soaked straps weekly by wiping with a 50/50 water and white vinegar solution, which neutralizes odors without damaging materials. Never machine-wash straps with metal components—this damages both the hardware and your washing machine.
Store straps loosely coiled rather than tightly wrapped around your mat. Residual moisture trapped between mat and strap creates perfect conditions for mildew, especially in humid climates. If you notice buckle mechanisms sticking, apply a graphite-based lubricant (never oil) to moving parts—this maintains smooth operation without attracting dirt.
Create Effective DIY Strap Alternatives
When caught without your strap, these household items work surprisingly well with proper technique.
A standard yoga towel becomes an instant strap when folded lengthwise into thirds. Roll your mat tightly, position the towel horizontally across the center, and tie the ends with a square knot—this creates more grip than a simple loop because the folded edges catch the mat’s texture. Resistance bands work best when doubled around the mat; their elasticity maintains constant tension as you walk. For rope alternatives, cut a 36-inch length of cotton cord and use the double-loop knot technique described earlier—avoid synthetic cords that stretch or slip.
Critical warning: Never use elastic hair ties or rubber bands as mat straps—they degrade quickly when exposed to sunlight and can leave permanent stains on your mat surface.
Implement These Final Tips for Stress-Free Transport
Mastering how to tie a yoga mat strap properly transforms a potential annoyance into a seamless part of your practice routine.
Always roll your mat away from you rather than toward you—this engages your stronger back muscles and creates a tighter roll with less effort. Practice your chosen technique at home until you can complete it without looking, making mat security automatic rather than a conscious task. For studio regulars, keep a spare strap in your car and another at the studio to eliminate “forgot my strap” days.
The most effective mat security combines proper rolling technique with the right strapping method for your specific mat. When you’ve mastered these techniques, securing your mat becomes as natural as your closing savasana—quick, reliable, and completely stress-free. Your focus stays where it belongs: on your practice rather than your gear.


