
That sickening crunch you hear isn’t just your treadmill hitting the doorframe—it’s your warranty vanishing and your lower back screaming for mercy. Home treadmills weigh 200-400 pounds on average, making them heavier than most refrigerators, with delicate electronics that won’t survive a careless slide down the stairs. Rushing how to transport a treadmill properly risks shattered consoles, fried motors, and spinal injuries that sideline your workouts for months. This guide delivers battle-tested techniques used by fitness equipment movers to safely relocate your machine in under an hour—whether you’re shifting it across the room or across town.
You’ll learn to identify your treadmill’s hidden vulnerabilities, navigate staircases without calling an ambulance, and choose the right vehicle setup to prevent $500+ repair bills. Most importantly, you’ll avoid the #1 mistake DIY movers make: attempting to move alone. Let’s transform your anxiety into action with a step-by-step roadmap.
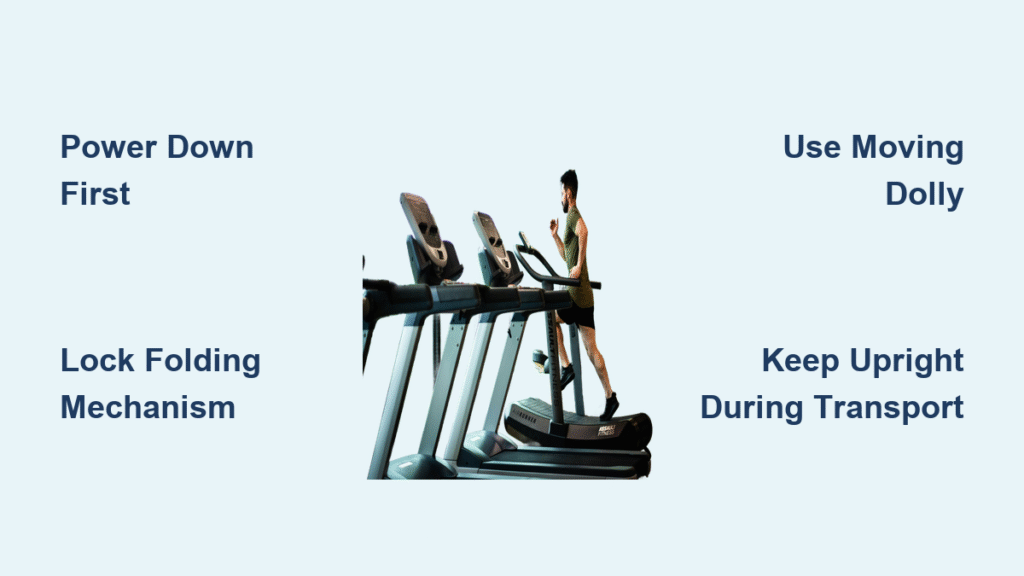
Identify Your Treadmill’s Transport Weaknesses First
Pinpoint Critical Risk Factors Before Lifting
Your treadmill’s weight isn’t the real threat—it’s the hidden pitfalls that cause disasters. Folding models (like NordicTrack or ProForm) seem easy but collapse unexpectedly if the lock isn’t engaged. Fixed commercial units (Sole or Life Fitness) often have transport wheels that fail under 250+ pounds. Manual curved treadmills (Woodway) become immovable boulders requiring professional rigging. Grab your manual immediately to check three make-or-break details:
- Exact weight (manufacturer’s plate near motor housing)
- Folding mechanism type (hydraulic vs. manual lock)
- Console detachment instructions (some require USB cord unplugging first)
Critical mistake to avoid: Assuming transport wheels work for long distances. Those tiny casters only handle 10-15 feet on smooth floors—attempting hallway navigation often snaps wheel brackets. Measure your path now: standard doorways are 30-32 inches wide, but unfolded treadmills reach 35+ inches across. If your hallway has a 90-degree turn, you’ll need disassembly.
Map Your Escape Route Like a Heist Planner
Treadmill transport fails most often at tight corners and stair landings. Grab a tape measure and:
1. Record every doorway width (including trim)
2. Note stair width and handrail obstructions
3. Identify “no-go zones” like crown molding or light fixtures
4. Place painter’s tape on floor/walls marking clearance margins
Pro tip: Wrap stair edges in moving blankets secured with duct tape. This prevents wall gouges when the treadmill base scrapes corners during rotation. For multi-story moves, measure ceiling height in stairwells—some consoles hit overhead lighting.
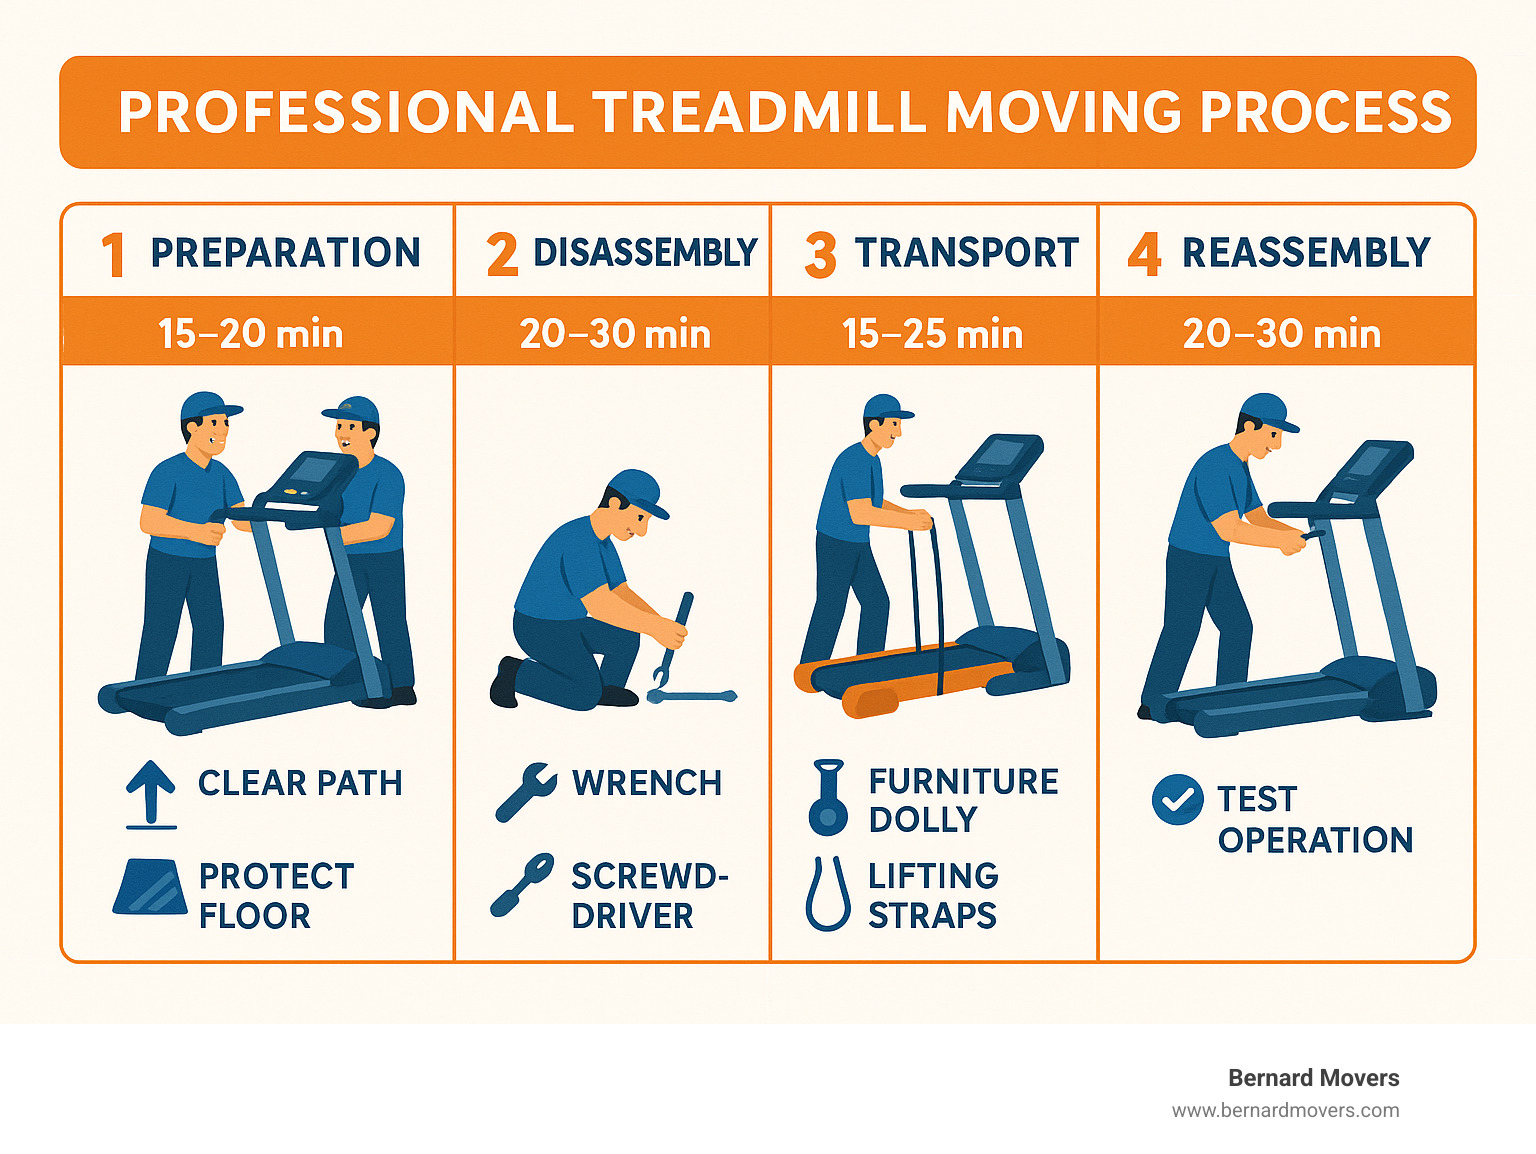
Secure Your Treadmill Like a Moving Pro (Not a Rookie)

Power Down and Disable Critical Systems
Skipping these steps risks electrical fires and component damage:
1. Hold power button 5 seconds until screen fully blacks out (not just standby mode)
2. Unplug from wall outlet—never yank cords from treadmill socket
3. Remove safety key and tape it inside a labeled plastic bag on the handlebars
4. Wrap power cord with velcro straps to prevent tripping during movement
Why this matters: Residual power can activate the belt during transport, shearing motor gears. One frayed wire from careless cord handling voids your entire warranty.
Lock Moving Parts Using Model-Specific Tactics
- For folding treadmills: Lower deck completely, then re-engage the lock before tilting upright. Hydraulic models (like Bowflex) require holding the release lever while folding to avoid spring damage.
- For fixed models: Insert belt locking pins (if provided) or use bungee cords to secure the belt against the deck. Consult your manual—some Precor models need specific motor disengagement.
Wrap these vulnerable zones first:
– Console edges (use bubble wrap, not towels—they slip)
– Handrail joints (most common breakage point)
– Front roller housing (protect from dolly impacts)
Execute Movement Without Injuries or Damage
Navigate Stairs with Military Precision
Going downstairs (highest risk move):
1. Position strongest person at the bottom holding the base
2. Place dolly wheels against stairs for natural braking resistance
3. Have a spotter guide the top end through tight turns
4. Move in 6-inch increments using a “sawing” motion (lift-pivot-lower)
Red flag: If your treadmill weighs over 200 pounds or has a digital console, hire professionals. One wrong shift downstairs can destroy $300+ touchscreens.
Load Vehicles to Prevent Motor Destruction
Horizontal transport ruins 70% of treadmill motors—always keep it upright unless your manual explicitly allows horizontal positioning (rare for home models). Follow this loading sequence:
1. Line vehicle floor/walls with moving blankets
2. Use a loading ramp (never lift manually into trucks)
3. Position treadmill vertically against a vehicle wall
4. Secure with ratchet straps through frame holes (not just handlebars)
5. Double-check straps won’t loosen during bumps
Vehicle reality check:
– SUV/Hatchback: Only for folding models under 180 lbs with console removed
– Enclosed Van: The only safe choice for fixed treadmills over 200 lbs
– Open Trailer: Requires waterproof tarps AND side straps to prevent wind damage
When to Call Professionals (Before It’s Too Late)
DIY Danger Signs That Demand Expert Help
Stop immediately if you see any of these:
– Staircase narrower than 36 inches
– Treadmill weight exceeding 225 pounds
– Doorway clearance under 32 inches
– Hydraulic folding mechanism (complex re-engagement)
– Console valued over $400 (common on Peloton Tread+)
Cost vs. risk analysis: Professional movers charge $100-$400, but a single damaged motor costs $600+ to replace. For high-end models, “white glove” services include reassembly and calibration—worth every penny.
Reassemble and Test Like a Technician
Avoid Post-Move Workout Disasters
Never skip these checks after transport:
1. Inspect belt tension: Run at 1 mph—if it slips or squeaks, adjust rear roller bolts
2. Test safety key insertion: Must click firmly into place (loose connections cause shutdowns)
3. Check LCD alignment: Gaps around screen indicate cracked housing
4. Verify incline function: Listen for grinding in motor housing
Critical step: Wipe all joints with isopropyl alcohol before reassembly. Dust from moving blankets causes friction damage during first use.
Final Safety Protocol You Must Follow
Your non-negotiable checklist:
– ✅ Minimum 2 people (3 for treadmills over 250 lbs)
– ✅ Bend knees—not back—during lifts (keep treadmill within hip height)
– ✅ Take 5-minute breaks every 20 minutes of moving
– ✅ Stop immediately if you feel strain or instability
That $1,500 treadmill represents months of workouts. Rushing how to transport a treadmill risks turning your fitness investment into a $200 paperweight. For complex models or multi-story moves, professional movers specializing in fitness equipment pay for themselves through avoided damage and back injury prevention. If you proceed DIY, remember this: Measure twice, move once. Your spine—and your wallet—will thank you when you’re running smoothly in your new space within 24 hours.
Proven shortcut: Photograph every disassembly step with your phone. This cuts reassembly time by 70% and prevents “which bolt goes where” panic. Store small parts in ziplock bags labeled with painter’s tape—never loose in consoles.


