
You’ve just brought home your new folding exercise bike or pulled it out from storage, ready for a workout—but now you’re staring at this compact, folded machine wondering how to transform it into a fully functional bike. Don’t worry, this exact moment of confusion happens to nearly every first-time folding bike owner. The good news? Unfolding your exercise bike is actually straightforward once you understand your specific model’s mechanism, and this guide gives you the exact steps to get your bike ready for action in minutes, not hours.
Whether you’re dealing with an upright model that folds vertically like a book or a recumbent design that extends lengthwise, the unfolding process follows predictable patterns once you know what to look for. This isn’t just about mechanics—it’s about safety, longevity, and avoiding those frustrating moments when pins won’t engage or the frame wobbles mid-workout. By the time you finish reading, you’ll confidently unfold any exercise bike while preventing common mistakes that damage mechanisms or cause injuries.
Identify Your Bike Type Before Unfolding
Before touching any latches or pins, determine your bike’s folding mechanism type—this prevents using the wrong technique that could damage your equipment. Upright models fold vertically with a central hinge point; look for safety pins on both sides of the frame near the middle. Recumbent bikes often have multiple folding points where the seat assembly separates from the main frame, requiring you to release two or more locks. Compact portable models typically use the simplest mechanism with just one central lock, similar to a folding chair.
Check your bike’s model number—usually found on a sticker near the flywheel or base—to confirm which unfolding process applies. Attempting to unfold a recumbent model like an upright bike can bend pins or crack weld points. If you’re unsure, search “[your brand] + model number + unfolding video” before proceeding—most manufacturers provide model-specific demonstrations that take just 60 seconds to watch but save hours of frustration.
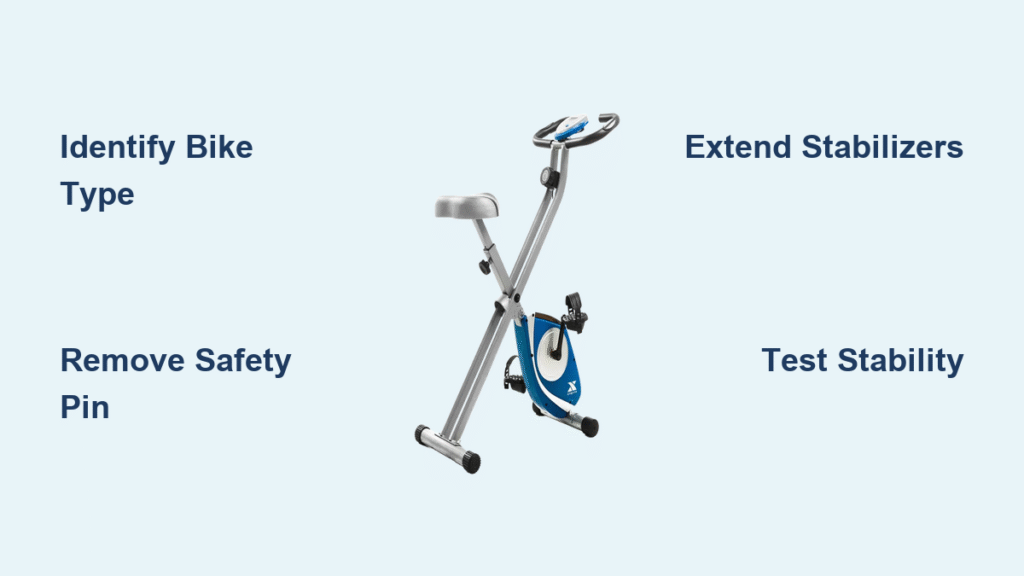
Xterra FB350: Step-by-Step Unfolding Sequence

Position your folded Xterra FB350 on a flat surface with at least 6 feet of clear space in front—this model needs room for the front stabilizer to extend fully. Remove the safety pin by pulling it straight out (don’t twist) from the frame’s hinge point; it’s typically bright red or yellow for visibility. As you pull the pin, grasp the front stabilizer bar firmly and slowly pull forward while supporting the bike’s weight with your other hand—letting it drop can damage the locking mechanism.
You’ll feel resistance as the frame lowers, then a distinct click when the locking pin engages at full extension. Now extend both rear stabilizer legs outward until they snap into place—listen for the secondary click confirming they’re locked. Finally, test stability by gently rocking the bike side-to-side; if it wobbles, one stabilizer leg hasn’t fully engaged. This entire process should take under 90 seconds once you’re familiar with the mechanism.
Exerpeutic Magnetic Upright: Controlled Unfolding Technique
This popular model features a spring-assisted mechanism that makes unfolding easier, but requires careful handling to avoid damage. Roll the folded bike to your workout location using the built-in transport wheels—never drag it. Locate the yellow safety knob near the handlebar stem and press it while simultaneously grasping the handlebar. Maintain pressure on the knob as you allow the frame to lower gradually—never release it suddenly, as this can shear internal locking pins.
You’ll hear a satisfying click when the main locking pin engages at full extension. Now rotate the pedals backward by hand to ensure they’re properly aligned; some users report slight misalignment after folding. Before mounting, gently shake the bike at the seat and handlebars to confirm stability—any wobble means the locking mechanism hasn’t fully engaged. This model’s spring assistance reduces physical strain, but improper technique remains the #1 cause of premature mechanism failure.
Sunny Health SF-B0418: Dual-Action Unfolding Method

Clear 4-5 feet of space around your folded SF-B0418—this model requires more room than others due to its wider extension pattern. Locate the spring-loaded pin on the right side of the main frame (brightly colored with a ring pull). Pull the pin outward and upward while simultaneously lifting the bike frame using the handlebars—this dual-action prevents the bike from unfolding too quickly and damaging the hinge.
Guide the bike upright slowly until you hear and feel the pin snap into the extended position hole—don’t rely solely on sound, as carpet can muffle the click. Once fully upright, attach any accessories like the water bottle holder or tablet tray by sliding them into their designated slots; these must be removed before folding to prevent damage. This model’s mechanism works best when unfolded on hard surfaces—carpet often prevents the rear stabilizers from locking completely.
Critical Safety Checks Before Every Unfolding Session
Inspect the hinge mechanism for visible damage before touching any locks—look for cracks around weld points, bent pins, or missing components. Clear the unfolding area of obstacles like children’s toys, pets, or electrical cords that could interfere with the mechanism. Test all pins for smooth operation by gently tugging them; they should move freely without excessive resistance.
Verify your floor surface can support the bike’s weight—hardwood floors need a rubber mat to prevent slippage during unfolding. Assess if you need help—if your bike weighs over 50 pounds, recruit assistance for the initial unfolding to prevent back strain. NEVER force any mechanism—if you encounter resistance, stop immediately and investigate rather than risking costly damage.
Fix Common Unfolding Problems in Minutes
Stuck safety pin? Apply 2-3 drops of penetrating oil, wait 15 minutes, then try again—never hammer pins loose. Frame won’t extend fully? Check for debris in the hinge mechanism; vacuum or wipe clean with a damp cloth. Pin clicks but feels loose? Your bike might be on uneven ground—adjust stabilizer feet until the frame sits perfectly level.
For grinding sounds during unfolding, stop immediately and inspect for metal-on-metal contact, which often indicates worn bushings. Excessive force required? Lubricate pivot points with silicone spray (never WD-40, which attracts dirt). If your bike won’t stay unfolded, the locking mechanism may be damaged—do not use until repaired, as sudden collapse could cause serious injury.
Preventative Maintenance That Extends Mechanism Life
Wipe down folding components weekly with a dry microfiber cloth to remove sweat and dust that cause corrosion. Apply silicone lubricant monthly to all pivot points and sliding surfaces—use just enough to create a thin film. Check locking pins quarterly for visible wear; if they appear thinner than when new, contact your manufacturer for replacements.
Adjust stabilizer feet annually to compensate for floor irregularities that cause wobbling. Never store your bike folded for more than 30 days without unfolding and relubricating—extended compression damages internal mechanisms. These simple habits prevent 90% of unfolding problems and can double your bike’s functional lifespan.
Space Requirements You Must Know Before Unfolding
Unfolding needs 6×4 feet minimum space, but effective workout space requires 8×6 feet for full range of motion. Ceiling height matters—upright bikes need 8 feet clearance, recumbent models work with 7 feet. Storage shrinks to just 2×2 feet when properly folded.
Position near electrical outlets if your bike has electronic features, but avoid direct sunlight on folding mechanisms—heat expansion affects locking precision. Upper-floor apartment dwellers should verify weight limits; folding bikes concentrate more weight per square foot than treadmills. Measure your space before unfolding to prevent last-minute repositioning that risks injury.
Critical Mistakes That Damage Folding Mechanisms
Forcing stuck mechanisms causes more damage than leaving the bike folded until properly diagnosed. Unfolding on carpet prevents stabilizers from locking completely—a leading cause of mid-workout collapses. Using one hand during unfolding reduces control and often results in dropped frames.
Skipping post-unfolding stability tests puts you at risk of sudden collapse during intense workouts. Ignoring squeaks and grinding noises allows minor issues to become major repairs. Folding with accessories attached damages both the accessories and the folding mechanism. Remember: smooth operation comes from proper technique, not brute force.
When to Call Professionals Instead of DIY
Contact your manufacturer immediately if you notice metal fatigue (small cracks around welds), spring failure (no assistance during unfolding), or hydraulic leaks (oil drips from dampening systems). These issues compromise safety and typically require specialized tools for repair.
Document problems with photos before contacting support—this speeds warranty claims. Never attempt repairs on hydraulic or spring systems yourself; improper handling can cause sudden, violent deployment. Most folding mechanisms are covered under standard 1-3 year warranties, but improper unfolding techniques void coverage.
Your folding exercise bike is now workout-ready in minutes. With these model-specific techniques and regular maintenance, unfolding becomes a seamless part of your routine rather than a frustrating obstacle. Keep your owner’s manual accessible for quick reference, perform the weekly maintenance checklist, and your bike will provide years of reliable service. Remember: the key to longevity isn’t just how often you exercise—it’s how carefully you prepare your equipment before each session.


