
If you spend long hours sitting at a desk, live an active lifestyle, or simply want to improve your flexibility and reduce muscle tension, learning how to use a foam roller for glutes can be a game-changer. This simple yet effective self-massage technique, known as self-myofascial release, can help loosen tight hip muscles, alleviate lower back discomfort, and enhance your overall mobility. Whether you’re an athlete looking to optimize performance or someone seeking relief from everyday stiffness, foam rolling your glutes is an accessible practice you can incorporate into your daily routine.
In this comprehensive guide, you’ll discover everything you need to know about glute foam rolling, from understanding why your glutes need attention in the first place to mastering various techniques that target different areas of your posterior chain. We’ll walk through proper form, explore the best positions for effective rolling, and help you establish a routine that fits your lifestyle. By the end, you’ll have the knowledge and confidence to use a foam roller for glute relief like a professional.
Why Your Glutes Need Foam Rolling Attention
The gluteal muscles—comprising the gluteus maximus, gluteus medius, and gluteus minimus—are the largest and most powerful muscle group in your body. Despite their strength, these muscles frequently become tight, weak, or inhibited due to modern lifestyle factors. Prolonged sitting, which has become the norm for many workers, places the glutes in a shortened position for extended periods, leading to muscle stiffness and decreased blood flow. Over time, this can result in weakened gluteal function, a condition sometimes referred to as “gluteal amnesia,” where the muscles essentially “forget” how to activate properly.
Beyond sedentary lifestyles, athletes and active individuals often develop tight glutes from repetitive movements, intense training, or imbalances in the posterior chain. Runners, cyclists, weightlifters, and anyone who engages in activities that heavily recruit the lower body frequently experience glute tightness that can lead to compensatory movement patterns and increased injury risk. When the glutes are tight or dysfunctional, neighboring muscles like the hamstrings, hip flexors, and lower back must pick up the slack, creating a cascade of potential issues throughout the kinetic chain.
Foam rolling addresses these problems by releasing tension in the fascia—the connective tissue surrounding muscles—and promoting blood flow to the area. When you use a foam roller for glutes, you’re essentially giving yourself a deep tissue massage that helps break up adhesions, reduce muscle knots, and restore optimal tissue quality. This preparation work can enhance the effectiveness of your workouts, speed up recovery between training sessions, and improve your range of motion for daily activities and athletic performance.
Essential Preparations Before You Begin

Before learning how to use a foam roller for glutes effectively, you need to set yourself up for success with the right equipment and environment. Selecting an appropriate foam roller is the first crucial decision, as different densities serve different purposes. Beginners typically benefit from a medium-density roller that offers enough firmness to feel the release without being painfully intense. As you become more accustomed to foam rolling, you might progress to a denser roller for deeper tissue work or one with specialized textures designed to target specific muscle groups.
Your rolling surface matters significantly as well. Ideally, you want a firm, stable surface like a wooden floor or a thick exercise mat that allows the roller to maintain consistent contact with your muscles. Avoid surfaces that are too soft, like a thick carpet or padded floor, as these can reduce the effectiveness of the pressure you’re applying. The room temperature also plays a role—warming up in a warm environment helps muscles relax and respond better to the release work, while cold muscles may be more resistant to the benefits of foam rolling.
Timing your foam rolling sessions appropriately enhances their effectiveness. Many people find that rolling before physical activity serves as an excellent warm-up, preparing the glutes for work by increasing blood flow and improving neural activation. Alternatively, rolling after exercise can help flush metabolic waste from the muscles and accelerate recovery. Some individuals prefer rolling at the end of a long day to relieve accumulated tension from sitting or physical labor. There’s no wrong time to roll, but consistency matters more than timing—establishing a regular practice will yield the best results over time.
Mastering the Basic Seated Glute Roll
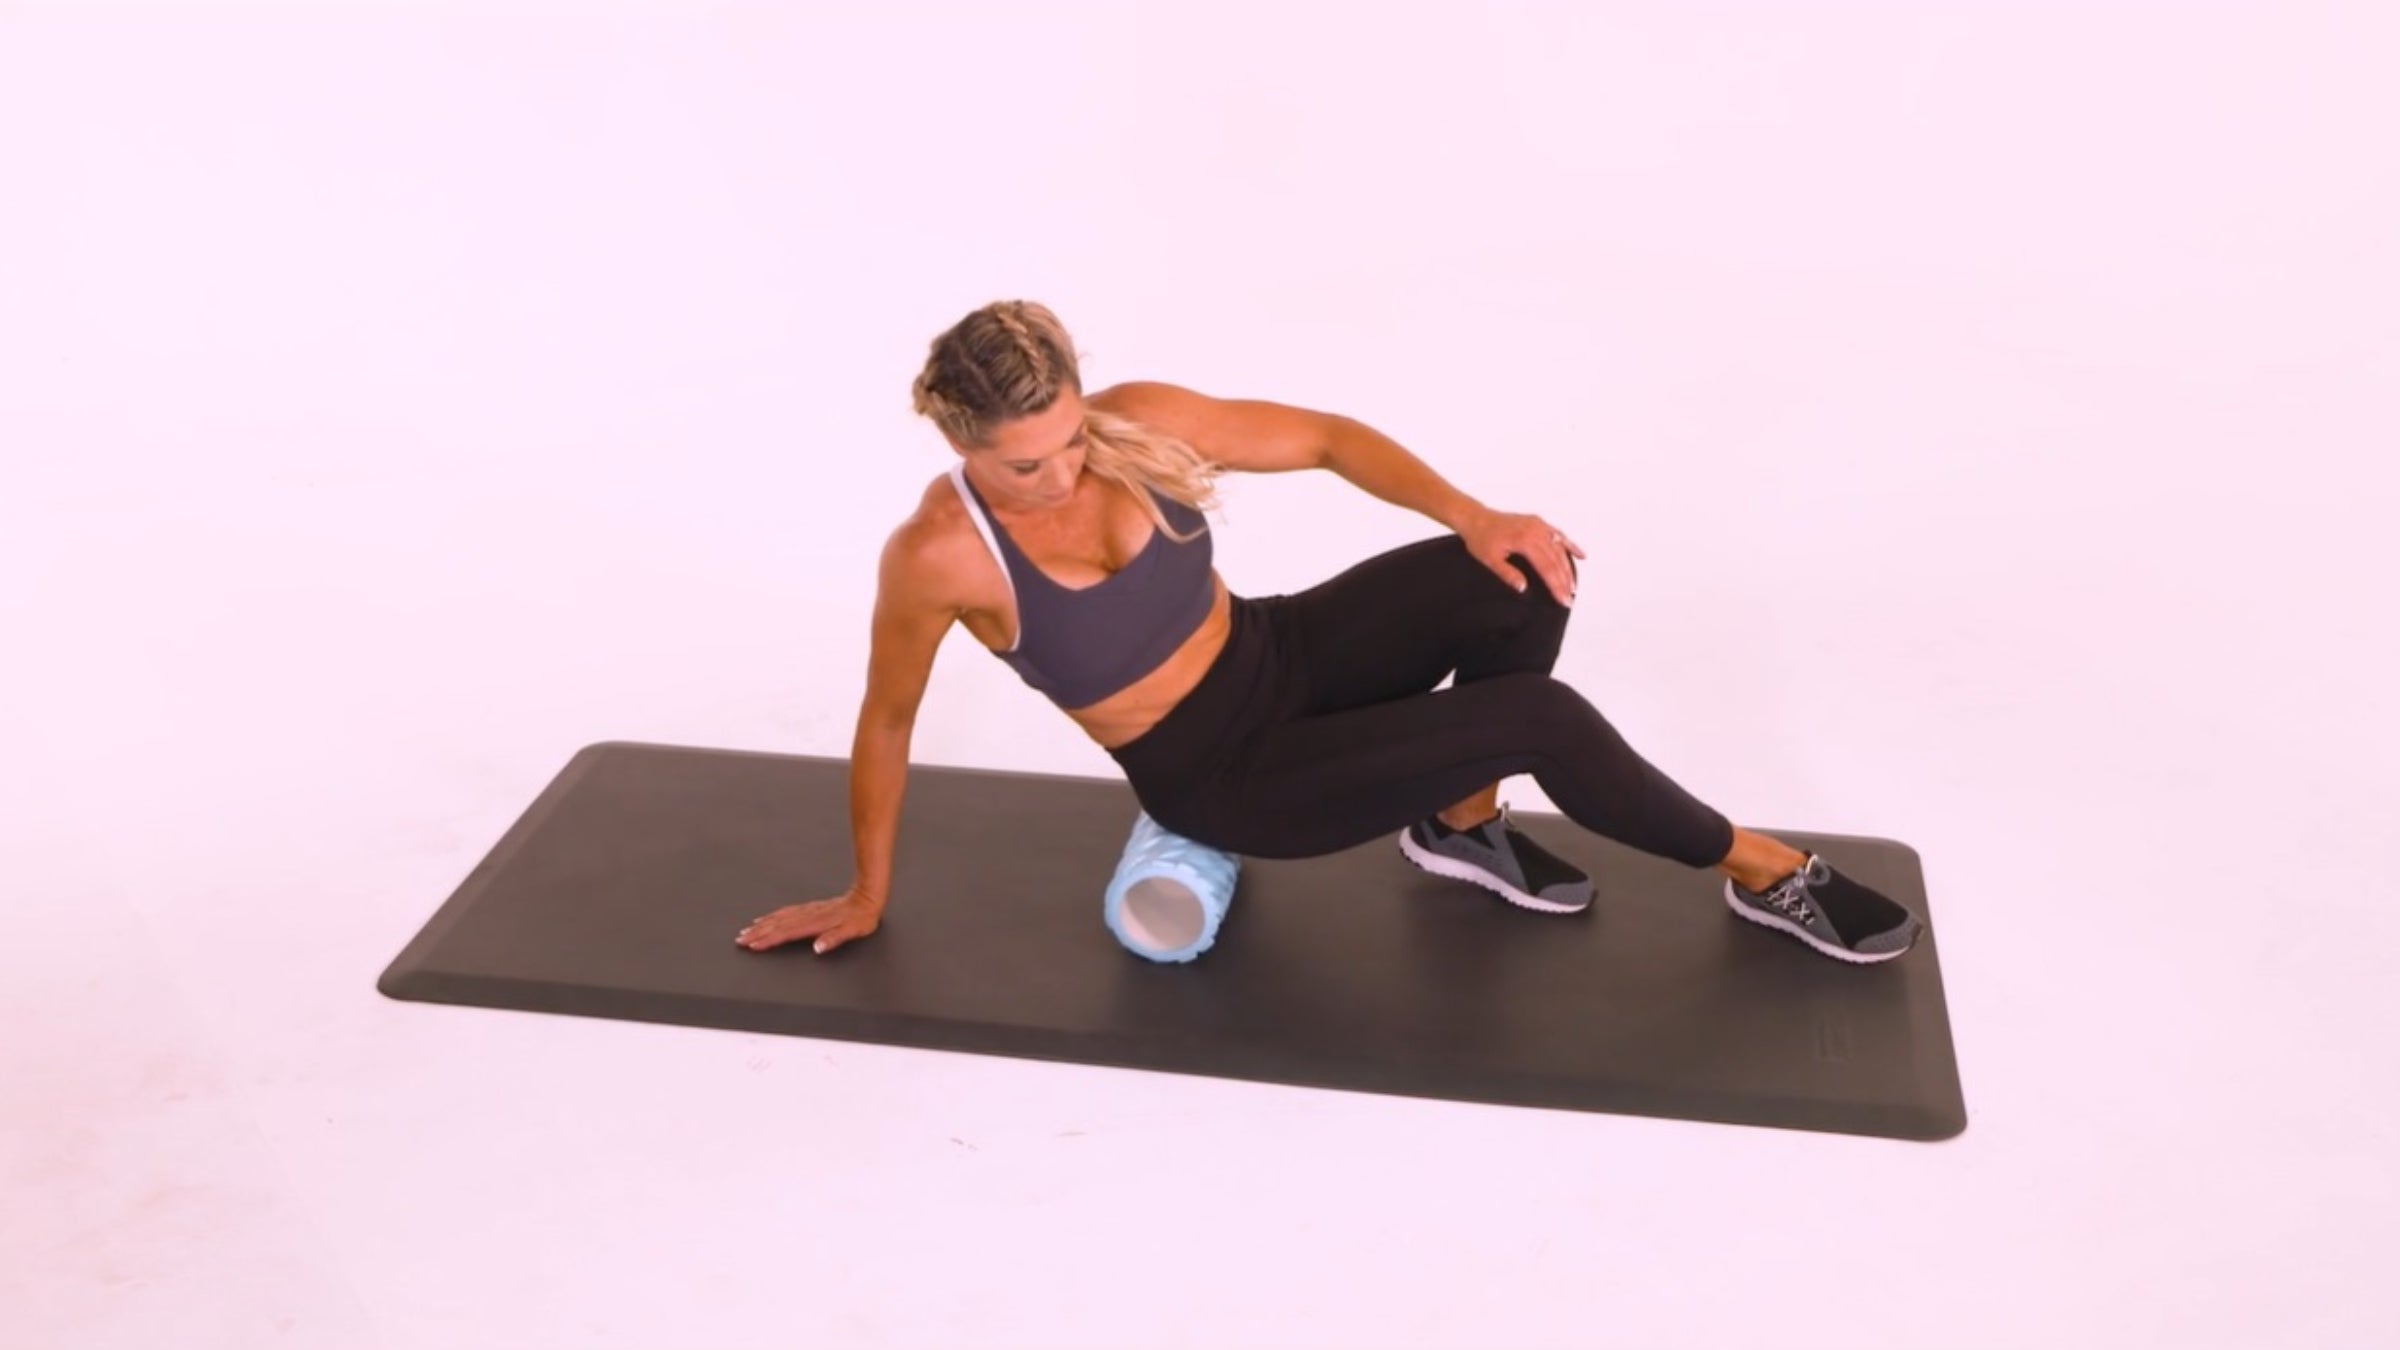
The seated position is the most fundamental and accessible way to use a foam roller for glutes, making it an excellent starting point for beginners. To execute this technique properly, begin by sitting on the foam roller with your legs extended straight out in front of you. Slowly walk your feet toward your body while simultaneously lowering your hips, allowing the roller to shift beneath you until it rests under the meaty part of one glute muscle. Extend the opposite leg out to the side for stability, bending that knee if needed.
Once you’ve found a tender spot—which is completely normal and expected—you’ll want to pause and breathe through the discomfort rather than immediately trying to roll past it. This is where the real work happens: sustained pressure on a trigger point allows the muscle to begin releasing. Maintain that pressure for thirty to ninety seconds, breathing deeply and consciously relaxing the muscles in the area. You may need to adjust your body position slightly to find different angles that target various fibers within the glute complex.
When you’re ready to move on, slowly roll along the length of the glute muscle, working from the top of the hip bone down toward the center of the muscle and back up again. Keep your movements slow and controlled; rapid rolling reduces effectiveness and can actually cause more tissue damage. Work the entire glute region systematically, spending extra time on any particularly tight or tender areas you encounter. Remember to switch sides and repeat the entire process on your other glute, as imbalances between sides are common and worth addressing.
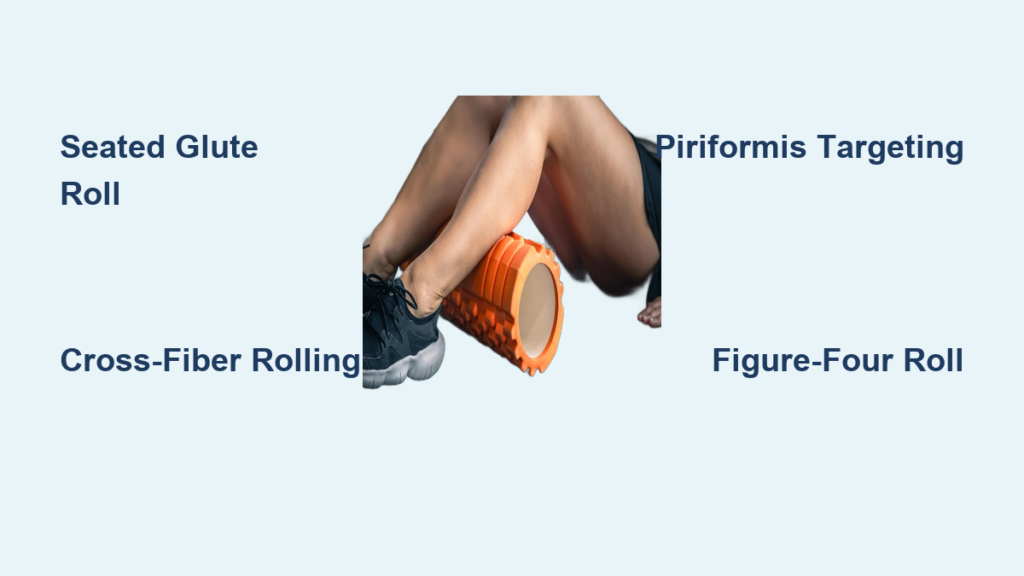
Advanced Techniques: Cross-Fiber Rolling and Piriformis Targeting
Once you’ve mastered the basic seated roll, you can expand your technique repertoire to address specific problem areas within the gluteal region. Cross-fiber rolling involves moving the roller perpendicular to the natural orientation of the muscle fibers, which can help break up more stubborn adhesions and improve tissue mobility. To perform this variation, position the roller under one glute as before, but instead of rolling straight up and down, shift your body to roll from side to side, essentially working across the grain of the muscle fibers.
The piriformis muscle, a small but significant muscle located deep in the gluteal region beneath the gluteus maximus, often contributes to hip tightness and even sciatic nerve irritation when tight or inflamed. Targeting this muscle requires precise positioning: sit on the roller and rotate your body slightly toward the side you’re working, allowing the roller to sink deeper into the tissue near the center of the glute. You may need to experiment with slight shifts in position—tilting forward or back—to locate the piriformis, which typically sits about two-thirds of the way from the hip bone toward the tailbone.
Another advanced technique involves elevating one leg over the foam roller to increase pressure and target deeper gluteal fibers. After positioning the roller under one glute, cross your ankle over the opposite knee, creating a figure-four position. This shift in pelvic alignment increases the roller pressure on the working glute and also provides a gentle stretch for the hip external rotators. The combination of compression and the inherent stretch makes this an exceptionally effective position for releasing both the glute muscles and the surrounding hip rotators simultaneously.
Common Mistakes to Avoid When Foam Rolling Glutes

Understanding how to use a foam roller for glutes means recognizing not just what to do, but also what to avoid. One of the most common mistakes is rolling too quickly through tender areas. The impulse to rush past discomfort is natural, but rapid movement prevents the muscle from releasing and can actually cause tissue damage. Instead, pause on tender spots and allow the pressure to work—eventually, the discomfort should diminish as the muscle relaxes.
Another frequent error is applying pressure directly on bones or joints rather than on the soft tissue of the muscles. The foam roller should contact the fleshy parts of your glutes, not the hip bone, tailbone, or sacrum. Rolling over bony prominences not only causes unnecessary pain but also reduces the effectiveness of the treatment by diverting pressure away from the muscles that need attention. Pay attention to your body positioning and adjust if you feel bone contact rather than muscle compression.
Many people also make the mistake of foam rolling immediately before maximal strength activities. While gentle rolling serves as an excellent warm-up, aggressive deep tissue work right before explosive or heavy lifting can temporarily weaken muscle function and impair performance. Save the intensive glute rolling for post-workout recovery or separate dedicated sessions, using pre-workendurance rolling to prepare the muscles without compromising strength output.
Building an Effective Glute Foam Rolling Routine
Establishing a consistent routine maximizes the benefits of foam rolling for your glutes and overall mobility. A well-designed session typically lasts between five and fifteen minutes total for both sides, with individual trigger points receiving thirty to ninety seconds of sustained pressure. Begin with lighter pressure and gradually increase intensity as your muscles warm up, never forcing through sharp or shooting pain that might indicate nerve involvement rather than simple muscle tension.
Structure your routine to work systematically through the entire gluteal region. Start with the basic seated roll to warm up the tissue, then progress to more targeted techniques like the figure-four position or piriformis release. Finish with gentle sweeping rolls that help flush blood through the area and promote recovery. This progression from general to specific ensures comprehensive coverage while respecting the body’s response to increasing pressure.
Frequency recommendations vary based on your activity level and specific needs. General maintenance and flexibility work might involve glute foam rolling three to four times per week, while those recovering from intense training or managing chronic hip tightness may benefit from daily sessions. Listen to your body and adjust accordingly—some muscle soreness after initial sessions is normal, but sharp pain or persistent discomfort warrants modification or professional consultation.
Combining Foam Rolling with Stretching and Strengthening
The benefits of foam rolling multiply when combined with complementary practices like stretching and strengthening. After you’ve used a foam roller for glutes and the tissue feels more pliable, immediately following up with static stretching helps capitalize on the increased range of motion. Classic glute stretches like the pigeon pose, seated figure-four stretch, or lying hip rotation stretch performed post-rolling often feel easier and produce better results than stretching on its own.
Strengthening the glutes after foam rolling and stretching creates a complete rehabilitation and performance enhancement package. Exercises like glute bridges, hip thrusts, clamshells, and monster walks become more effective when performed on properly released and mobilized tissue. The improved neural activation that follows foam rolling means your glutes can more fully engage during strengthening exercises, building strength more efficiently and helping correct the muscle imbalances that often develop from prolonged sitting.
This integrated approach—mobilize, stretch, then strengthen—represents best practices in both rehabilitation and athletic preparation. By consistently applying this framework to your glute training, you can overcome tightness, improve function, and build stronger, more resilient hip muscles that support everything from daily activities to athletic performance.
Foam rolling your glutes is a simple practice with profound benefits for anyone looking to improve hip mobility, reduce tension, and support overall musculoskeletal health. By mastering the techniques outlined in this guide—from basic seated rolls to advanced piriformis targeting—and avoiding common mistakes, you can effectively treat your glutes like the hardworking muscles they are. Incorporate glute foam rolling into your regular routine, pair it with appropriate stretching and strengthening, and you’ll likely find that hip tightness becomes a thing of the past, replaced by improved comfort, better movement quality, and enhanced physical performance.


