
Neck pain affects millions of people who spend long hours at desks, staring at screens, or sleeping in awkward positions. When that familiar tension starts building up at the base of your skull or along your shoulders, many turn to foam rollers as a potential solution. But using a foam roller incorrectly on your neck can do more harm than good – potentially causing nerve damage or worsening pain. This guide provides safe, effective techniques specifically for neck pain relief that you can implement immediately, based on expert-recommended practices. You’ll learn precisely where and how to position the roller, how much pressure to apply, and critical mistakes that could turn your self-massage session into a trip to the physical therapist.
Critical Safety Guidelines Before Using Foam Roller on Neck
Why Neck Foam Rolling Requires Special Caution
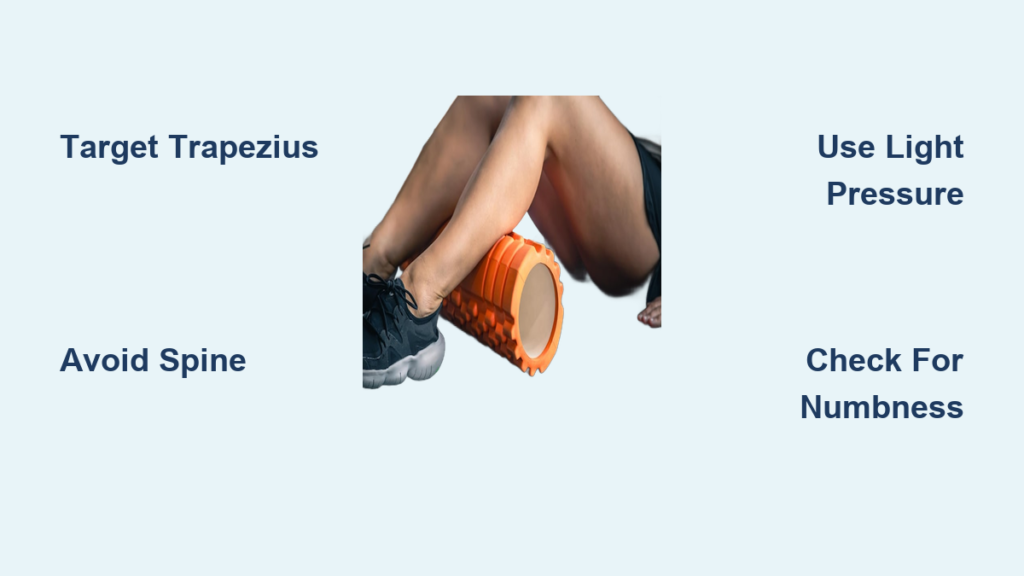
Your neck contains delicate structures including the cervical spine, major blood vessels, and nerve pathways that differ significantly from other body parts. Unlike rolling your back or legs, improper neck technique can compress arteries that supply blood to your brain or irritate sensitive nerves. Never roll directly on your spine or the front of your neck where your windpipe and major blood vessels are located. Foam rolling should only target the trapezius muscles that run from your neck down to your mid-back and the suboccipital muscles at the base of your skull – never the vertebrae themselves.
Essential Equipment Selection for Neck Work
Choose the right roller size and density – For neck work, use a smaller roller (12 inches long) with medium density rather than a firm high-density roller. A contoured or textured roller can provide more precise pressure on tight spots without excessive force. Consider using a specialized neck roller designed with a cervical curve if available. Always place the roller horizontally rather than vertically when working on neck muscles to maintain control and prevent accidental spine contact.
Proper Positioning Techniques for Neck Pain Relief

Targeting Upper Trapezius Muscles Safely
Position yourself correctly by sitting on the floor with knees bent, placing the foam roller horizontally behind you at shoulder blade level. Gently lower yourself backward until the roller supports your upper back, then slowly tilt your head to one side, bringing your ear toward your shoulder. This position targets the upper trapezius muscle where it connects to your neck. Roll just 1-2 inches up toward your neck base and down toward your shoulder – never roll vertically along the spine. Hold tender spots for 20-30 seconds while taking deep breaths, but stop immediately if you feel pain radiating down your arm.
How much pressure should you apply when foam rolling neck muscles?
Apply only 20-30% of your body weight – your neck muscles are much smaller than leg or back muscles. You should feel mild tension, not sharp pain. If you need to use your hands to support your head while rolling, you’re applying too much pressure. Always keep your eyes looking forward to maintain proper spinal alignment, not tilted up or down.
Releasing Suboccipital Tension at Skull Base

For tension at the base of your skull, use a tennis ball or specialized neck release tool instead of a full foam roller. Lie on your back with knees bent, placing the ball just below the bony ridge at the back of your skull. Gently nod “yes” by tucking your chin slightly toward your chest to engage the suboccipital muscles. Hold for 30 seconds while breathing deeply, then slowly turn your head side to side for additional release. This technique addresses the common “tech neck” pain caused by looking down at devices.
Common Mistakes That Worsen Neck Pain
Dangerous Foam Rolling Movements to Avoid
Rolling directly on your cervical spine can cause serious injury – the vertebrae in your neck aren’t designed to bear the pressure of foam rolling. Never roll the front of your neck where your carotid arteries and trachea are located. Avoid rapid back-and-forth motions that can strain delicate neck muscles. Most importantly, don’t force your head into extreme positions to reach “tight spots” – this often compresses nerves rather than releasing them.
Why does foam rolling sometimes make neck pain worse?
Applying too much pressure or rolling in incorrect areas can trigger muscle guarding, where your neck muscles tighten protectively against perceived threat. This creates a cycle of increased tension and pain. If you experience tingling, numbness, or pain radiating down your arm during or after rolling, you’ve likely irritated a nerve and should stop immediately.
Step-by-Step Neck Pain Relief Routine
5-Minute Daily Maintenance Protocol
- Warm-up first – Spend 2 minutes gently rotating your neck in small circles and doing chin tucks to increase blood flow
- Upper trapezius release – Position on foam roller as described, spending 60 seconds per side
- Suboccipital release – Use tennis ball technique for 60 seconds
- Shoulder blade squeeze – After rolling, perform 10-15 shoulder blade squeezes to activate supporting muscles
- Posture reset – Stand against a wall with head, shoulders, and hips touching for 2 minutes
How often should you foam roll your neck?
Limit neck foam rolling to 2-3 times weekly, not daily. Overuse can cause inflammation in delicate neck tissues. Always follow with gentle stretching and posture correction exercises. Morning sessions work best when muscles are stiff from sleep, but avoid rolling right before bed as it may increase alertness.
When Foam Rolling Isn’t Appropriate for Neck Pain
Red Flags Indicating You Should Stop Immediately
Stop foam rolling and consult a healthcare professional if you experience any of these symptoms: radiating arm pain, numbness or tingling in hands, dizziness, headaches that worsen with movement, or reduced range of motion that doesn’t improve after 24 hours. These could indicate nerve compression, herniated discs, or other conditions requiring professional treatment rather than self-massage.
What alternatives work when foam rolling isn’t safe?
For acute neck pain or conditions like cervical stenosis, try heat therapy with a moist heating pad for 15 minutes, gentle chin tucks while lying on your back, or professional massage therapy focused on surrounding muscles. Your physical therapist can recommend isometric exercises that strengthen neck muscles without strain.
Preventing Future Neck Pain Episodes
Posture Correction Techniques for Daily Life
Set up your workstation with your computer screen at eye level to prevent forward head posture. Take breaks every 30 minutes to perform “ear-to-shoulder” stretches without rolling your head forward. Sleep with a cervical pillow that maintains your neck’s natural curve – never on too many pillows that flex your neck excessively. When using mobile devices, raise them to eye level rather than looking down.
How long before you see results from proper foam rolling?
Most people experience reduced tension after 2-3 properly executed sessions, with significant improvement in pain levels within 2 weeks when combined with posture correction. Consistency matters more than duration – 5 minutes daily of correct technique yields better results than 20 minutes of improper rolling once a week.
Final Note: Foam rolling can provide effective neck pain relief when performed correctly on appropriate muscle groups, but requires special caution due to the neck’s delicate anatomy. Always prioritize safety over intensity, stop immediately at any sign of nerve symptoms, and combine rolling with posture correction for lasting results. For persistent neck pain, consult a physical therapist who can create a personalized treatment plan addressing your specific condition rather than relying solely on self-treatment methods. Remember that proper technique matters more than pressure amount – gentle, targeted release yields better long-term results than aggressive rolling that triggers muscle defense mechanisms.


