
Tight quadriceps can derail your workout routine, limit your mobility, and even cause lower back pain. Learning how to use a foam roller for quads properly transforms this common problem into an opportunity for improved movement and faster recovery. Whether you’re a runner struggling with knee pain, a weightlifter hitting plateaus in your squat depth, or someone who sits all day and feels stiffness in the front of your thighs, mastering quad foam rolling delivers immediate benefits you can feel.
The quadriceps group—comprising the rectus femoris, vastus lateralis, vastus medialis, and vastus intermedius—works hard during nearly every lower body movement. When these muscles become tight from running, cycling, or prolonged sitting, they restrict hip extension and knee flexion, creating a domino effect of poor movement patterns. Proper foam rolling breaks up adhesions in these muscles, increases blood flow, and prepares your legs for better performance. In this guide, you’ll discover exactly how to use a foam roller for quads effectively while avoiding common mistakes that waste your time and potentially cause harm.
Choosing the Right Foam Roller for Quad Work

Selecting Proper Density and Length
Your foam roller choice dramatically impacts your quad rolling experience. For beginners or those with high sensitivity, start with a soft-density roller that compresses easily under body weight. These provide gentle pressure while you build tolerance. Most regular users find medium-density rollers offer the ideal balance of effectiveness and comfort for quad work. Athletes seeking deep tissue release typically prefer firm rollers with textured surfaces that target specific muscle fibers.
Roller length matters too—opt for an 18-inch model if you plan to roll multiple muscle groups. While shorter rollers work for targeted quad work, they limit your ability to roll larger areas. Textured rollers with bumps or grids can enhance blood flow during quad rolling, though smooth rollers remain perfectly effective for general use. If you’re highly sensitive to pressure, begin with a softer roller and gradually progress to firmer options as your tissues adapt.
Proper Quad Foam Rolling Technique
Step-by-Step Positioning and Movement
Begin your quad foam rolling session by placing the roller horizontally on the floor. Position yourself face-down with the roller under your thighs, just above your knees. Support your upper body on your forearms with elbows bent and hands shoulder-width apart for stability. This position elevates your torso and allows you to control pressure intensity.
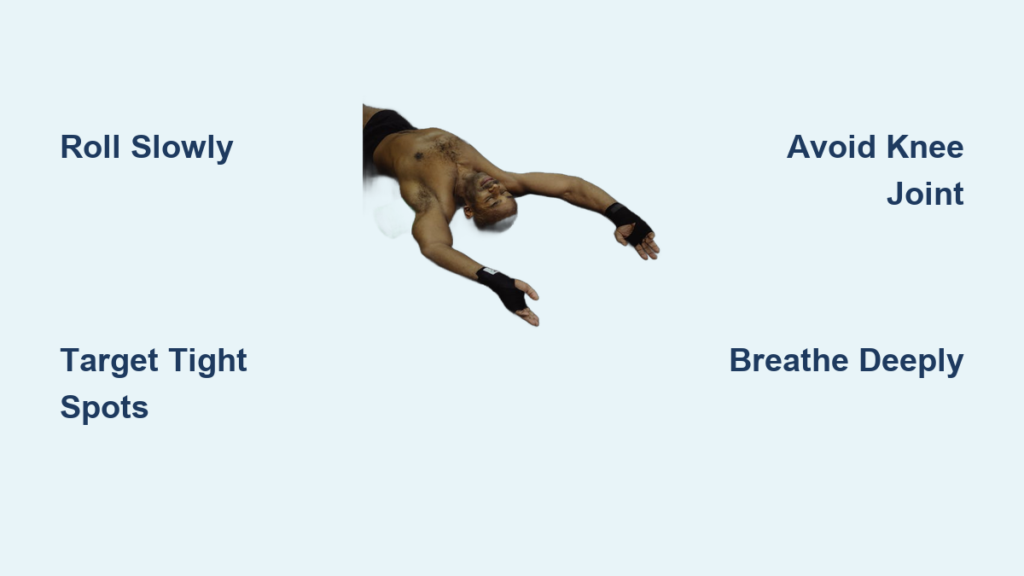
Slowly roll forward, moving the roller from just above your knees toward your hip. When you encounter a tender spot—your body’s signal of a trigger point—pause and maintain pressure for 30 to 60 seconds. Breathe deeply during this hold, allowing your muscle to gradually relax into the roller. The sensation should be intense but manageable; sharp pain means you need to reduce pressure immediately.
After releasing the trigger point, continue rolling toward your hip, searching for additional tension areas. Work the entire quad length, spending extra time on particularly tight spots. When you reach the top of your thigh near your hip flexor, reverse direction and roll back toward your knee with smooth, controlled movements. Complete two to three passes per leg, spending 60 to 90 seconds total per quadriceps group. Never roll directly over your knee joint—keep the roller positioned on the muscle belly above and below the knee.
Body Positioning for Maximum Effectiveness
Maintain proper form throughout your session to maximize benefits while minimizing injury risk. Keep your core engaged to support your spine and prevent your hips from sagging toward the floor, which reduces quad pressure and strains your lower back. Adjust pressure intensity by changing your hand position—placing hands closer together increases pressure, while wider placement provides more stability but less intensity.
Keep your feet relaxed and pointed downward rather than flexing them upward, which engages ankle muscles and distracts from quad release. Your legs should remain relatively straight during rolling, though a slight knee bend can reduce pressure on the knee cap if you experience discomfort. Most importantly, control your breathing—many people hold their breath when encountering tight spots, which increases muscle tension and reduces release effectiveness. Deep, steady breaths signal your nervous system to relax, allowing the muscle to soften beneath the roller.
Critical Mistakes That Reduce Quad Rolling Effectiveness
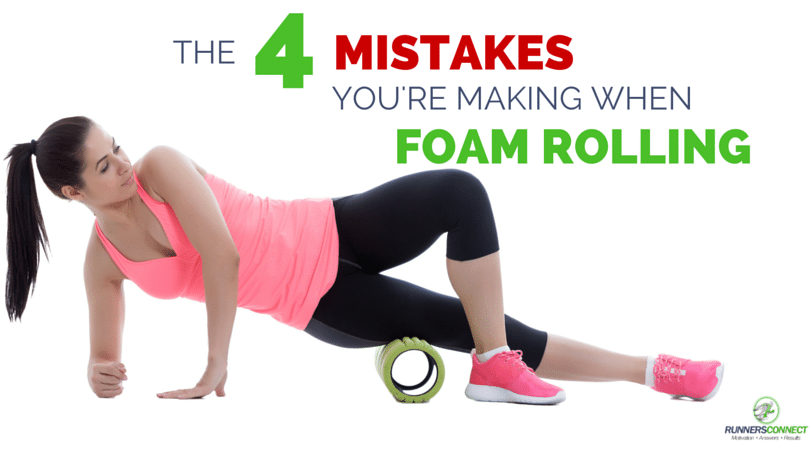
Speed, Placement, and Warm-Up Errors
Rolling too quickly is the most common mistake that renders your quad foam rolling ineffective. Fast, sweeping movements fail to apply sustained pressure where it’s needed most. Trigger points require slow, deliberate pressure to release properly—aim for a rolling speed of about one inch per second. This gives your muscles time to respond to the pressure rather than simply sliding over tight areas.
Applying pressure directly on the knee joint rather than the muscle tissue above and below causes unnecessary pain without benefit. If you experience sharp knee pain, immediately adjust your position to ensure the roller contacts only muscle tissue. Skipping the warm-up before intense foam rolling is another critical error—cold muscles respond less favorably to pressure and are more prone to injury. Spend five minutes on light activity like walking or gentle leg swings to increase blood flow before targeting tight quad areas.
Using a roller that’s too firm too soon overwhelms your nervous system and causes protective muscle tension. Build tolerance gradually by starting with softer rollers and shorter sessions before progressing to firmer equipment. Neglecting both legs creates muscular imbalances that affect performance and increase injury risk—always spend equal time on both quads, even if one feels fine.
Optimal Duration, Frequency, and Timing
Creating an Effective Quad Rolling Schedule
For general maintenance and flexibility improvement, target 30 to 60 seconds per quadriceps group, performed three to four times weekly. This frequency maintains muscle pliability without overworking the tissue. Post-workout sessions prove particularly effective since warm muscles are more receptive to release work.
When addressing chronic tightness or recovering from intense leg workouts, increase duration to 60 to 90 seconds per quad, performing the session daily for one to two weeks. Monitor your body’s response—if soreness increases or muscles feel overly sensitive, reduce frequency or intensity. Never exceed two minutes of continuous rolling per quadriceps group, as excessive pressure can cause tissue damage.
The best timing depends on your goals. Post-workout sessions capitalize on warm muscles and enhanced blood flow. Morning sessions help loosen muscles that have tightened overnight. Pre-workout rolling should be brief (15 to 30 seconds) and serve as a warm-up rather than deep tissue release.
Advanced Techniques for Stubborn Quad Tightness
Cross-Fiber Rolling and Pin-and-Stretch Methods
Once you’ve mastered basic rolling, incorporate cross-fiber techniques by positioning the roller at a 45-degree angle to your thigh and rolling side-to-side rather than up-and-down. This targets connective tissue surrounding individual muscle fibers and breaks up stubborn adhesions more effectively.
The pin-and-stretch method combines foam rolling with active movement. After locating a tight spot, maintain pressure while slowly bending and straightening your knee through a small range of motion. This combination of sustained pressure and active engagement releases deeper muscle tension than passive rolling alone.
For increased intensity, try single-leg rolling by crossing one ankle over the opposite ankle, placing all your weight on the bottom leg’s quadriceps. Use caution with this modification and build up to it gradually. Adding ankle movements—flexing and pointing your foot or making small circles—creates additional stretch through the kinetic chain and enhances overall release.
When to Skip Quad Foam Rolling
Recognizing Contraindications and Safety Concerns
Avoid foam rolling over acute quadriceps injuries such as strains, tears, or bruising. Rolling over fresh injuries increases inflammation and delays healing—wait until the acute phase (48 to 72 hours) has passed and pain has significantly decreased. Those with circulatory conditions like deep vein thrombosis (DVT), varicose veins, or peripheral neuropathy should consult healthcare providers before foam rolling, as pressure can dislodge blood clots or exacerbate circulatory problems.
Skin conditions, open wounds, or bruises on the quadriceps make foam rolling painful and risk infection—wait until these have fully healed. Individuals with bone conditions including stress fractures, osteoporosis, or recent bone injuries require medical clearance before foam rolling. Pregnant individuals should modify quad rolling, particularly in later trimesters, using side-lying positions or pillows for support instead of lying face-down.
Integrating Quad Foam Rolling Into Your Routine
Creating a Comprehensive Muscle Care Strategy
Combine quad foam rolling with hip flexor stretching for a complete front-of-thigh release. After rolling, transition into a deep hip flexor stretch by kneeling on one knee with the opposite foot forward. Hold for 30 seconds per side to address the rectus femoris, which crosses both hip and knee joints. This combination dramatically improves squat depth and running form.
Morning routines benefit from five minutes of gentle quad rolling to counteract overnight muscle tightening, especially valuable for those who sit for extended periods. Post-workout, wait five to ten minutes for your heart rate to decrease before spending two to three minutes on each quadriceps group—this helps flush metabolic waste products and reduces next-day soreness.
Remember that foam rolling complements but doesn’t replace other recovery strategies. Integrate it with regular exercise, adequate hydration, and sufficient recovery time for optimal muscle health. Start with shorter sessions using a medium-density roller, focusing on controlled movements and sustained pressure on tight spots. Gradually increase duration and pressure as your tissues adapt, always listening to your body’s signals to avoid overdoing it. With consistent practice, you’ll notice improved mobility, reduced soreness, and enhanced performance in every step, squat, and stride you take.


