
If your muscles feel tight and sore after workouts, learning how to use a foam roller for recovery could be your fastest path to feeling better. This simple cylindrical tool—when used correctly—reduces muscle soreness by up to 50% and improves flexibility within just two weeks of consistent use. Whether you’re a weekend warrior or elite athlete, self-myofascial release puts professional-level recovery techniques directly in your hands. By applying targeted pressure to specific muscle groups, you’ll break up tissue restrictions, increase blood flow, and accelerate healing between training sessions. This guide shows you exactly how to use a foam roller for recovery with specific techniques that deliver real results—no guesswork required.
Why Foam Rolling Works for Muscle Recovery
Foam rolling delivers rapid recovery benefits by addressing the physiological changes that cause post-exercise soreness. When you work out, microscopic muscle damage triggers inflammation and metabolic waste buildup—this is what makes your muscles feel stiff and tender hours later. Applying pressure with a foam roller mechanically disperses these inflammatory compounds while stimulating blood flow to deliver oxygen and nutrients needed for repair.
The neurological effects are equally important—pressure on tight muscles activates Golgi tendon organs that trigger autogenic inhibition, causing muscles to relax. This same principle explains why you often feel immediate relief from tension after rolling. Additionally, sustained pressure on fascia (the connective tissue surrounding muscles) helps rehydrate this critical structure, allowing muscles to glide smoothly during movement rather than sticking together.
Choose the Right Foam Roller for Your Body

Selecting appropriate equipment makes or breaks your foam rolling experience—beginners often make the critical mistake of choosing rollers that are either too firm or too soft for their needs.
Foam roller density matters most: Low-density (soft) rollers suit beginners, those with low pain tolerance, or recent injuries. Medium-density rollers provide the ideal balance for most users, offering enough firmness to release tension without excessive discomfort. High-density rollers deliver intense pressure preferred by experienced athletes with significant muscle mass.
Size and shape determine effectiveness: Standard 18-36 inch cylindrical rollers work best for large muscle groups like quads and hamstrings. Mini rollers (6-12 inches) target smaller areas like calves and forearms. Grid-pattern rollers provide varied pressure intensities across their textured surface, while vibrating rollers enhance blood flow but cost significantly more.
Start with a medium-density, standard roller if you’re new to foam rolling. This provides effective pressure without overwhelming discomfort that might discourage consistent use.
Master Proper Foam Rolling Technique
Incorrect technique wastes time and can cause bruising—follow these fundamentals to maximize recovery benefits:
Apply Correct Pressure Levels
Use your body position to control pressure intensity rather than relying solely on roller density. When rolling quads, shift more weight through your hands to decrease pressure or lift your hips higher to increase it. Never experience sharp pain—if you can’t breathe normally due to discomfort, reduce pressure immediately.
- Light pressure (20-30% of max tolerable): Use for sensitive areas or acute recovery phases
- Moderate pressure (40-60%): Standard intensity for most muscle groups
- Deep pressure (70-90%): Reserve for thick muscles or chronic tension points
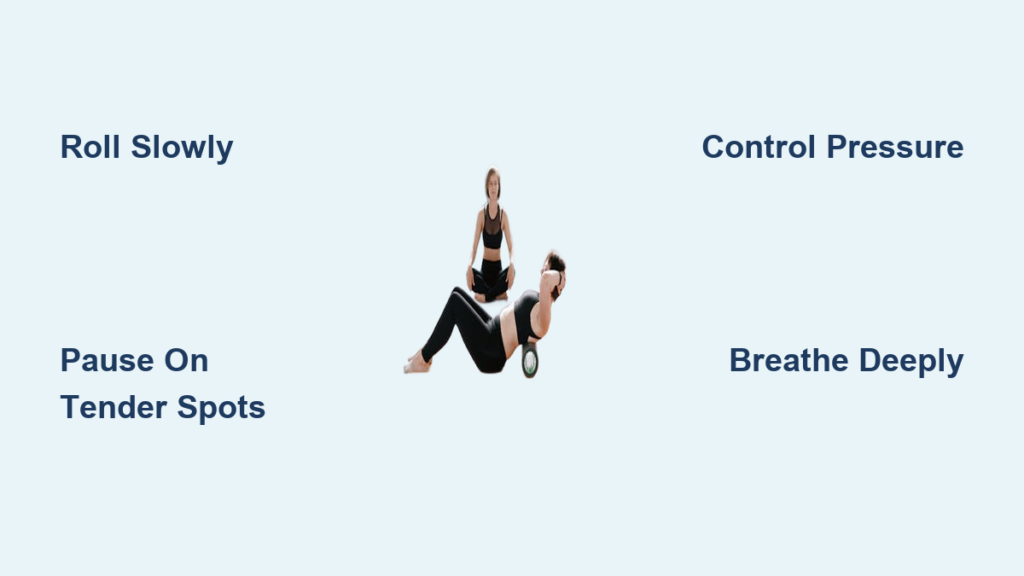
Roll at the Right Speed and Duration
Move at 1-2 inches per second—slower than most people naturally roll. When you find a tender spot, pause and hold pressure for 30-90 seconds while breathing deeply. Spend 30-90 seconds per muscle group, with shorter durations for maintenance and longer periods when addressing specific tension. A comprehensive full-body session takes 10-20 minutes.
Roll Your Calves for Better Mobility
Tight calves limit ankle mobility and contribute to plantar fasciitis—follow this precise technique:
Sit on the floor with the roller positioned just below your knees. Cross one leg over the other to increase pressure on a single calf or keep both legs parallel for moderate pressure. Support your weight on hands behind you and roll slowly from knee to ankle. When you find a tender spot, pause and hold while pointing and flexing your foot to engage different muscle fibers.
For deeper soleus work, rotate your foot inward or outward to change the angle of pressure. Increase intensity by stacking your legs or decrease pressure by using both legs together.
Release Quadriceps Tension After Leg Day

Quadriceps often develop significant tension after lower body workouts—use this method:
Begin face down with the roller under your thighs just above the knees. Support your weight on forearms and hands while lifting hips. Roll slowly from knee to hip, covering the entire front of the thigh. Rotate your leg outward to target the vastus lateralis (outer thigh) or inward for the vastus medialis (inner thigh).
When you hit a tender spot, pause for 30-60 seconds while breathing deeply. Cross one leg over the other to increase pressure, but only if you can maintain proper form without straining shoulders or wrists.
Fix Tight Hamstrings with Proper Rolling
Hamstring tension contributes to lower back pain and limits athletic performance—address it correctly:
Sit with the roller positioned under your thighs just below the glutes. Support your weight on hands beside the roller with legs extended. Roll slowly from glutes toward knees, paying special attention to the upper portion near the gluteal attachment where strains commonly occur.
When you find a tender spot, pause and slowly flex/extend your knee while maintaining pressure. Cross one leg over the other to increase intensity on a single hamstring. Expect upper hamstrings to feel particularly tender—start with lighter pressure and gradually increase as tolerance develops.
Target Glute and Piriformis Pain Points
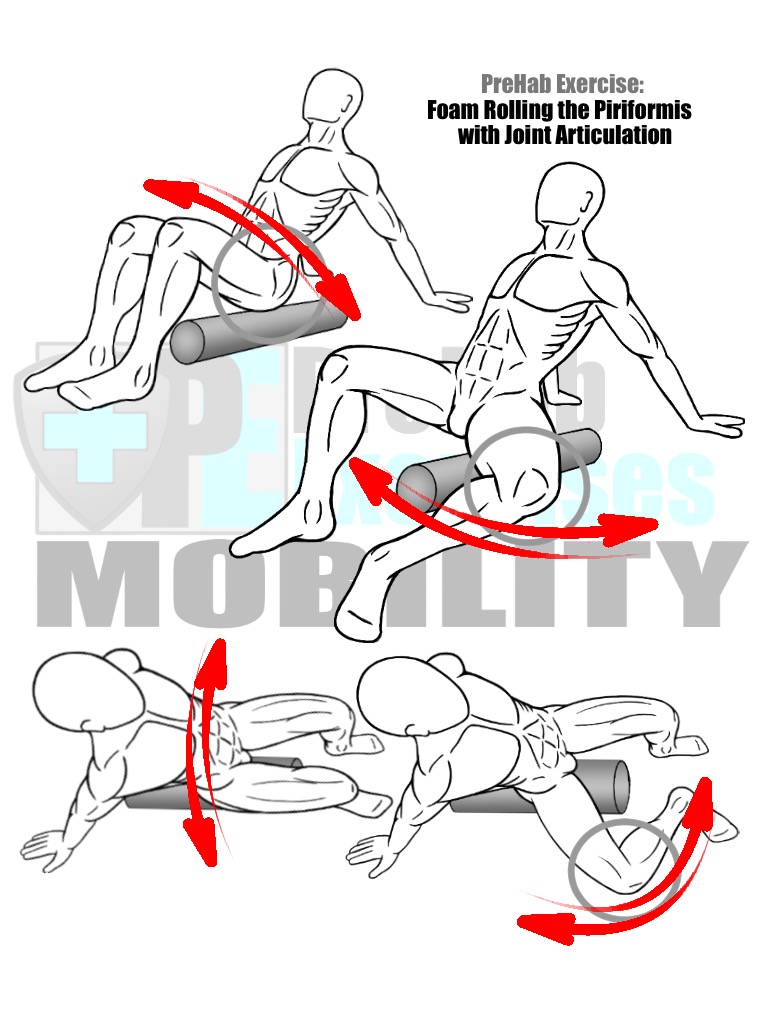
Tight glutes and piriformis cause sciatic-like pain—use this precise method:
Sit on the roller positioned under one glute, slightly to the side. Cross the ankle of the working leg over the opposite knee (figure-four position). Support your weight on the opposite hand and extended foot. Roll from hip bone toward tailbone and along the outer glute edge.
When you find a tender spot (often deep in the glute), pause and slowly rotate your knee in circles while maintaining pressure. This rotational movement specifically targets the piriformis muscle that can compress the sciatic nerve.
Improve Upper Back Mobility with Foam Rolling
Restricted thoracic spine limits shoulder function and causes neck pain—safely roll your upper back:
Position the roller horizontally across your upper back just below shoulder blades. Support your head with hands behind it, elbows forward. Roll slowly upward and downward along the spine from mid-back to base of neck.
When you hit a tender spot, pause and arch/round your upper back while maintaining pressure. Shift weight to one side to target muscles alongside the spine. Never roll lower back or neck directly—these areas lack muscular protection.
Avoid Common Foam Rolling Mistakes
Many people unknowingly reduce foam rolling effectiveness or cause unnecessary discomfort:
- Rolling too quickly reduces tissue response time—move at 1-2 inches per second
- Holding breath prevents muscle relaxation—practice slow diaphragmatic breathing
- Using excessive pressure causes bruising without additional benefit
- Rolling directly on joints or bones creates pain without recovery benefits
- Skipping tender areas avoids addressing the tension that needs release
If you can’t breathe normally during rolling, you’re using too much pressure. Reduce intensity immediately to stay within effective recovery parameters.
Build a Consistent Recovery Routine
Consistency delivers better results than occasional intense sessions—follow this simple schedule:
Post-workout routine: Roll muscles you just worked while still warm (30-60 seconds per group). Runners should prioritize calves → hamstrings → quads → glutes. Weightlifters should focus on prime movers from their session.
Rest day maintenance: Spend 10-15 minutes addressing chronically tight areas. Desk workers should target hip flexors, glutes, chest, and upper back. Perform when convenient—many find evening sessions help release daily tension.
Timing matters: Pre-workout rolling (30-60 seconds per group) prepares muscles for activity. Post-exercise rolling is ideal for recovery. Rest day rolling maintains tissue quality between workouts.
Learning how to use a foam roller for recovery properly transforms your training experience. Start with proper technique rather than intensity, build consistency over time, and you’ll recover faster with less soreness after every workout. Within two weeks of regular use, you’ll notice improved mobility, reduced stiffness, and better performance in everything you do.


